
“Cakes are special. Every birthday, every celebration ends with something sweet, a cake, and people remember. It’s all about the memories.” – Buddy Valastro
A hoy-hoy and welcome back!! Are we ready for our yearly birthday cake blog?? I hope so because I am ready and excited! This year’s birthday cake: COCONUT. Wait!! It’s not the fake, sun-tan lotion tasting coconut cake! This is a Claire recipe (all hail Claire!) LOL. Disclaimer: NO artificial coconut flavoring will be used in the making of this cake! In general, I am not a “fan” of coconut, especially coconut cake. I like the candy bars, but past experiences have shown me that most coconut cakes taste like sun tan lotion and are dry. Therefore, when I saw that Claire had a video for a coconut cake, I was’t super excited, but rather, intrigued. Watching the B-Roll, further piqued my attention because let’s face it, its Claire, and I’m going to at least watch how she makes her coconut cakes.
As The Husband and I watched Claire concoct this light and delectable confection with rich, thick, yet honey-hued cloud-like frosting seated in between soft, pillowy layers of luscious sun-golden cake, I knew, I had to make this; and for my birthday. This was going to be my birthday cake. What changed my mind about coconut cakes? First of all, Claire announced from the beginning that there would be NO artificial coconut flavoring used or sweetened coconut flakes. I arched my eyebrow at the television Claire and slowly nodded my head, “okay Miss Claire, let’s try this, shall we?”
Tropical Disclaimer: It also helped to tip my decision in this cake’s favor as I watched Claire assemble the cake, cut the moist and rich cake, and proceed to devour the cake and quite honestly, I need to make this cake and try it!! LOL. It looked too good not to make it!! I also felt like this cake would have a natural, light coconut flavoring that complimented the butter and sugar rather than overwhelm everything with pure sickeningly sweet sun-tan lotion. Here! Watch the video yourself and let me know what you think and if it enticed you too!
Picture is AI Generated
Beachy Research
While enthralled with the video, a tiny voice reminded me that Claire already had a coconut cake recipe in her book, Dessert Person (2020). My curiosity and excitement were simultaneously piqued as I might be able to follow these instructions from her cookbook rather than try to screenshot all of her directions and ingredients list from the You Tube comments (which I did anyways). In my notebook, I wrote down the ingredients list as well as the instructions. Then I went to Dessert Person cookbook, page 133, and compared the two recipes. The cake portion of the recipes were the same! The exact same! So, that’s good because I knew I could simply follow the recipe in my book!
The differences came in the frosting, filling, and number of layers for the cake. In the video, the frosting and the filling are both a Coconut German Frosting, where the base is a pudding (think of the frosting for the uber chocolate cake I made for the birthday two years ago). In the cookbook, Claire uses a Cream Cheese frosting with a Coconut Pastry Cream filling. Another difference is that in the video, Claire makes three cake layers and leaves the cake as a three layer cake. In the book, she divides the layers into more for a 7-9 layer cake! I am not going lie, I would prefer to keep cakes at either 3 or 4 layers. Another bigger and you will be required to employ anchors for those layers to stay in place.
The Cake: the same – CHECK
The frosting – will be using the Coconut German Frosting – CHECK
The filling – will use the frosting for the filling as well as to frost the cake! – CHECK
Okay, now that we have the components ready, let’s look at ingredients lists and making this tropical sensation!
Ingredients for CAKE
360 grams of cake flour
1 TB baking powder
1 1/2 tsp salt
2 sticks of butter – room temp
3 TB coconut oil
350 grams sugar
4 large eggs
2 tsp vanilla (or as much as your ancestors tell you to use)
1 can unsweetened coconut milk
Ingredients for FROSTING
1 cup milk
1/2 vanilla bean
150 grams sugar, divided
30 grams cornstarch
4 large egg yolks
2 TB coconut oil
3 sticks butter – room temp
MAKING THE CAKE
- Take the coconut oil and with a pastry brush, grease the 3 – 8 inch cake pans. Then place a piece of parchment paper on the bottom of each and grease that too. Set aside. NOTE: I did melt mine to make this easier.
- Pre-heat oven to 350 degrees F
- Measure out 1 cup of coconut milk – save the rest of the coconut milk for later use once the cakes have been baked.
- In a separate bowl, mix together your cake flour, salt and baking powder. Set aside the 1 cup of coconut milk and the flour mixture.
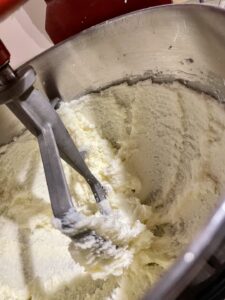
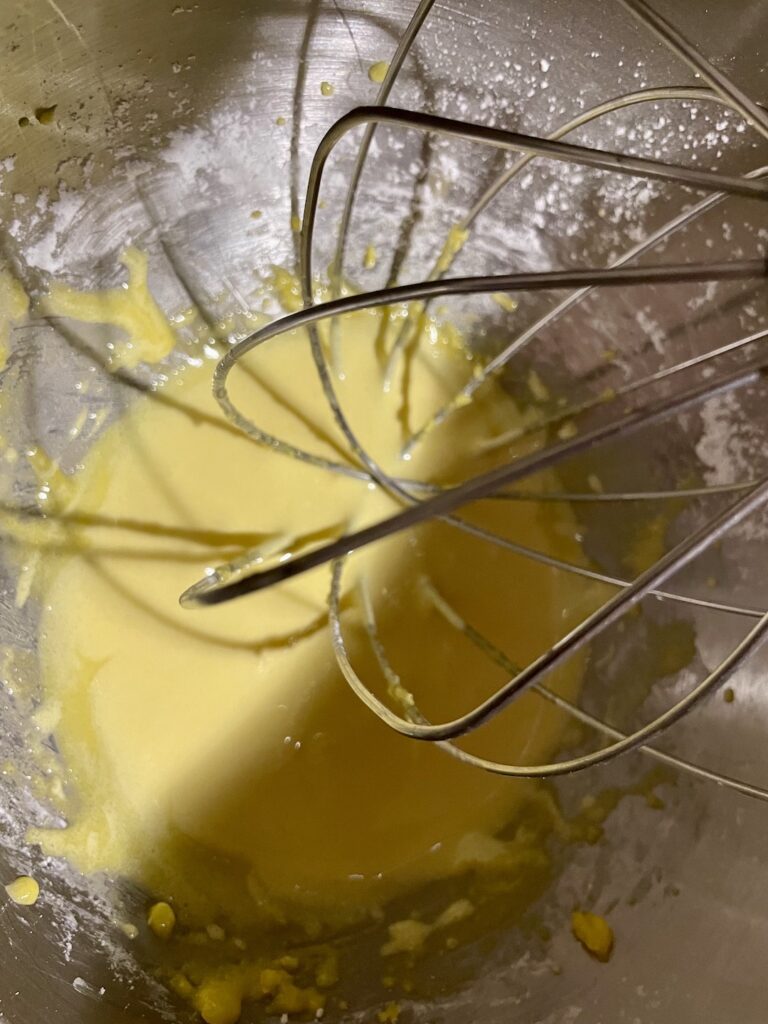
- In your mixing bowl, combine the coconut oil, sugar and butter and mix together until the butter has lighten in texture and color (almost a white color compared to the yellow you started with). This might take 3-5 minutes.
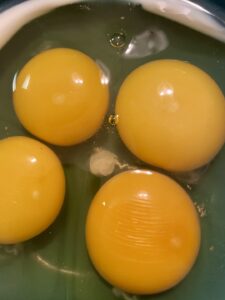
- Once your butter, sugar mixture is ready, slowly add your room temperature eggs into the sugar butter mixture one at a time. Wait for the eggs to incorporate before adding the next until all 4 eggs have been added. Add your vanilla – remember, listen to your ancestors for how much to add, LOL.
- Take your flour mixture and your coconut milk. While mixture is at low, add half of the flour mixture. When most four is incorporated, add half of the coconut milk. Once that is incorporated, added half of your flour mixture, then the last of the coconut milk, then the last of your flour. Make sure all is mixed, especially form the bottom of the bowl.
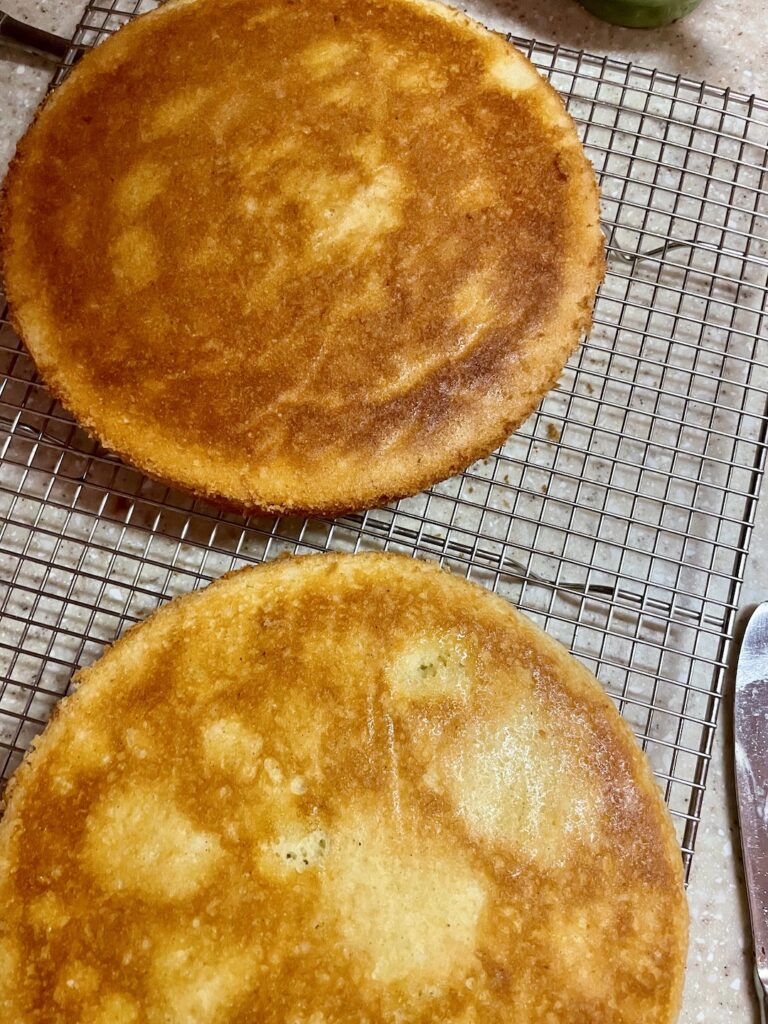
- Divide your batter between the three greased cake pans (about 454 grams per pan). Bake the cakes in the oven for 30-35 minutes, rotating the cake pans after 15 minutes.
- Let cakes cool.
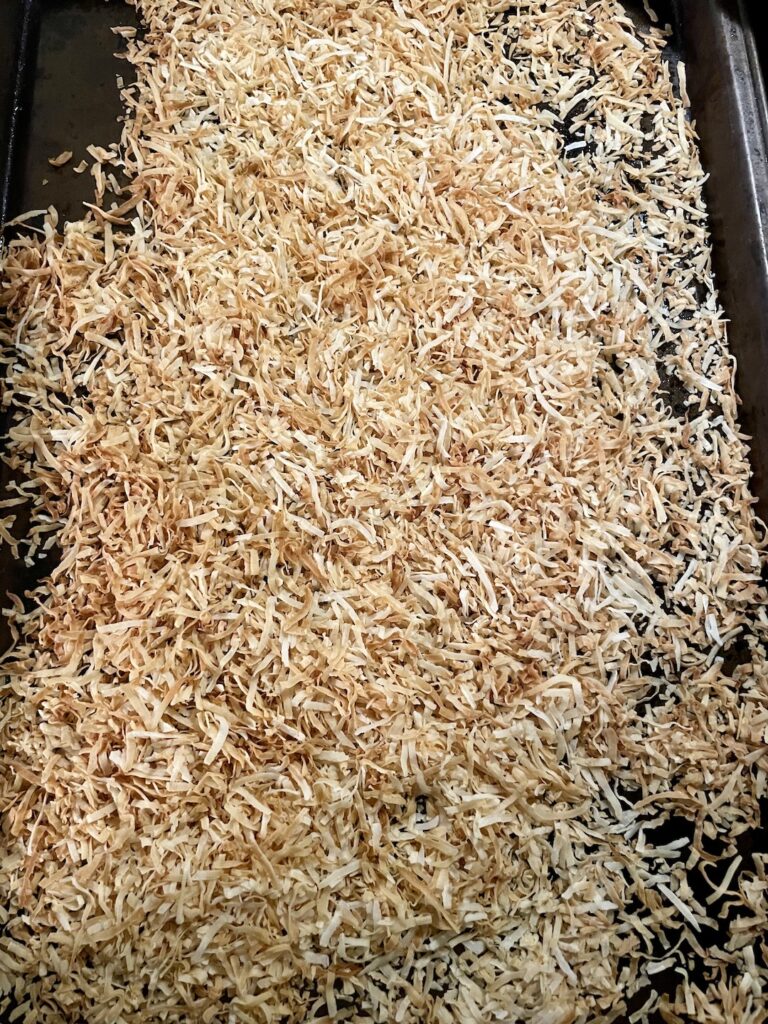
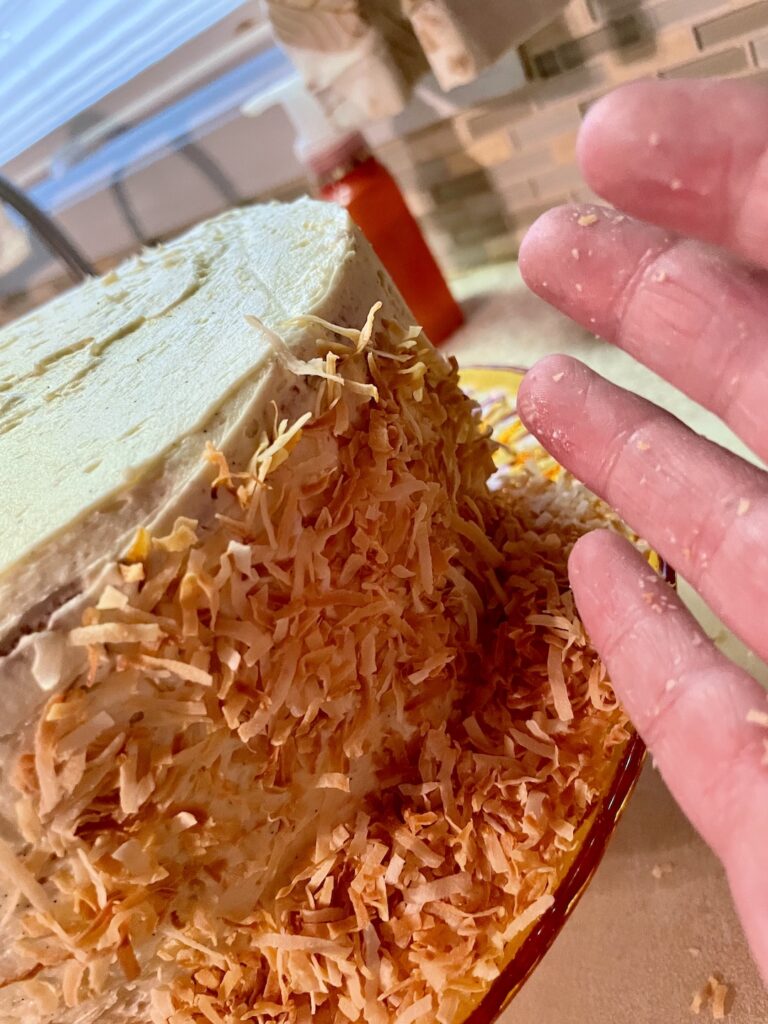
- While oven is still on, toast your unsweetened coconut flakes. Keep an eye on them and mix around while they are in the oven to prevent burning. Also remember to take them out a little before you think they are done – they will continue to bake on the hot pan. Set that aside to cool as well.

Once Cakes Have Cooled
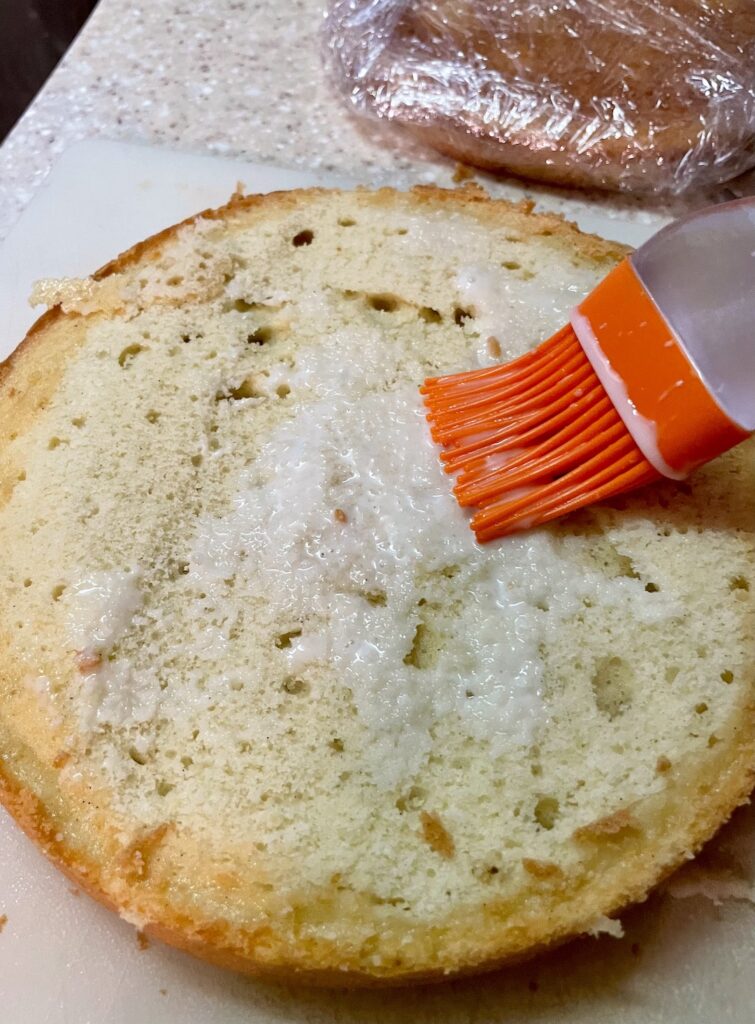
- Once the cake are cooled. Cut off a small amount from the tops to level them. This also exposes the crust for the coconut milk drench. Taste your cake!! That’s a perk to being the baker! LOL
- Take your left over coconut milk and with a pastry brush, brush the exposed cake layers. Set aside to soak in.
MAKE THE FROSTING
- Heat your milk and half of the sugar over low to low-medium heat – do not boil
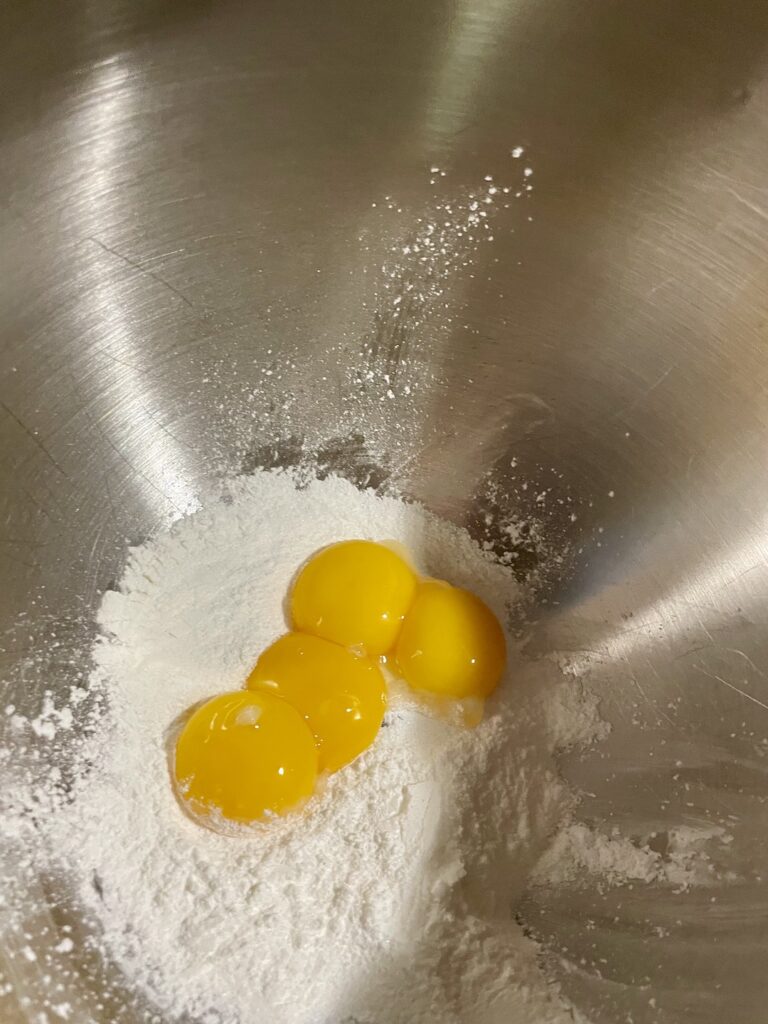
- In a mixing bowl, combine the rest of the sugar with the cornstarch. As the milk is getting warm, add your 4 large egg yolks into the cornstarch mixture – whisk until the mixture is lighter in color.
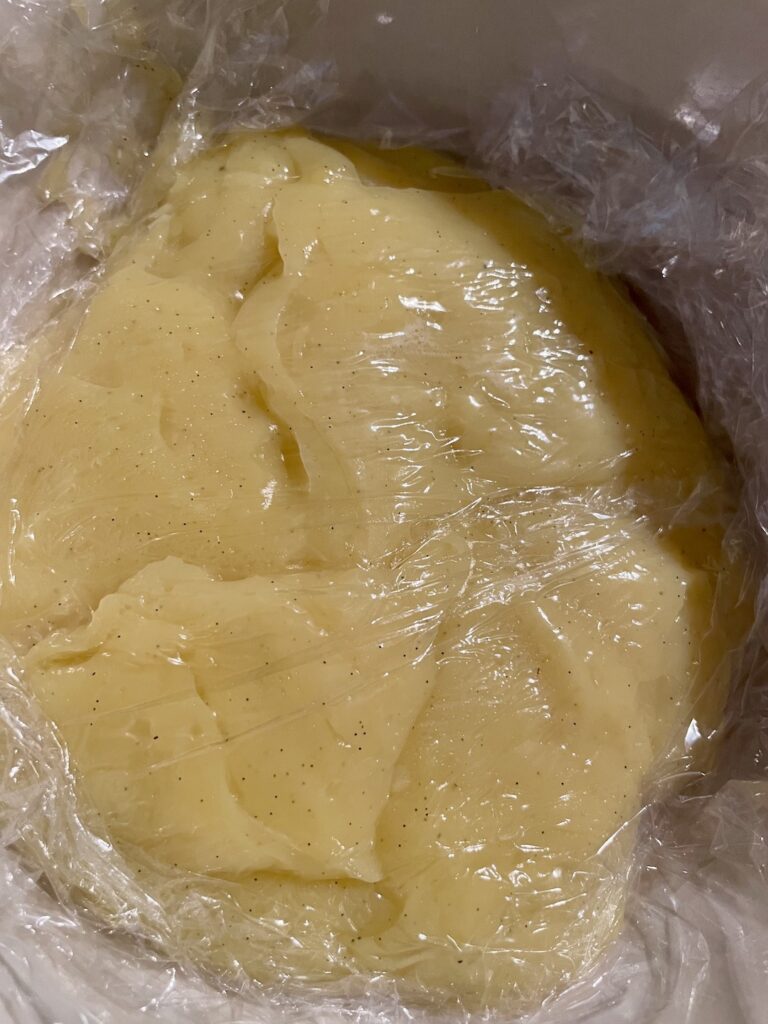
- Slowly, oh so slowly, add your warmed milk to the egg yolk and cornstarch mixture. Once mixed in, pour this back into the pan, while whisking the whole time, heat up this mixture until very thick. Once in awhile, stop whisking. Once the mixture bubbles in the middle, your are done. Place in a bowl and cover with plastic wrap to prevent a skin from forming.
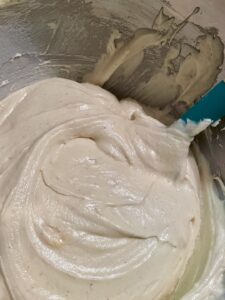
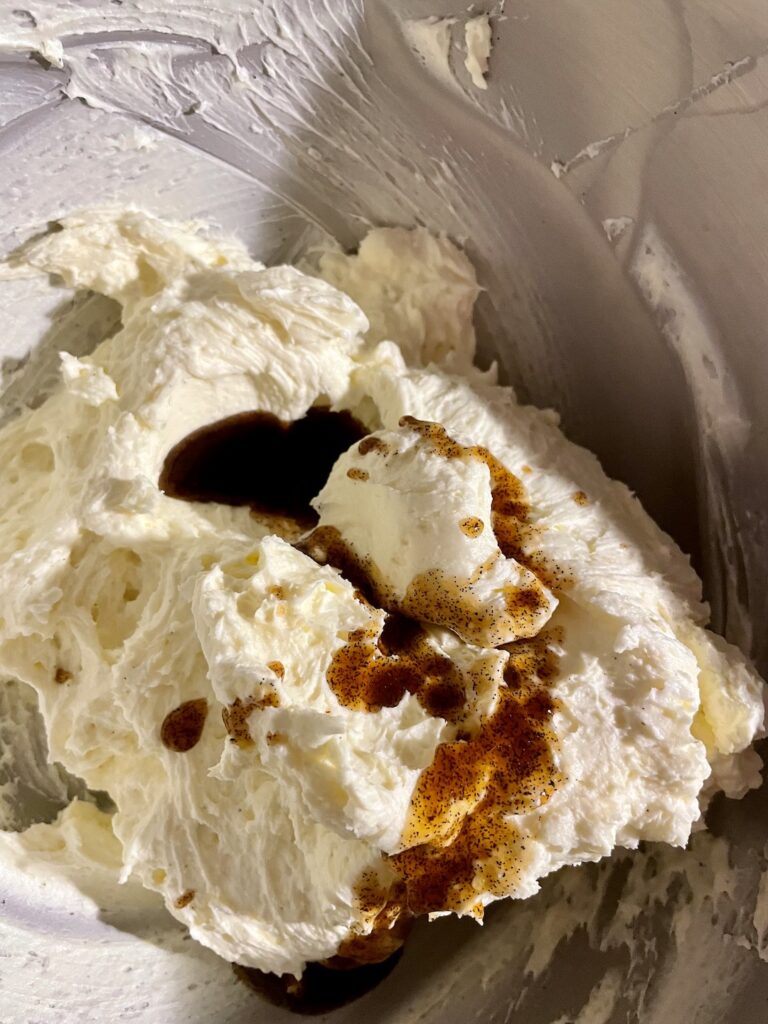
- Once the pudding is at room temp, take your coconut oil and butter and whip the tar out of it – whip it until the mixture is almost white. Then slowly add your pudding to the butter – make sure the pudding mixture is incorporated into the butter mixture before adding more. Once that is done, add your vanilla.
NOTE: For step 4, use the paddle attachment. At the end, whip it with the whisk.
DECORATING
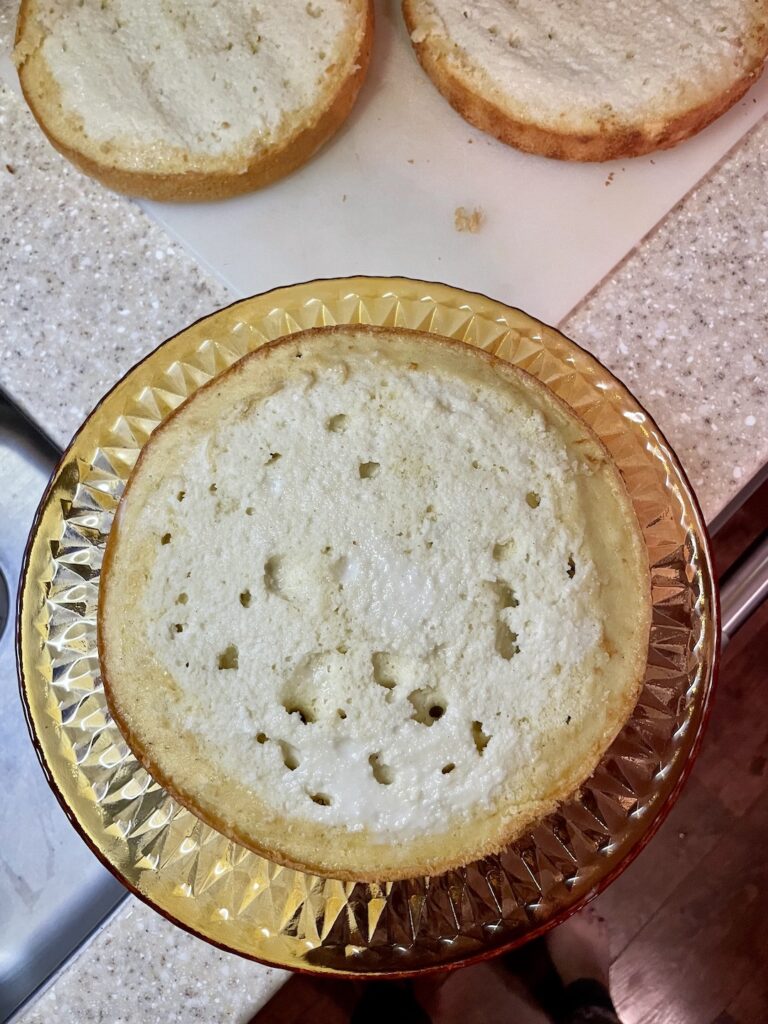
- Place your first layer on the bottom, cut side up. Take one cup of frosting and smooth out.
- Place your second layer, cut side down, on top of the bottom layer. Take one cup of frosting and smooth out.
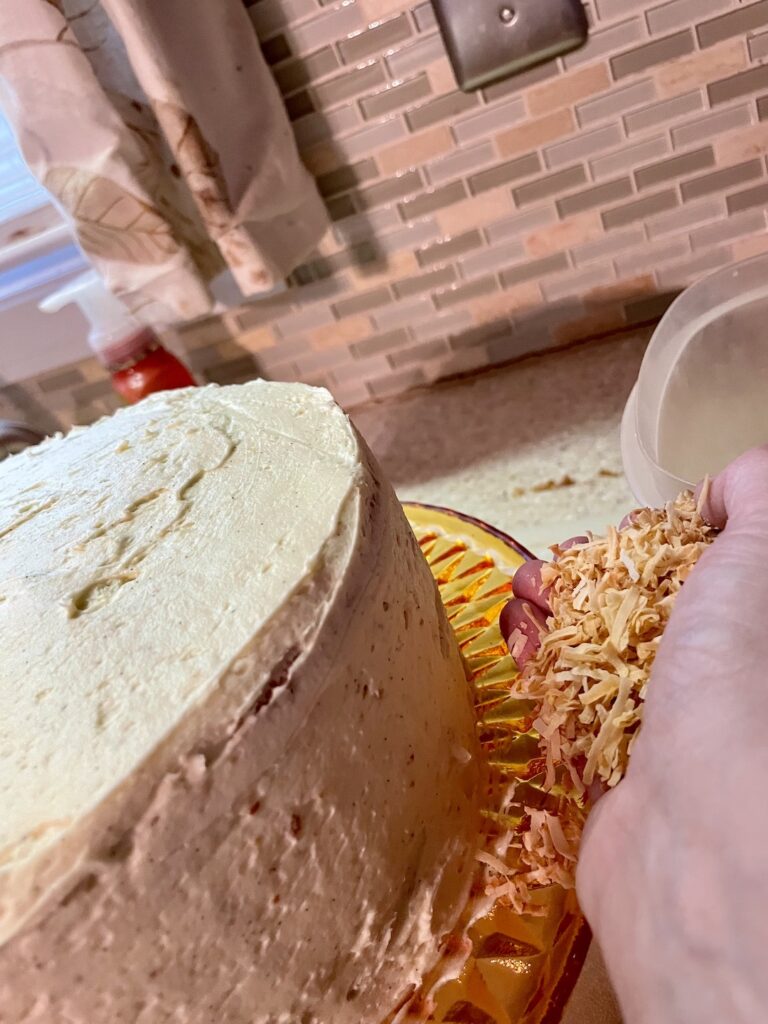
- Place your third and final layer cut side down. Frost the entire cake – this does not have to look perfect as you will adding the toasted coconut flakes to the outside – hiding any and all mistakes!
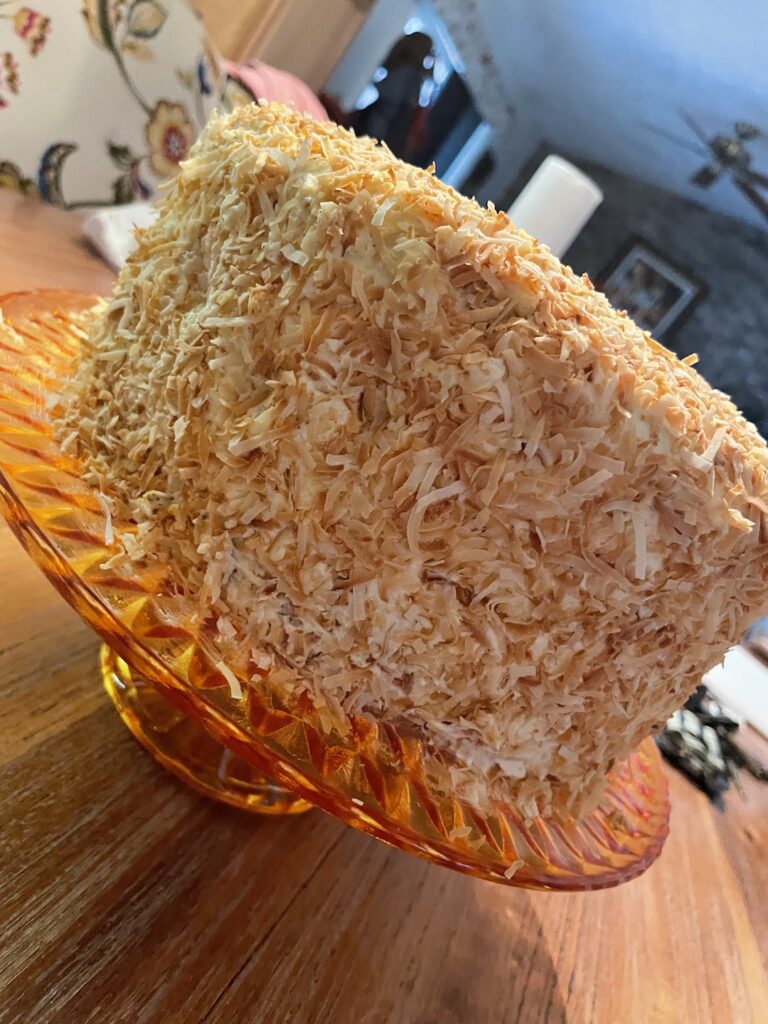
TADA!!!!!
THE TASTE
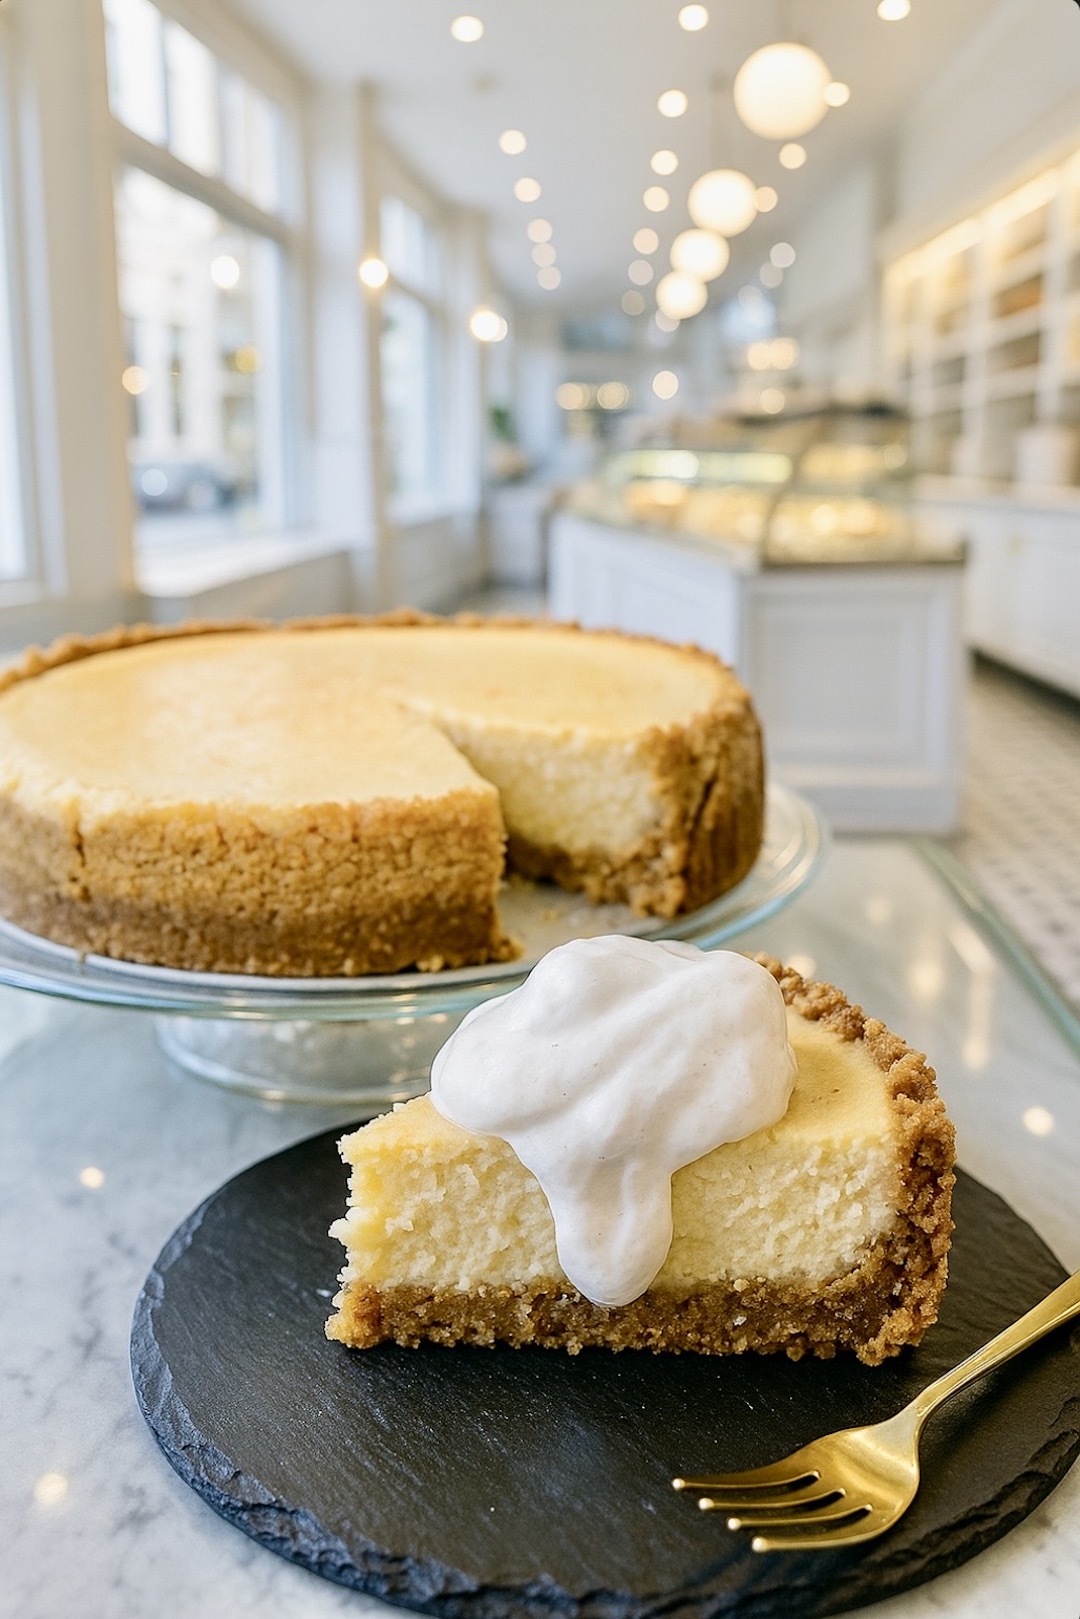
I have already had two requests to make this again for birthdays and the wonderful woman that I work with was caught at the edge of her bed munching on it, Gollum-style, sans fork or plate. LOL. Safe to say, everyone loved it. They loved the fresh, clean taste of real coconut that the coconut milk and coconut oil lent to the cake. The cake itself was tender and moist with a sweet, light taste of coconut. The German Style Buttercream frosting was thick and rich but balanced out well with the airy and crunchy toasted coconut flakes that coated the entire cake. I will again refer to the wonderful woman I work with who, like myself, does not like coconut cake. She and I both love this cake and I will definitely be making this again.
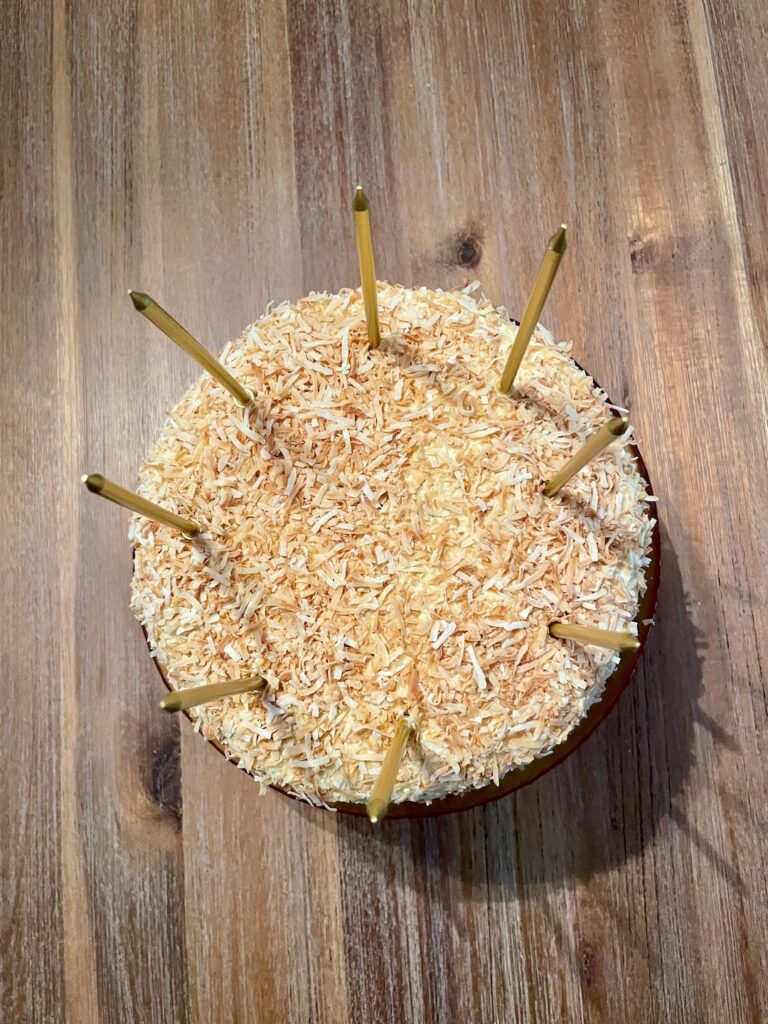
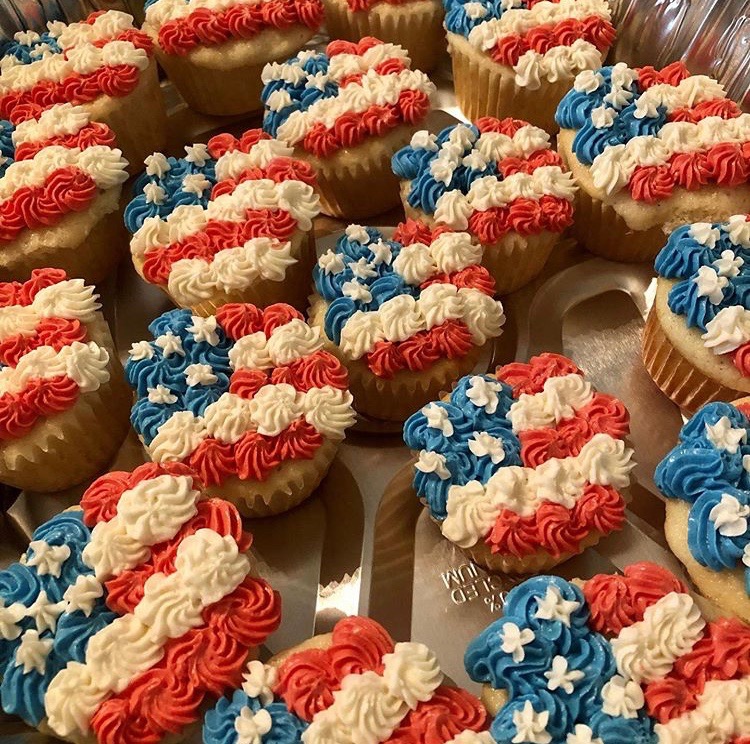
It is simple, light, and clean tasting. Unlike your typical coconut cake, this is not heavy or cloyingly sweet. It beautifully balances vanilla and coconut with toasted and crunchy coconut flakes. You can also make these into cupcakes or a sheet cake! Please consider this recipe for your next celebration for you and your family.
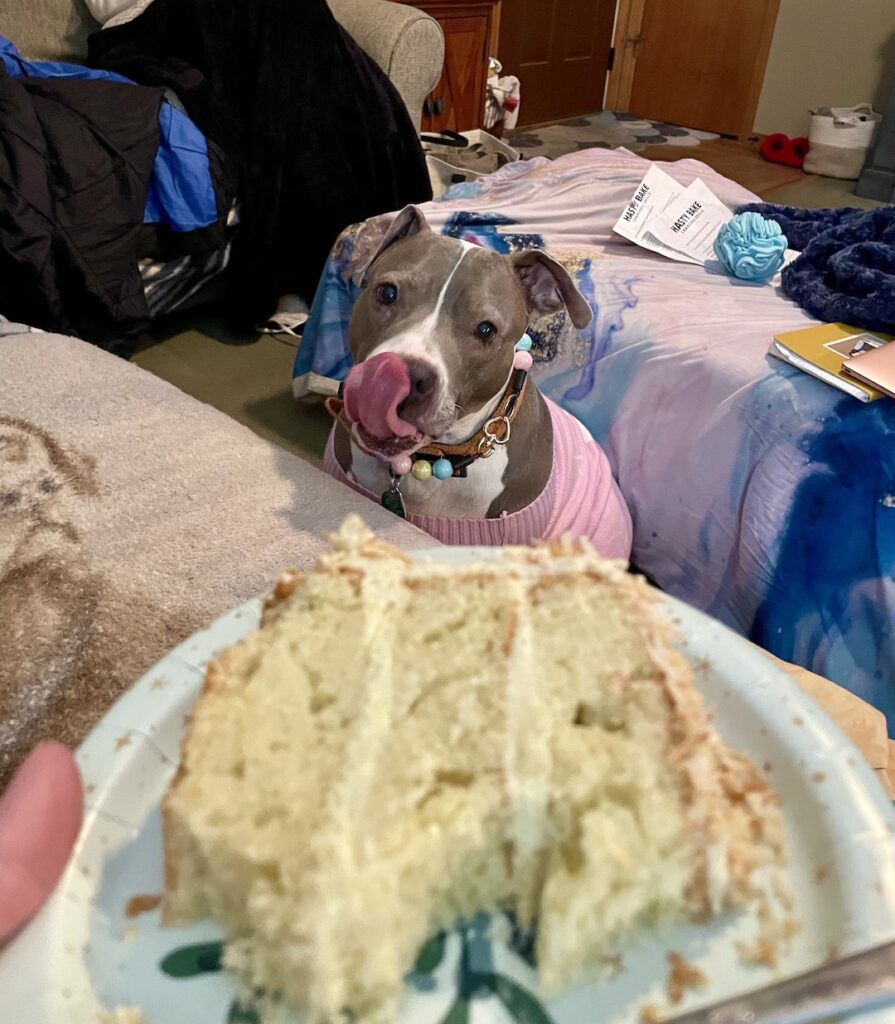
This was a great blog. Keep up the good work! I love the picture of Princess Calliope licking her lips 🥰
Thank you!! We all enjoyed the cake. LOL
It looks absolutely heavenly!
It was very good, I was very happy with how it turned out!
Gurl, you always make me hungry with yr post. I love Coconut 🥥.
Plus I love lil C in the background
Happy Girl on her birthday 🩷
THANK YOU SO MUCH!!!