A hoy-hoy and welcome back! Today we will be discussing shower curtains! Shower curtains? Have you lost your mind, woman? You bet I have, but that happened awhile ago. Yes, shower curtains! Or rather, how to sew your own shower curtain. See? There is a method to my madness. LOL. Can you buy a super cute shower curtain from the store and use that? Absolutely. Will you be proud of said shower curtain for years to come? No. Well, unless you found it on super sale at some super bougie store. However, I think sewing your own is fun Injecting either the perfect fit for your bathroom or the perfect punch of character and personality. Be it bubbly fish, elegant flowers, bright and cheery fruit, animals, or stripes; you choose the exact pattern or color, and/or material! I must confess that I almost used a layered cake fabric as I did for these two blankets that I made!

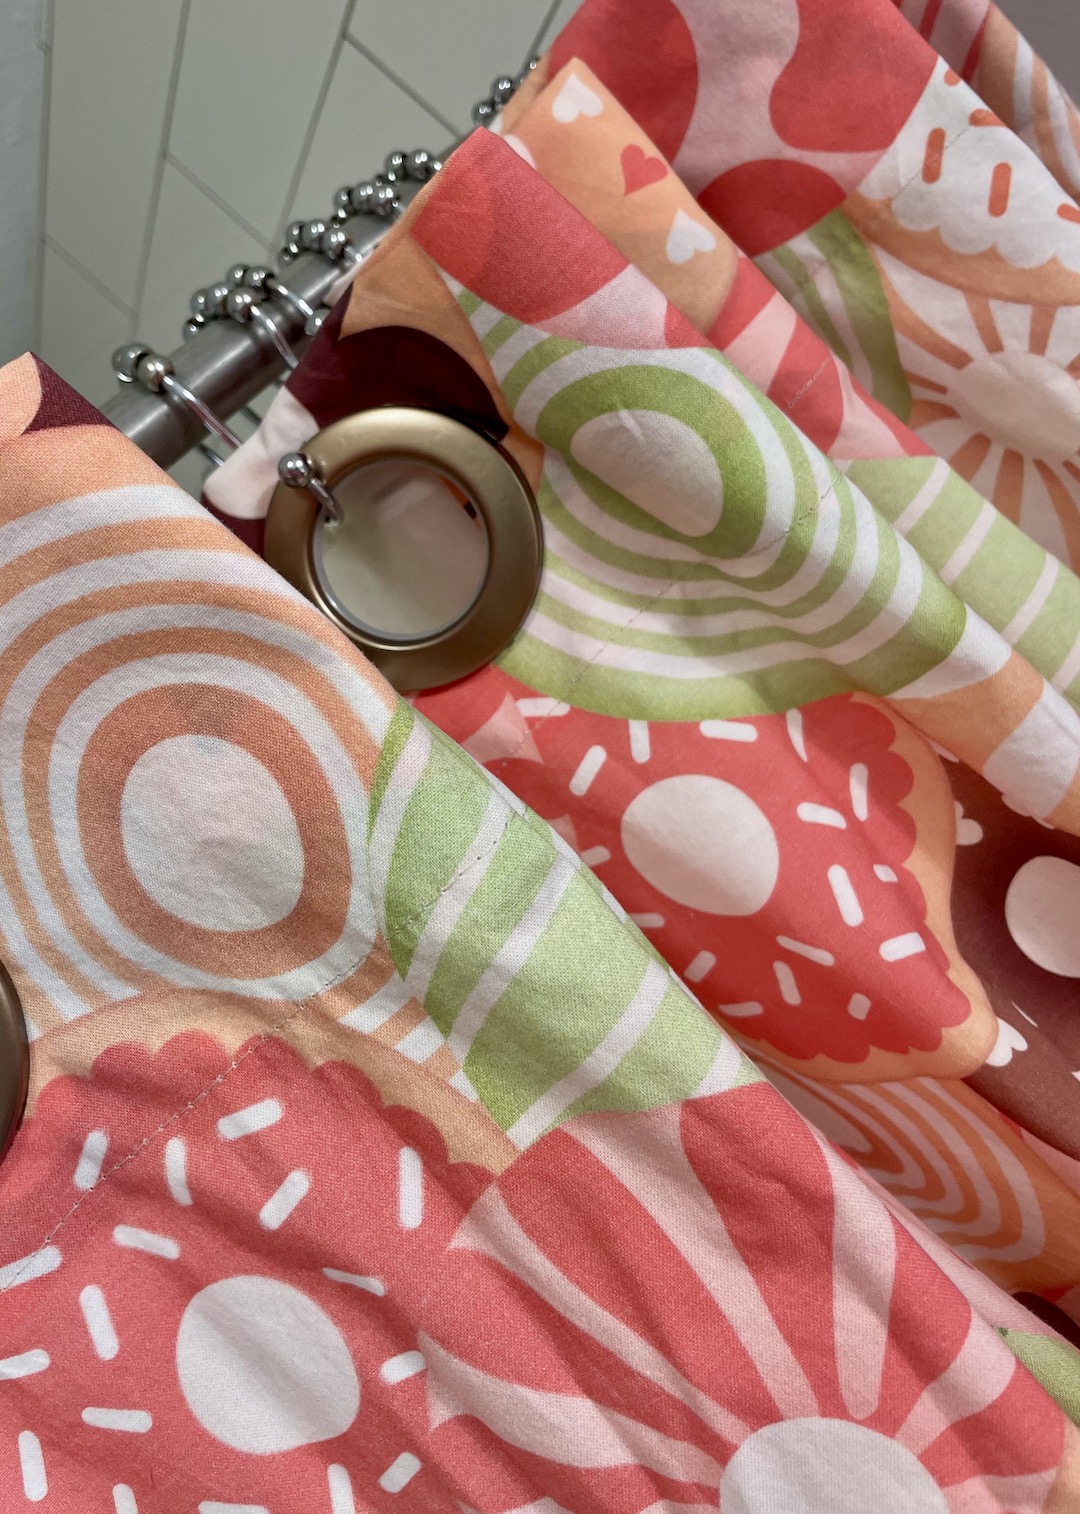
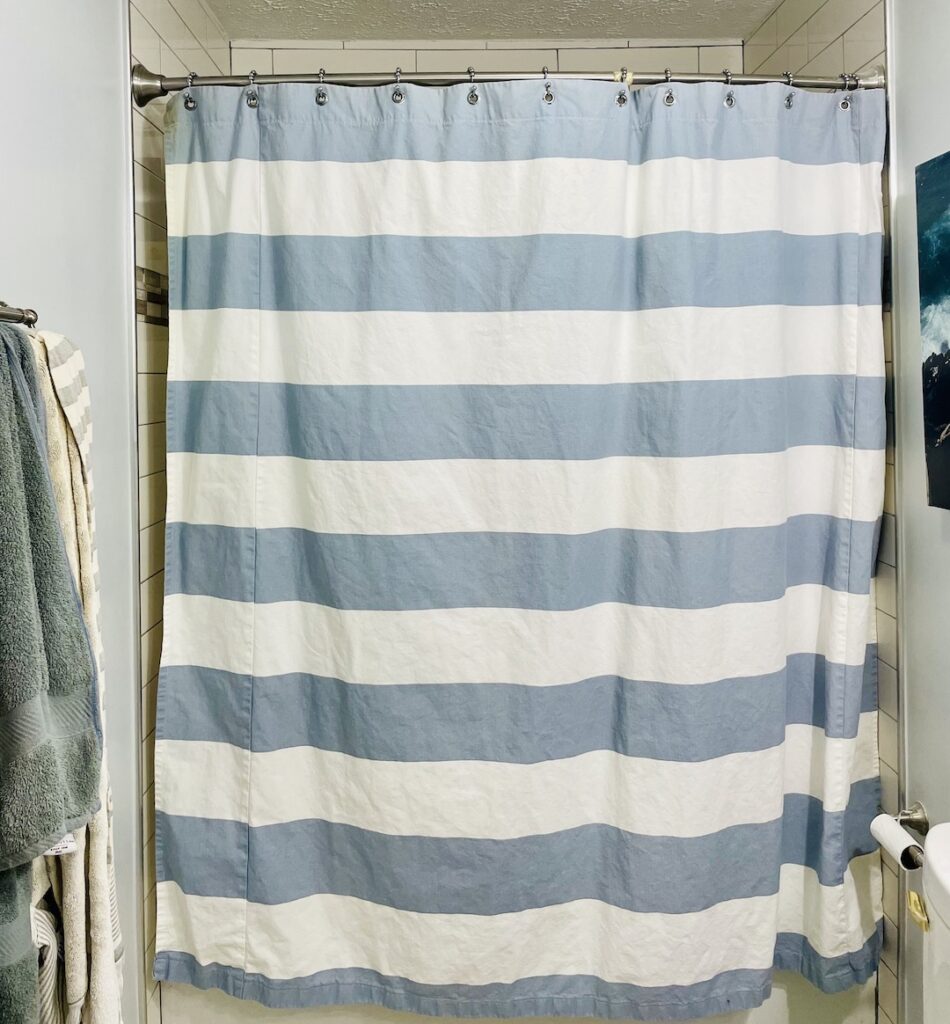
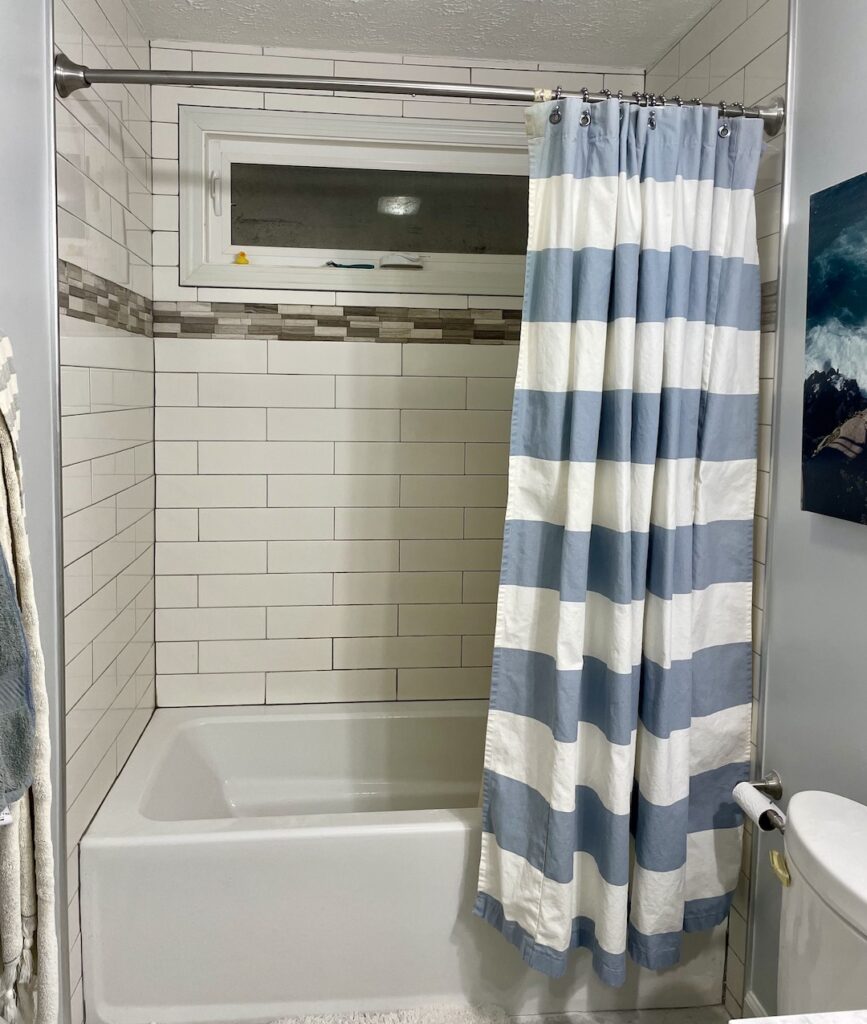
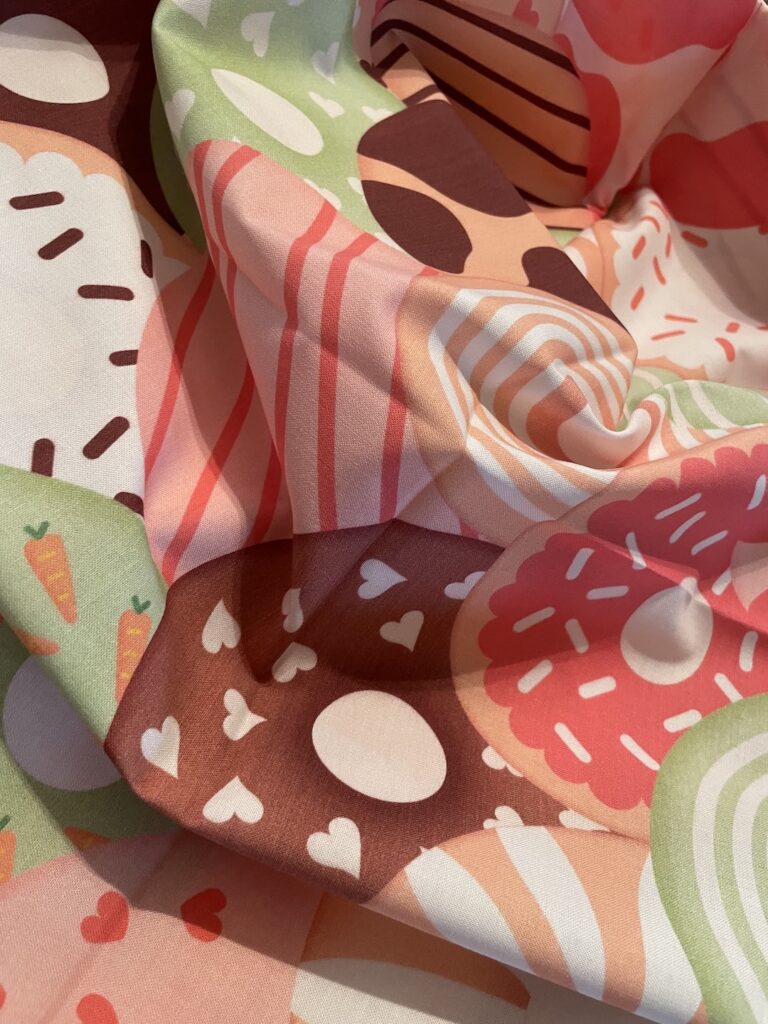
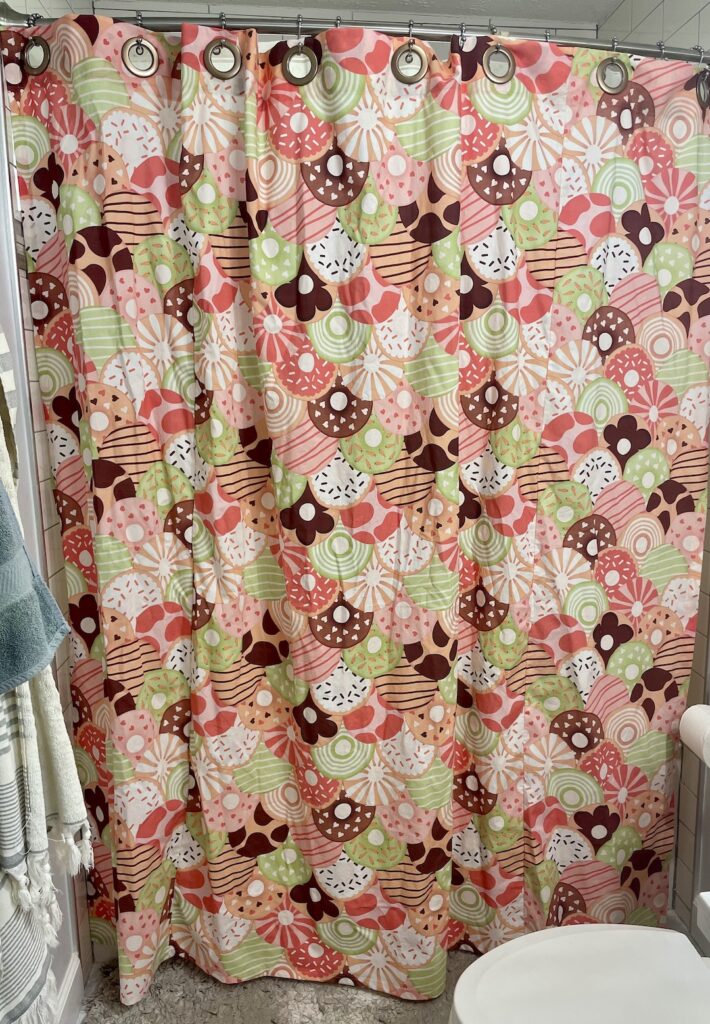
n 2018, The Husband and I remodeled our bathroom; included in this remodel was a new shower curtain, sewn by yours truly. We were going for a white and gray theme (original, I know) with pops of color from a photo of Mexico I took and made into a canvas. The shower curtain I kept more “traditional”: white and gray stripes. I do still love simple curtains, but, I really love material with playful patterns. Enter shower curtain material 2.0! What? Does this look familiar? It should. It is the same pattern as my Donut Birthday blanket, with different fun colors. I told you I loved this fabric in that blog. LOL. Project selected: check. Awesome, fun fabric: check. Now, on to the nitty-gritty, or as I like to call it, THE FUN PART!! I know I had you delicately dip your pinky toes into how to size and order the amount of fabric in my first sewing blog, but today, we will be discussing this in depth. That’s right buttercup, buckle-up! First things first, let’s discuss how to measure in order to determine how much fabric you need to buy for your project.
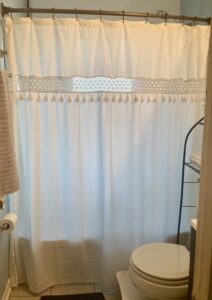
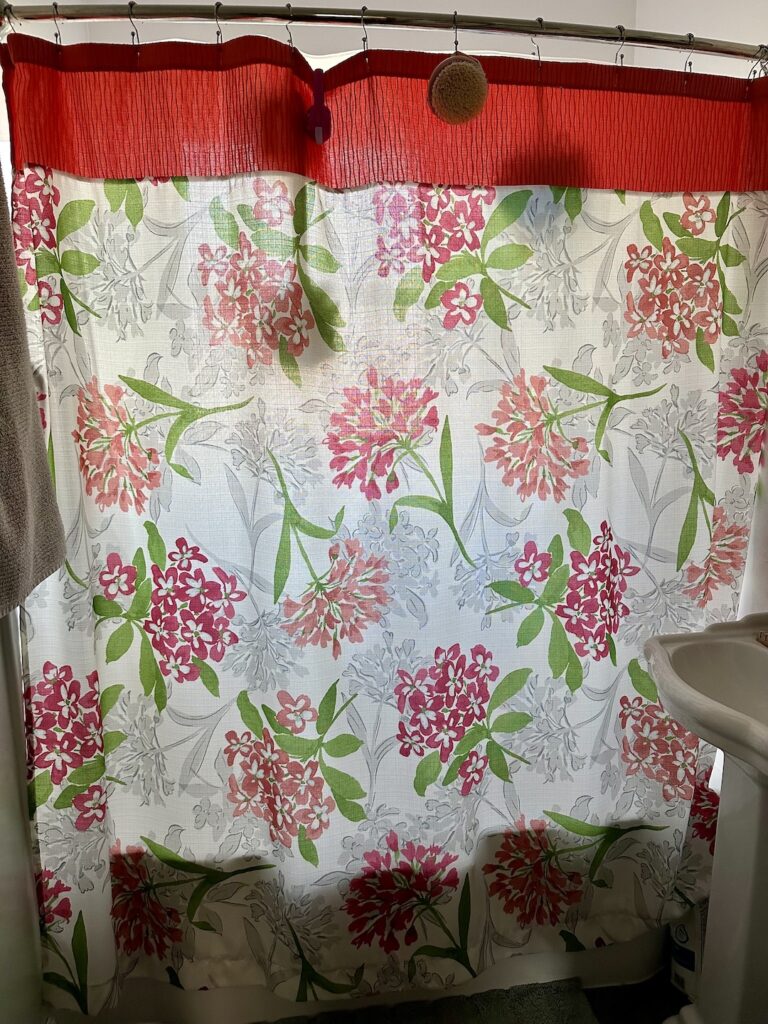
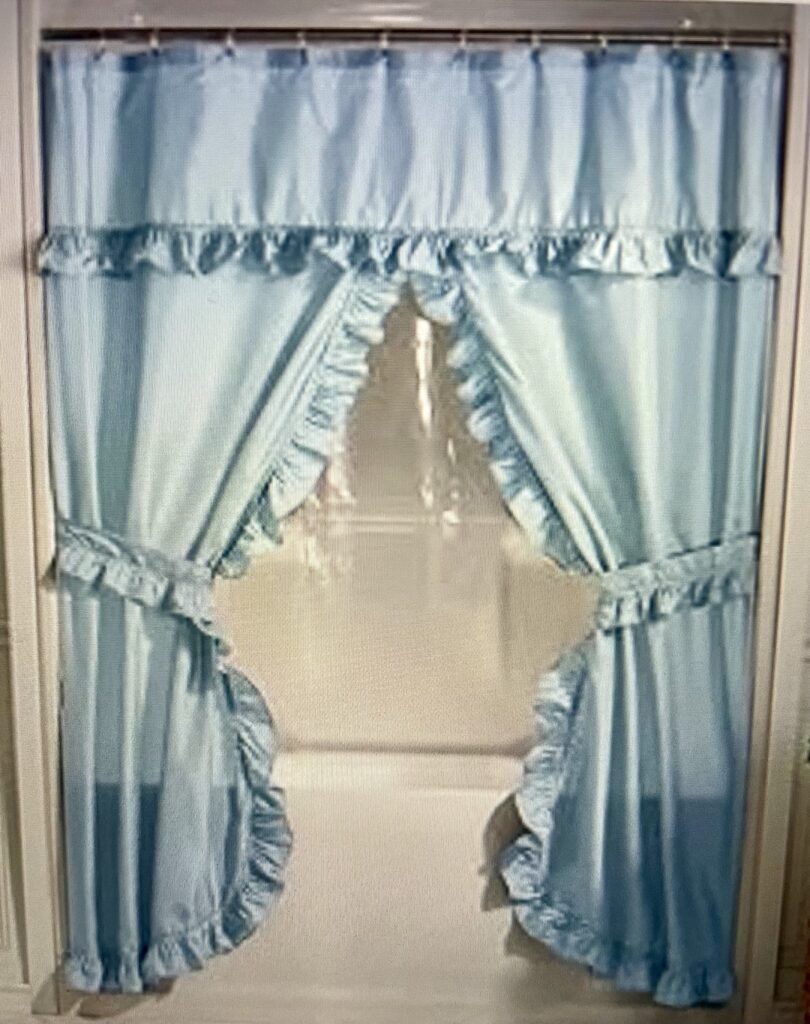
Type of Shower Curtain: There are a couple different styles of shower curtains that you can sew. There are the shower curtains we grew up with (I grew up with) with the double swag (that’s right, swag – AKA curtain panels) with a matching valance. Please, make it as ruffly as you like. There is then the modern version of this, where you can sew two curtain panels as you would for a window, but for the tub. Then we have the most common shower curtain, where you have one large piece of material that covers the entire shower area – this is the type of shower curtain we will be sewing today.
How To Measure
***First things first: research. That’s right. Research. Come back!! It’s fun research!! Glance through different online stores to see what normal shower curtain measurements are. From my research, most shower curtains are either 72×72 or 72×74 inches. Keeps these measurements in mind as we go through Step 1.
Step 1: Okay. Get your tape measure out. We need to measure your existing bathtub. First, measure the width, from wall to wall, then add 12 inches for seam allowance (I’ll explain “seam allowance” in a minute). Then, measure from the top of the curtain rod to the floor and add 10 inches for seam allowance. NOTE: It is always fine to have your finished curtain too wide (that just means more pretty pleats and volume). Just make sure that your finished curtain does not pool onto the bathroom floor as this promotes the fabric becoming wet from the shower and getting moldy. No one wants a moldy shower curtain, especially one you worked hard on. But, I’ll remind you again as you complete this project.
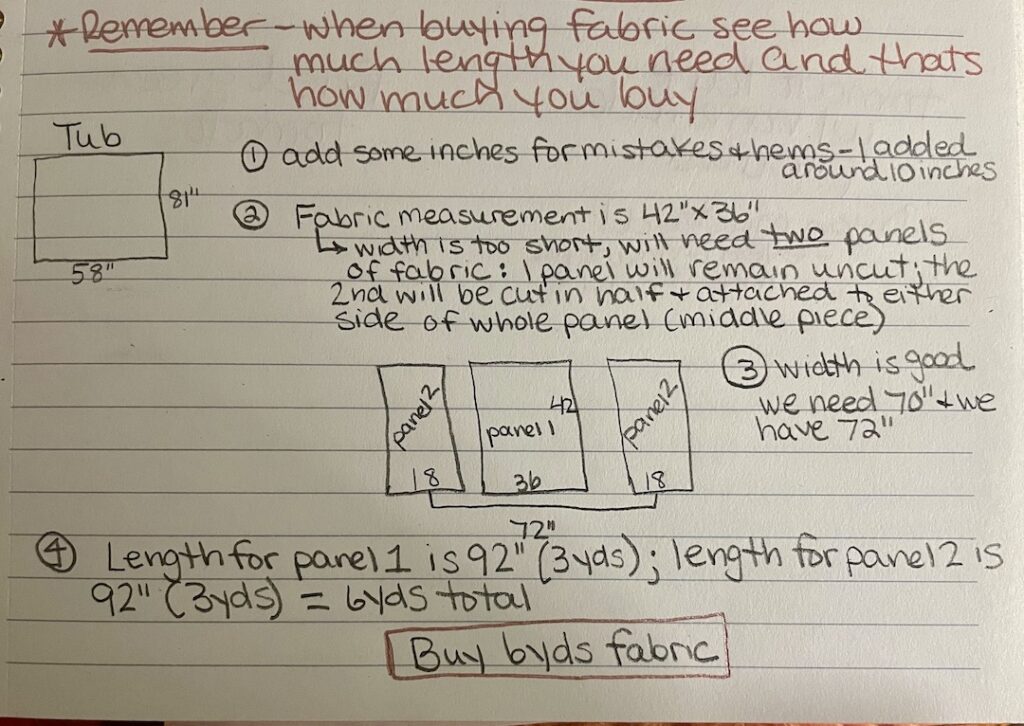
My bathtub measured 81 inches by 58 inches. For the Height: I added 10 inches for the seam allowances, which places me at 2.5 yards. For the Width: I added 7 inches to equal 2 yards. My new measurements for the material is 91 inches by 65 inches.
Seam Allowance: Seam allowance is giving yourself extra material for the seams. When sewing almost anything (pants, curtains, pillow cases) you do not want to leave the raw edges or they will begin to unravel (come apart) with time, use, and washing. By creating side, top, and the bottom seams, you are encasing the raw edge, and, in a way, protecting it. So, always add 10-12 inches when measuring for a project.
Step 2: Okay. We now have our measurements: 91x 65 inches. This is for one panel. We need two panels because we will be cutting one out of the two panels in half to make the width; that equals 182 inches. Here is where things get interesting. Look at the measurements of the fabric you will be using for your shower curtains. The size of the fabric I am using is 42×36 inches. That is 42 inches long by 36 inches wide. If you remember, the width I will need is 65 inches. Don’t panic – all will be well. Let’s focus on the length because this is what we need to figure out in order to determine how many yards we will order. The fabric’s length is 42 inches. I need 182 inches which is around 5 yards. However, remember that we want some wiggle room for matching up patterns and mistakes, therefore, I will get 6 yards, just to be on the safe side. ****** When ordering fabric, you are looking at how many yards in the length you need, typically the width works itself out.******
Recap: How many yards do I need to order? 6 yards.
Below I am going to post a diagram or blueprint illustrating how I figured this out, with drawing and step by step instructions, I hope this further helps.
Aaaaand I have a confession to make: while writing and doing this, I didn’t order enough fabric. I only ordered 3 yards. Which, is enough for the middle panel. Sigh. So, I needed to order another 3 yards. See? We all make mistakes, the important part is to recognize and fix it! Then move on to make your curtains. I should have doubled that for the second panel.
Order your fabric. Did you do it? ‘Kay, now we wait…….
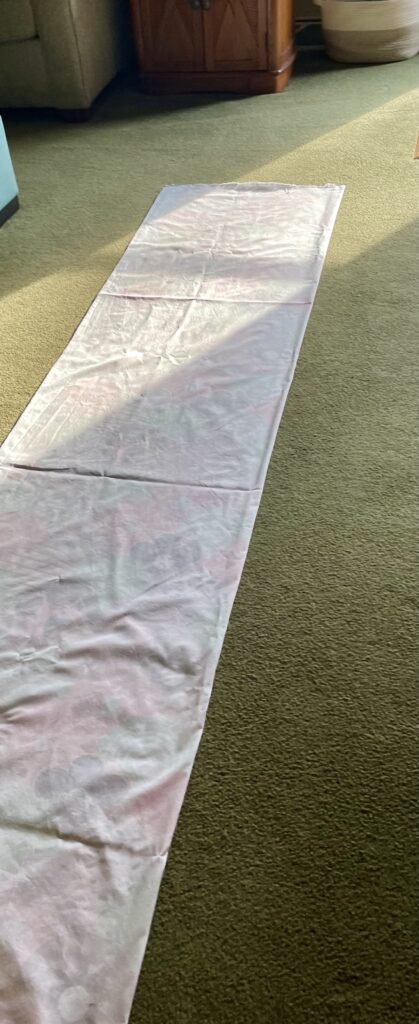
A Soft and Cozy Caveat: You will get your package in the mail, or bring the material back from the store and that thrill and giddiness will quickly turn to disbelief as you stare at all of that fabric. How could you buy all of that fabric?? I know I did when I received my package of white and gray fabric. I had laid out the fabric on my living room floor, stared at it, got back up, folded it back up, and placed it in my room until I mustered the courage to sew the damn thing. LOL. This might, or might not, happen to you. If it does, don’t give up. You can do this!! Just take this one step at a time.
Making The Thing
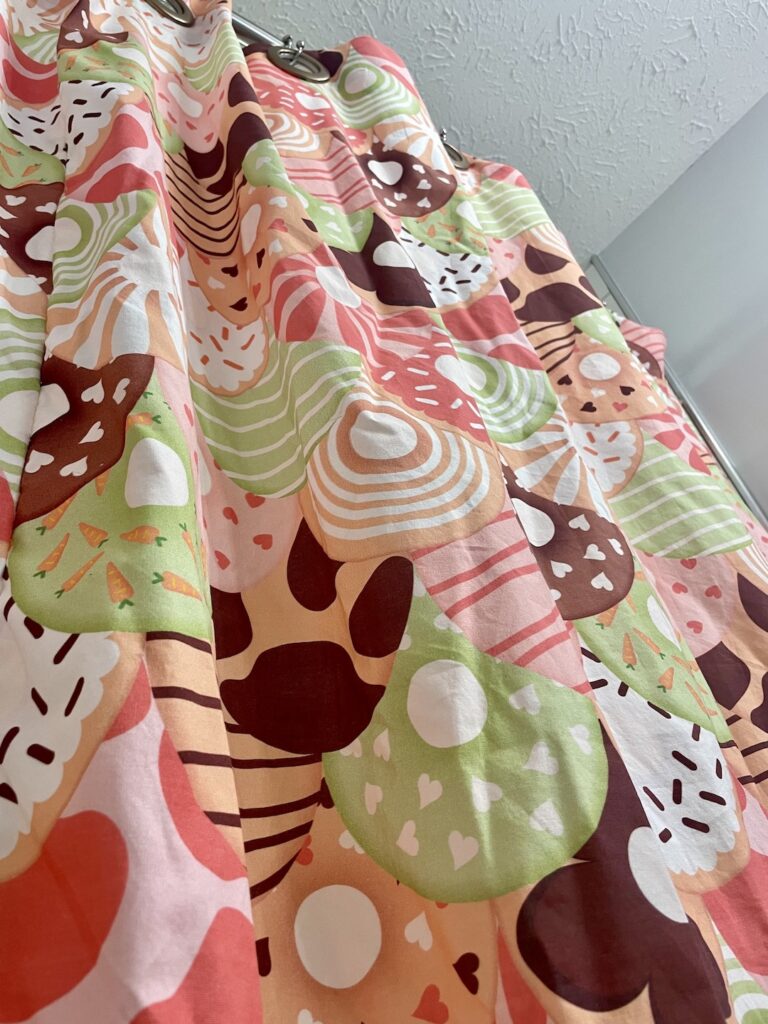
Alright! Let’s try this again! Finally, finally, finally, after the amount of time that you spent anxiously waiting is rewarded with the delivery of your package!! YOUR PACKAGE!! You rip open the packaging and pull out the fabric, THE fabric! You twirl it around you as sprinkles and glitter rain down on you in joy at this new and awesome fabric!
Okay, that was a tad bit intense, sorry. But still, I am in love with this fabric and cannot wait to work with it and see it in my bathroom! Without further adieu, let’s get started!!
First things, first: wash and iron your fabric. Once this is done, we are ready to go. I must make a quick note, that I do leave the white selvedge on this, you will see why as we go through each step.
I. Cut and Attach Material
Step One:
Chances are, your fabric is not wide enough to span your tub. Therefore, you will need to employ the sandwich method. I literally just made that up. BUT! It makes sense. I have two runs of my fabric. Leave one untouched; that will be Panel 1. Take the second one and, as shown in the pictures, fold it in half length wise and then cut it in half. That’s right. No, no, don’t panic. Look at what I did, cut it in half. Those sections will be named Panel A and Panel B. Doesn’t matter which is which. Now we have three panels.
Step Two:
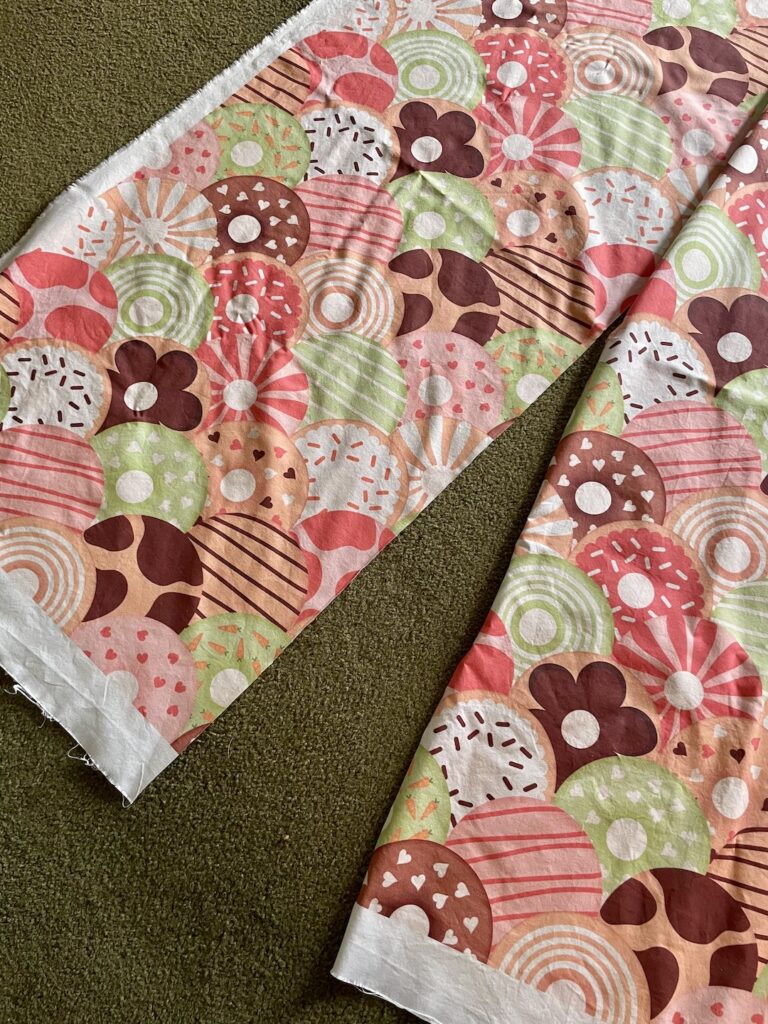
Take Panel 1 and Panel A and lay them side by side. This is to see how the patterns can match or line up. Sometimes you cannot line them up and that is fine! I noticed that there were chocolate lined donuts on the edges of both panels and decided to line those donuts up. AGAIN, you don’t have to do this, especially if your matched is as chaotic as this one is. The more chaotic, the more you can get away with not caring about things lining up.
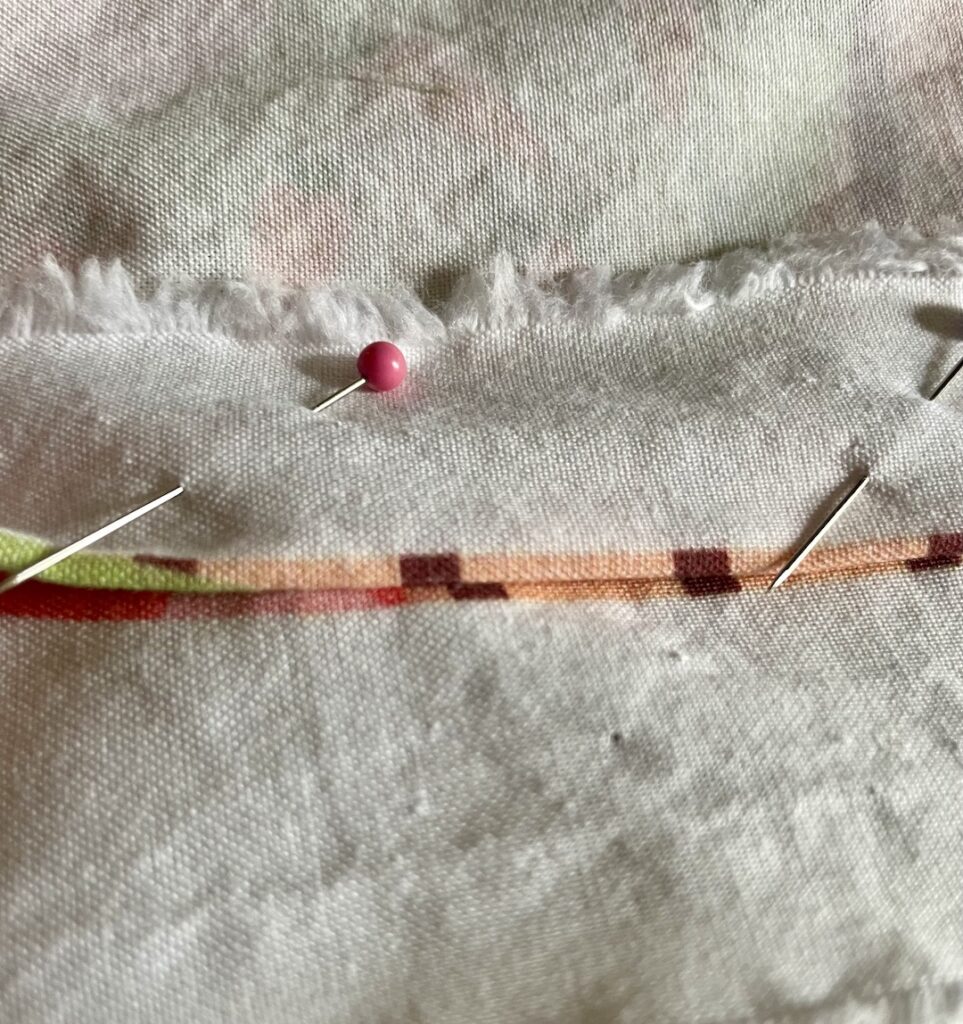
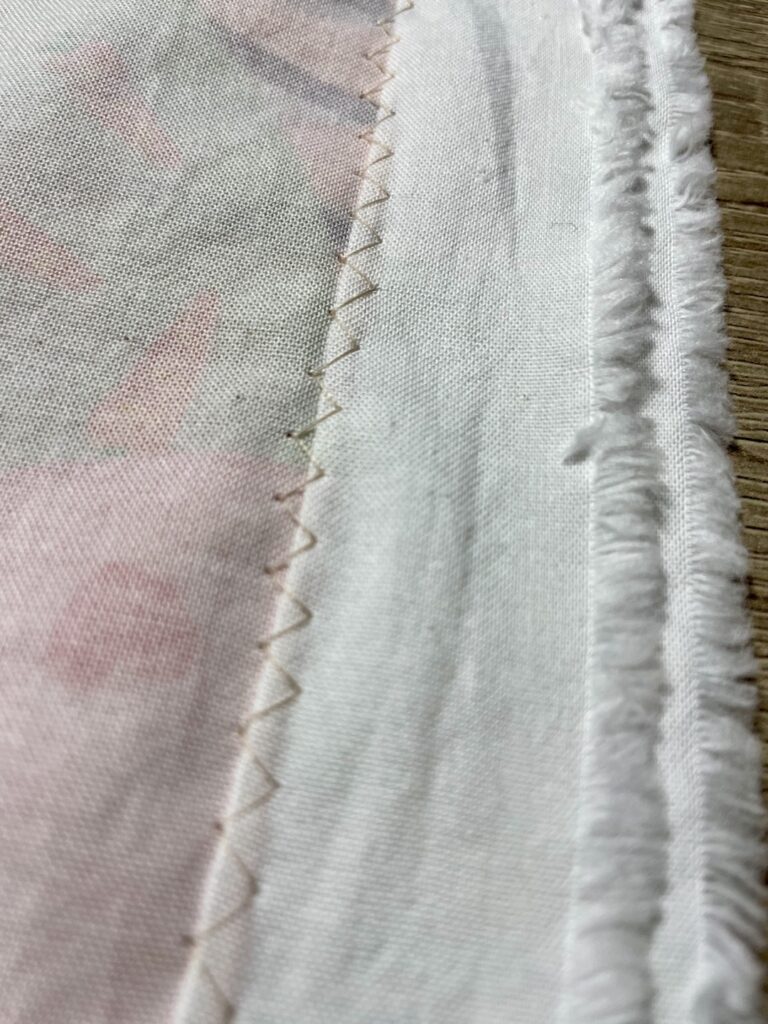
Once you have decided how you want to position Panel A to Panel 1, let’s move on to alining the two panels together and sewing! As mentioned above, I did leave the white selvedge around all of the material. This is to allow me some leniency so that I am not sewing a lot on the actual pattern. I folded back selvedge of Panel A so that I can more easily see how I am lining the two patterns together. Once you have the pattern where you want it, pin it. Pin it all. Take your time. I turned on some jamming music and just let the fabric and music take into a mellow land of pins and donuts. LOL.
Once you have Panel A pinned to Panel 1, take it all over to your sewing machine.
Step Three:
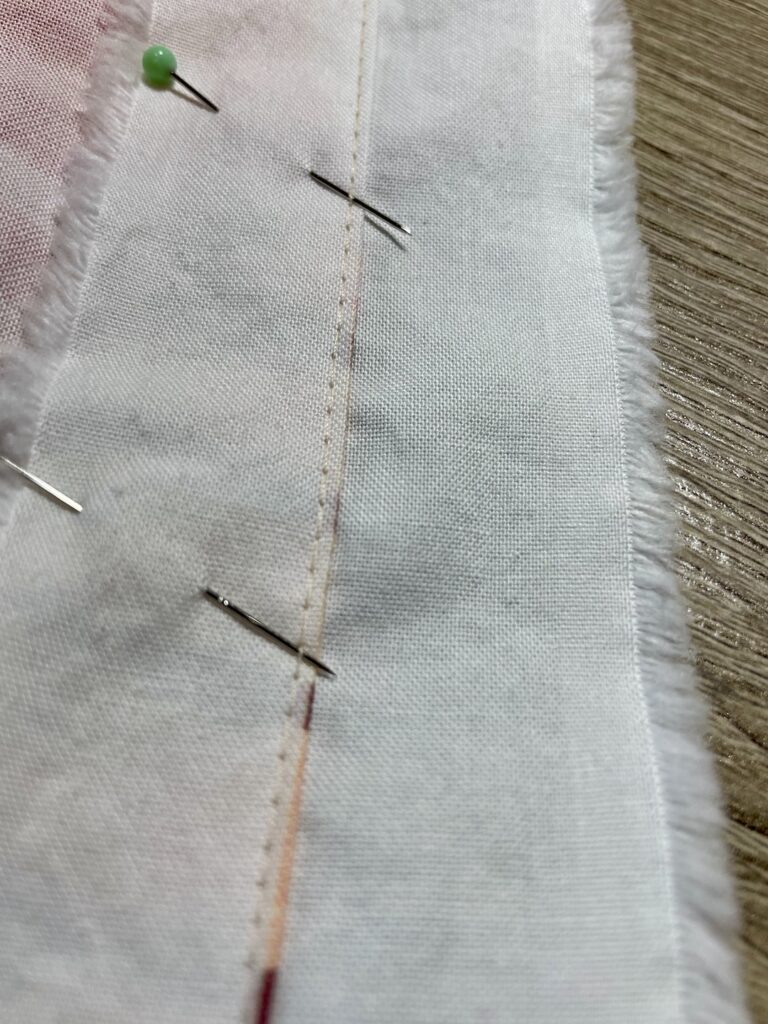
I know that this shower curtain will not be used like a blanket, but I like to make sure the areas that I sew are secure. Therefore, I first stitch a line straight down and along the edge where Panel A and Panel 1 come together, as close to the edge as you can. Please see picture for reference, if you noticed I used a straight stitch here. Now. You can stop here and honestly, it will be fine. I chose to go over my straight stitch with a zig-zag stitch. This simply ensures that your seam is strong and secure. Cut off the extra material.
TADA!!! You have successfully sewn on the first of the two panels!! Now! Go to Panel B and do it all over again!!!
NOTE: At this point, I am not focusing on the length. I am focusing on matching the patterns between the Panel 1 and Panels A and B. After I have all three panels attached, we will focus on hemming and installing the grommets.
II. Hemming and Attaching the Grommets
You did it!! We have both panels attached to the center panel! Now, find a very large room in your house, and lay out your newly sewn shower curtain on the ground. You might have uneven edges on the top and bottom of the curtain. Go ahead and cut those off so that your fabric is even. First, we will walk through getting the top of the curtain ready, and hemming the sides of the curtain. Then we are going to talk about the grommets and adding those to your curtain. Lastly, we will talk about hemming the bottom.
Whole Lotta Hemming Goin’ Around
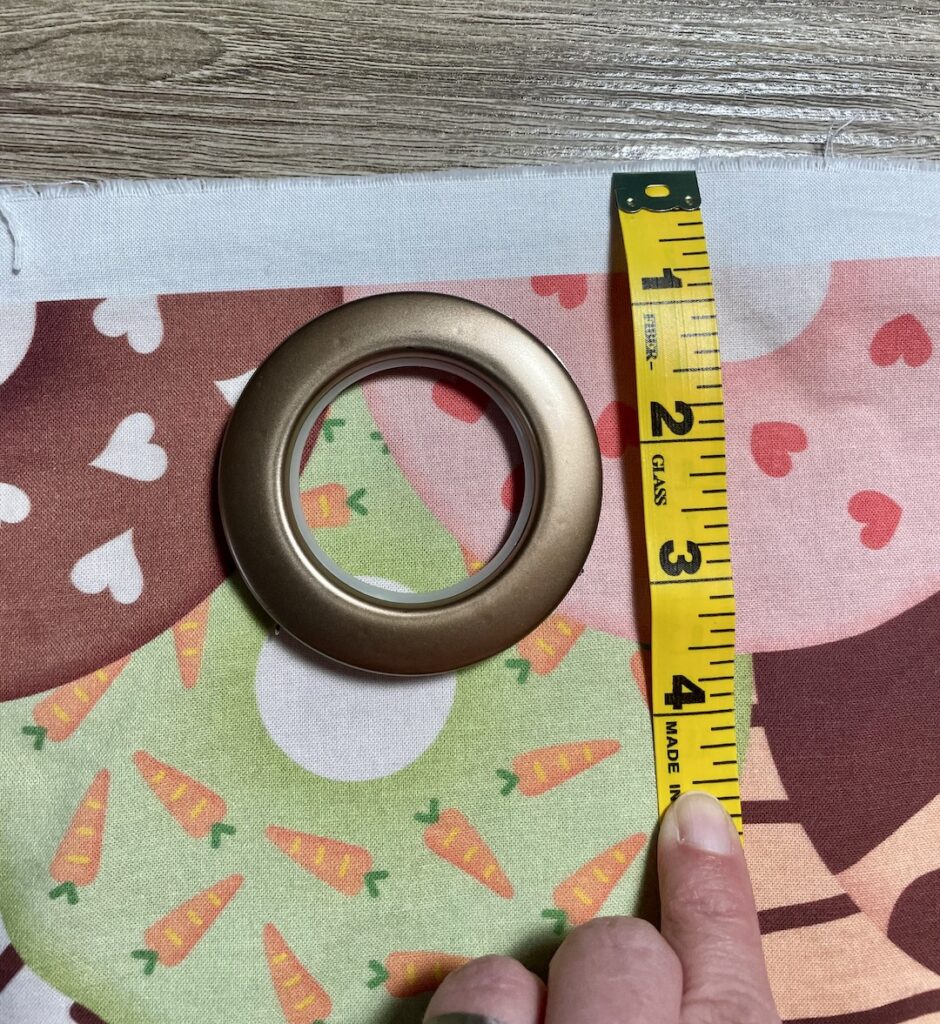
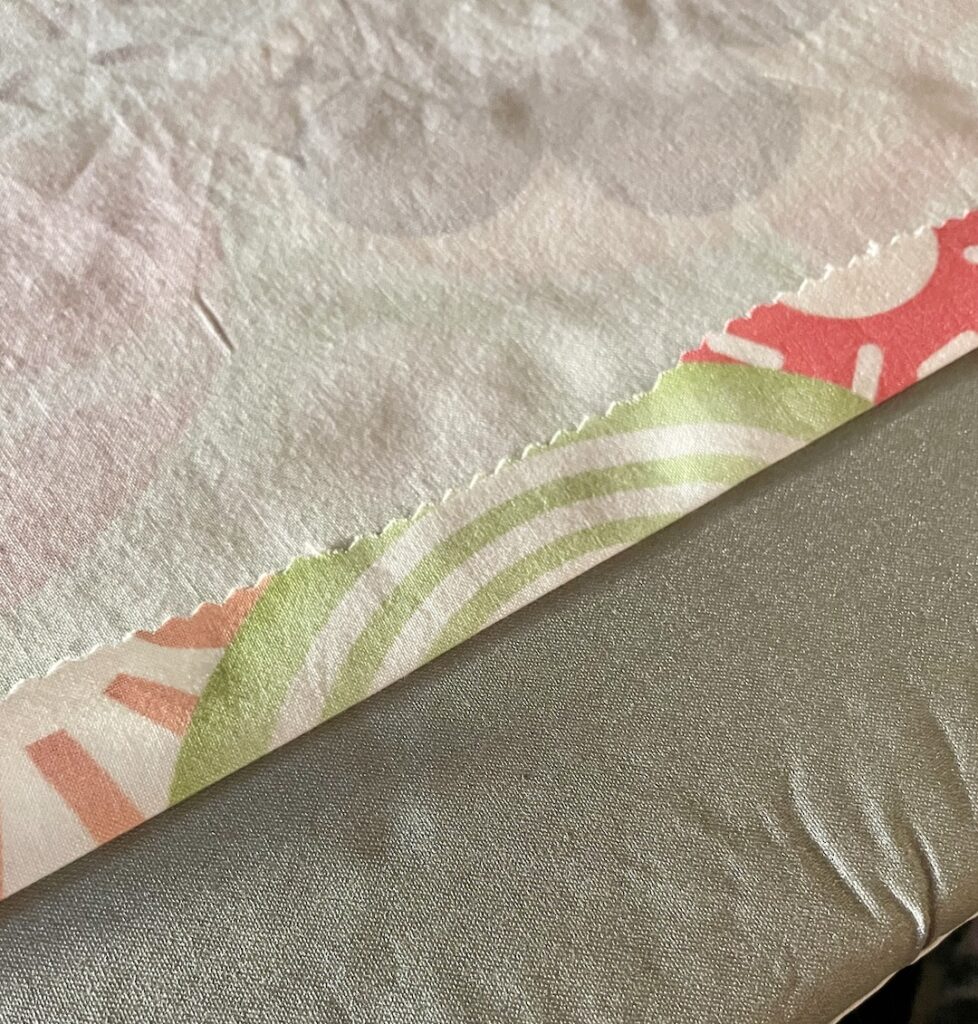
I know, I am clever, aren’t I? HAHAHAHA. Okay. No, for real! The first thing we want to do in order to prepare the curtain for the grommets is squaring up the top of the curtain. In the following picture I am first showing you that I am “squaring up” the fabric at the top so that I have a straight line to work with when I hem the top in preparation for the grommets. The grommet is about 2 inches, therefore, I want a top hem to be 4 inches.
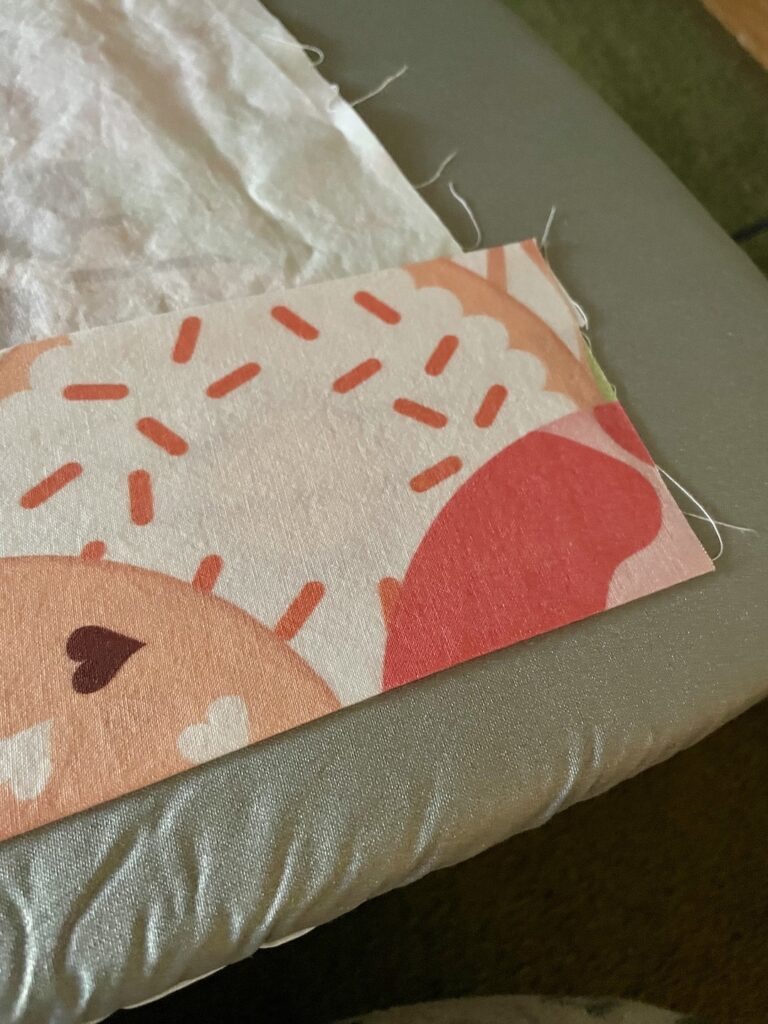
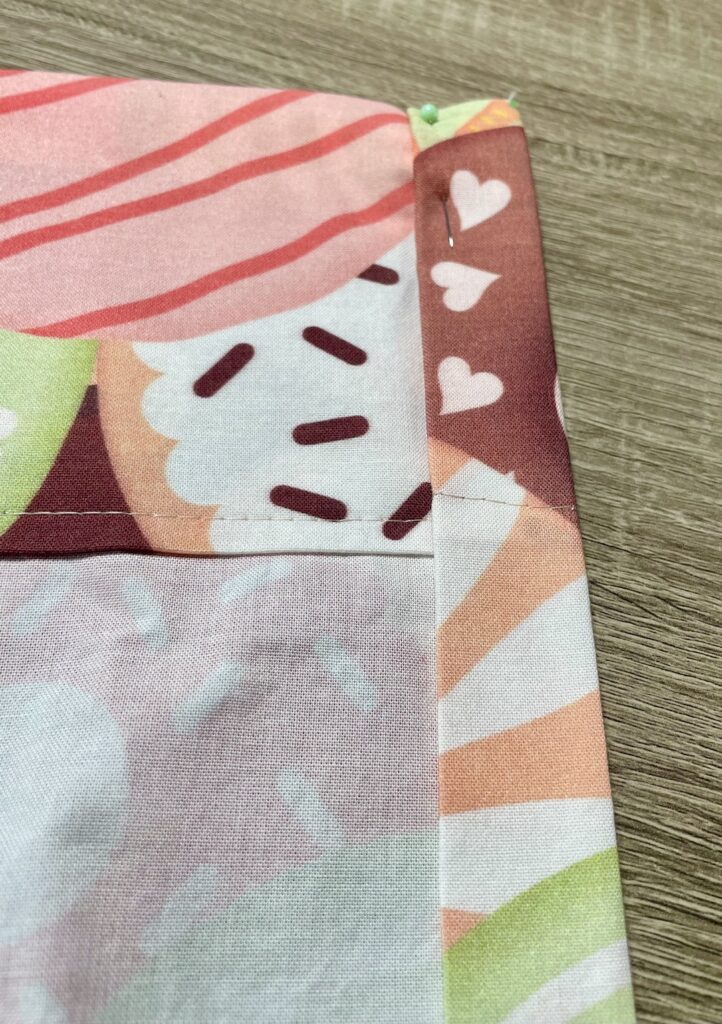
Using your ruler, measure 4 inches, fold this over, and iron this all the way across the top of the curtain. Next, fold the material again (this will give you thicker material for the grommet to hold onto), iron all the way across – sew this into place – I used a simple straight stitch. Next, do the same thing to the sides of the curtain – however, instead of 4 inches, I did 1/2-1 inch. Sew. LEAVE THE BOTTOM! Always leave the bottom hem for last – just in case anything happens. Like what? I don’t know, but just leave your bottom hem for last.
Donuts, Grommets!
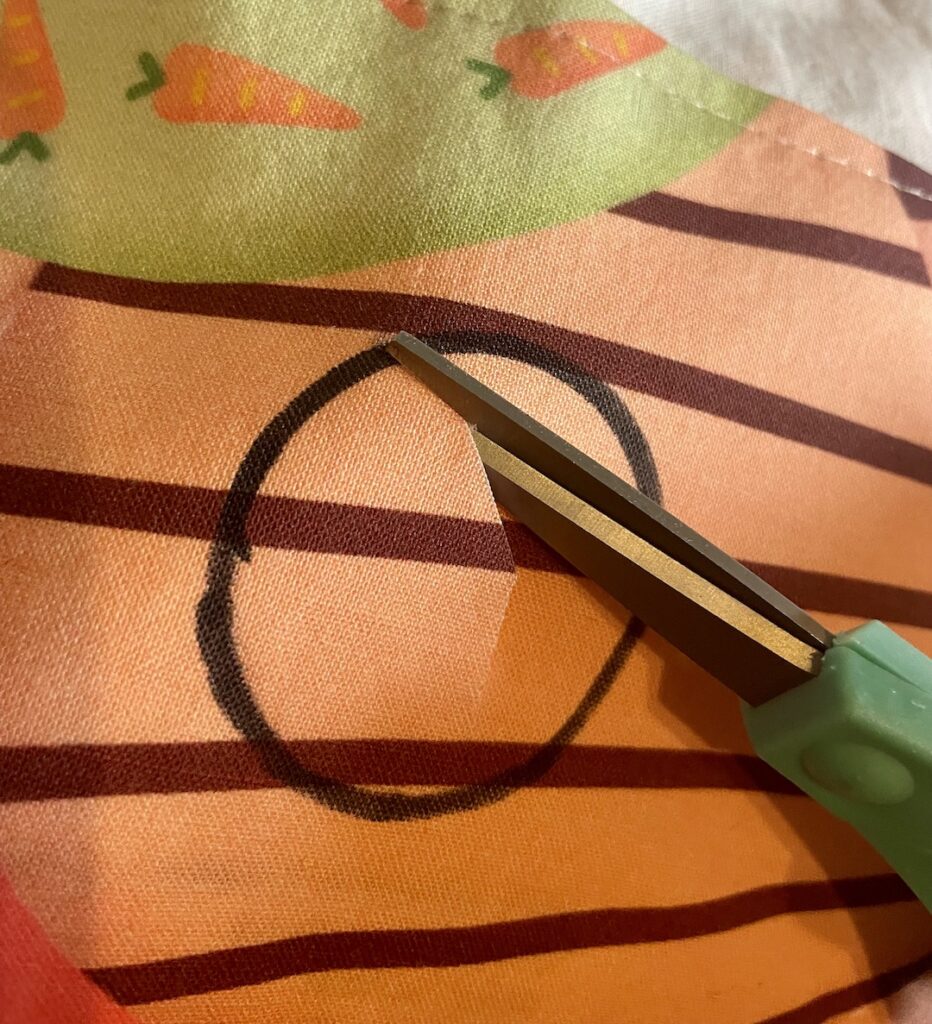
What is a grommet, you ask? Now I have mess around with hardware? I thought we were sewing?? Well… we are making a shower curtain, so we have to be able to hang said shower curtain. Please do not panic! This is very easy; all that is needed is the template the grommet makers made for you and scissors. That’s it! There is no special gadgets or thing-a-ma-bobs needed. When I first made a set of curtains for a window, I chose these wide grommets because I liked the look and they were easy to install. I did go to a sewing and craft store to choose what I wanted, so that I could touch them, look at them, and see if this is truly what I wanted. Now, I simply order them online because I know what I am looking for. You can do whatever you are comfortable with! Don’t forget to choose a cool color to match your epic fabric.
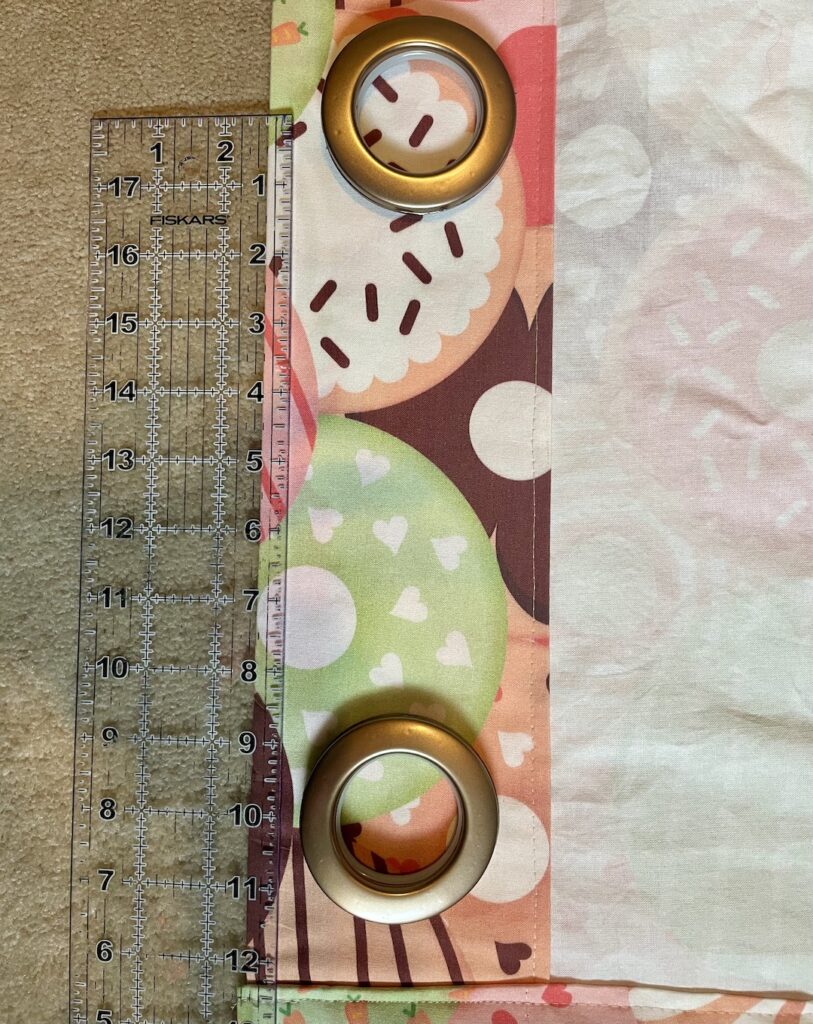
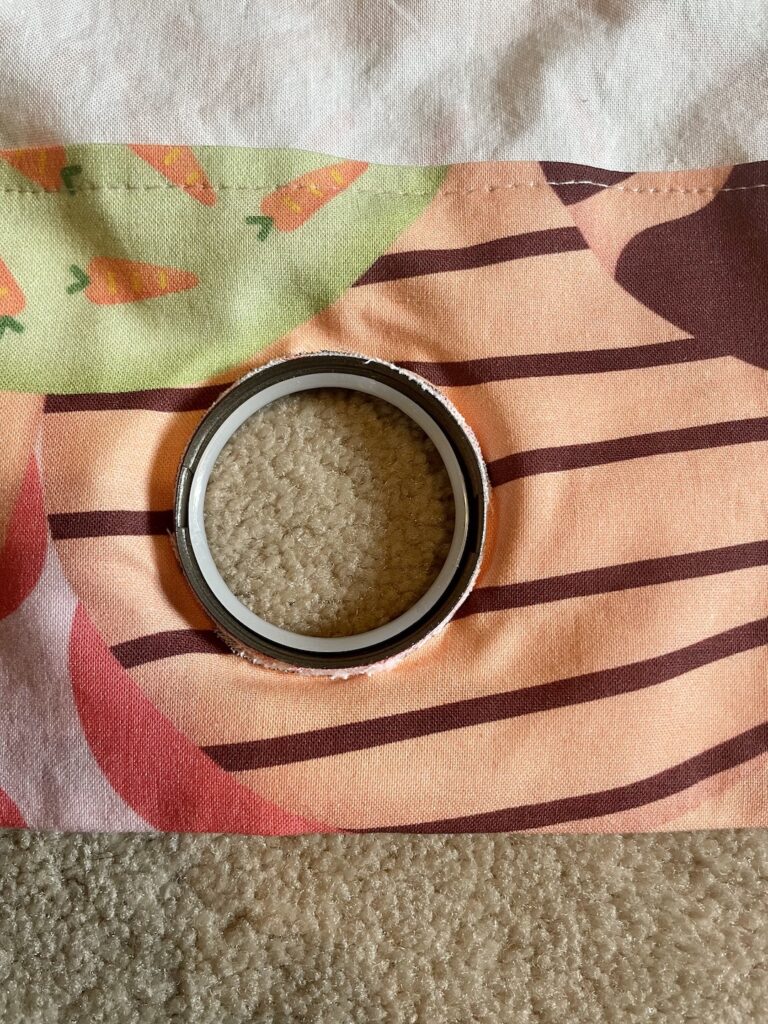
Measure the width of your shower curtain and divide that by the number of grommets you will need. How do you know how many grommets you will need? How many grommets does your shower linter have? Use the same amount. If your liner has 12, put 12 grommets on your curtain liner. From the middle of one grommet to another, I have 10 inches. Keep measuring however you have them spaced apart and eyeball the center. Use your template, cut our the circle (shown on pictures below), stretch the fabric around the bottom of the grommet, then click the top of the grommet together with the bottom. BAM! DONE! Well, with the grommets. We still need to hem the bottom of the curtain.
Almost There
Hang up your shower curtain, I know, getting nervous and excited – I get it. See where the fabric pools at the bottom? Fold up and pin where you want your hem to lay. Take your curtain down and lay out. Square up the material and then cut off excess material so that you have a pretty straight line. Now, just as you hemmed the sides of the curtain, we will do the same thing for the bottom hem – I like a hem of about 1 inch hem – use your iron – its easier and leads to straighter lines then simply pinning. S ew this and we are now done!! Hang it back up and admire your handy work!!!

DONE!!
Look! We did it!! No need to paint or put in new tiles or backsplashes for a new and refreshed bathroom! All one needs to do it simply make their own fun and whimsical shower curtain! I really hope that you enjoyed this blog and that this was fun yet easy to follow so that you can, in fact, sew your own too! Pick out a fun fabric and HAVE FUN! Take your time and enjoy yourself!! Again and as always, thank you for reading and I hope this was as much fun to read as it was to write for you!!

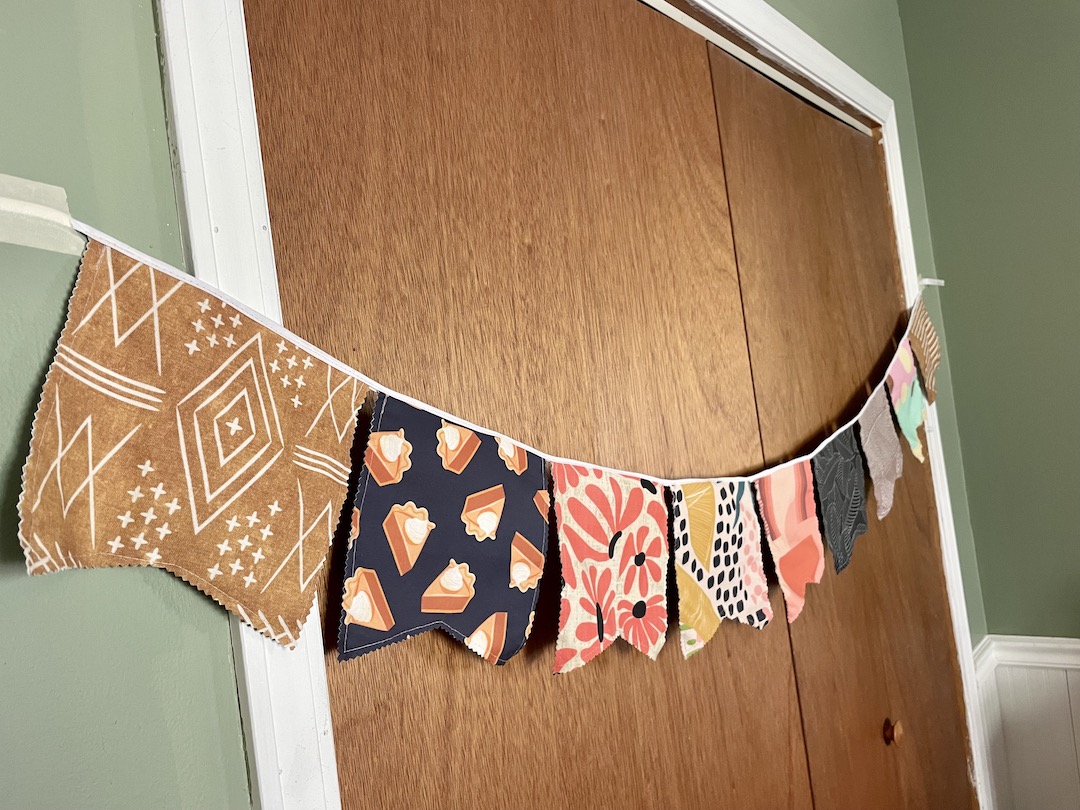
Another cute idea for sure!
Love it!!
Thank you!
Very good! I think I could make this! Your directions were easy to follow. But since you know me, never happen in my lifetime!! Congrats another great project 👍🏻❤️
HAHA, thank you! I think you could do it too!!!
Cute curtains!! I love that pattern!
Thank you!!
YEs!! Donuts!! Makes me so happy! LOL
Adorable!! You are amazing!!
Thank you so much and thank you for reading!