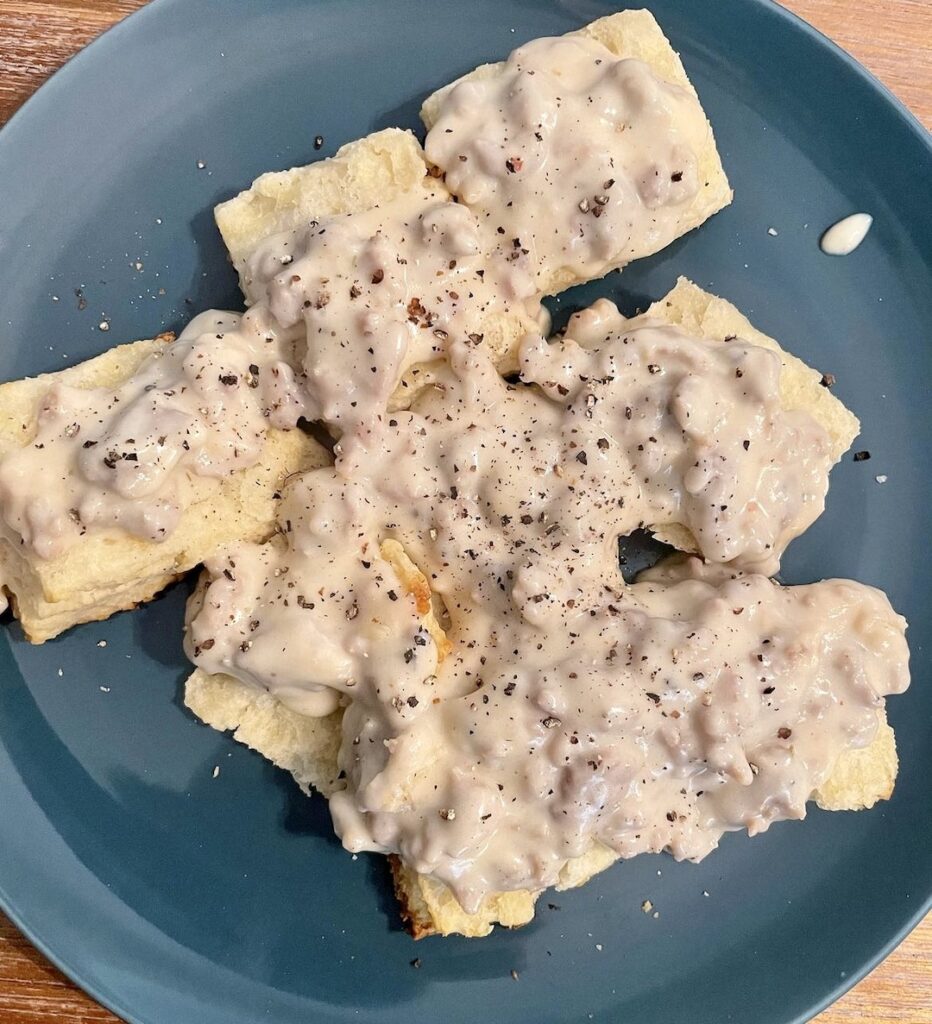
A hoy-hoy and welcome back!! Let’s dive back into baking, shall we? So far, we have covered cakes, cupcakes, frosting, and pie! Now, let’s open the book on scones! I’ll wait for your excitement. Still waiting. Really? Scones are amazing! They are light, flaky, yet hardy and buttery and come in a multitude of flavors which include both sweet and savory! See? Still not convinced? Fine. What if I told you scones are pretty much like biscuits? Right! Now we are talking biscuits and gravy, biscuits with dinner and breakfast, biscuit sandwiches, AND cobbler!!! The possibilities are endless! Endless!! If you can make scones, you can make biscuits!
History Time! How did I start making theses? I don’t remember! I did not grow up eating them. I think I had one in Ireland, that’s about it. LOL. I know I was looking through the Pinterest one fine day when I came across a blackberry, almond scone. I love blackberries. I love almonds. I read over the instructions and thought, how hard can it be? Now. I’m about to tell you something and professional bakers will probably disagree. Don’t care. LOL. I’m gonna say it. A major part of the instructions included – DO NOT OVER MIX/KNEAD/WORK the dough. They made it sound like the dough was a delicate flower or a piece of thin glass that could break or fall apart at at any moment and ruin your life forever! And ever…..
So, I worked the dough like it was explosives and cursed and huffed and puffed while trying to gently, oh so gently form the dough into a circle, cut, and move the dough to the pan for baking without them exploding. AKA – fall the BLEEP apart. Now. Were they tender? Yes. Was everyone left in shock and awe? Also yes. However, they were a pain in the butt to make! Then, one fateful day, I was tired or angry or something and mixed the dough a little too much and instead of being crumbly, it was a cohesive dough that was easy to cut and transport from table to pan. At this point, I stopped and thought, “crap, these are going to be tough! Double crap!”. But I had already put them together, so, I baked them with low expectations. They were amazing! Just like my previous scones: light, flaky, tender, buttery, I could go on and on! Now, as I go through both recipes (that’s right, friends, bonus recipe!!), I will review this portion of the directions to remind you that vigorous folding is okay. Okay! Enough of the chitchat! Let’s get baking!
NOTE: This first one, I will have step-by-step pictures, the second one is very similar to the first, but has berries added in.


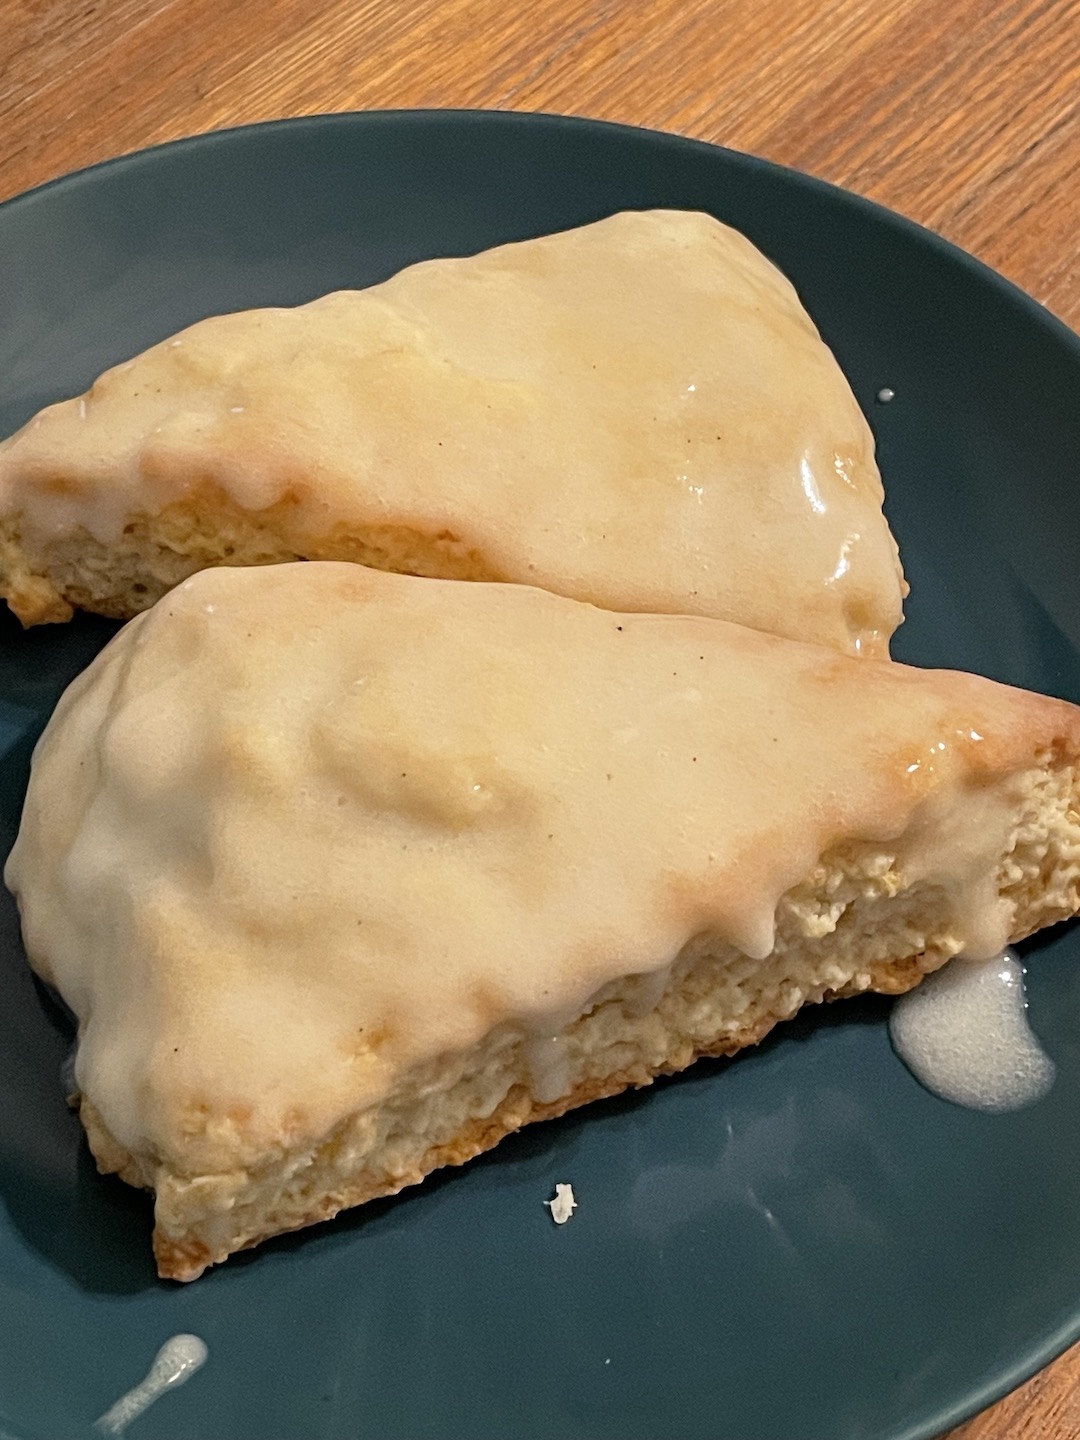
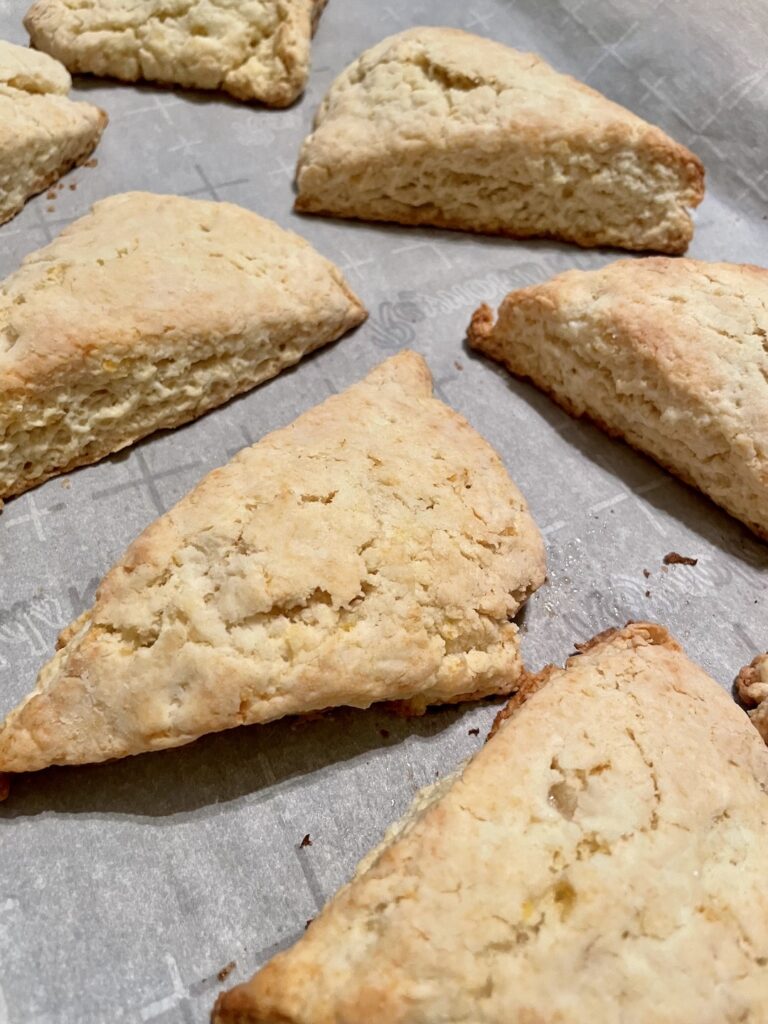
Lemon Creme Scones
1/3 cup of sugar
Lemon zest from a HUGE lemon
2 cups AP flour
1/2 tsp. Salt
1/4 tsp. Baking soda
1tsp. Baking powder
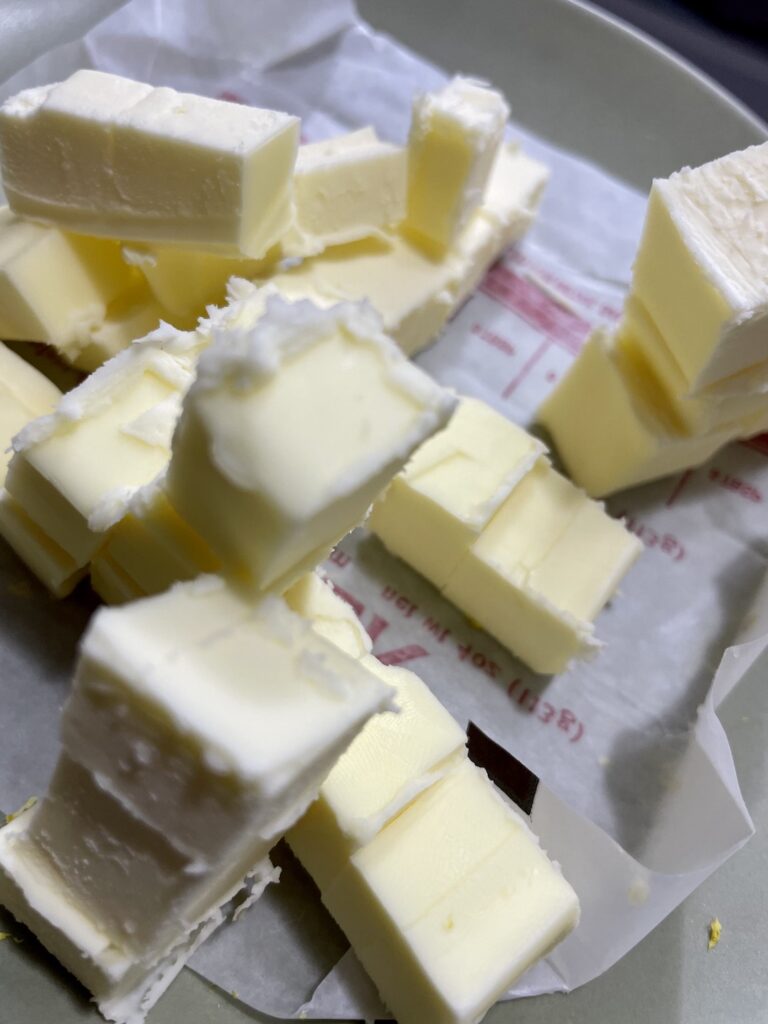
8 TB of cold, cold, cold butter – cut into pieces
1 egg
1/2 cup heavy cream
1 cup powdered sugar
3 TB lemon juice – please use fresh
1/2 tsp. Vanilla extract or paste
Directions
- Preheat oven to 400 degrees
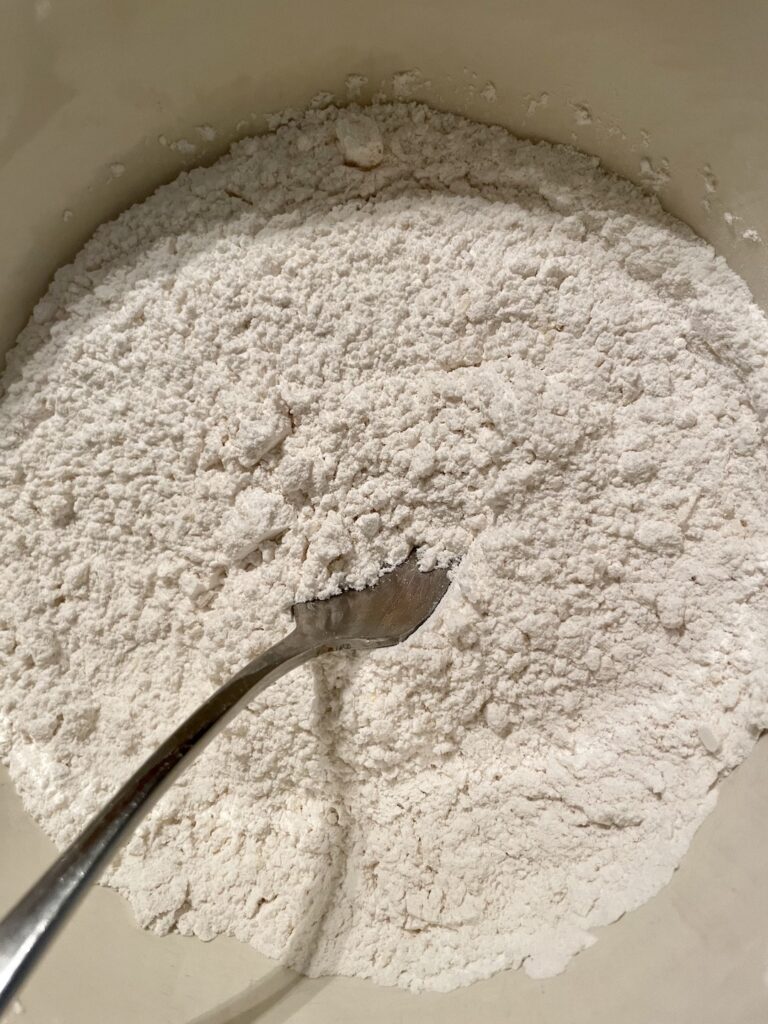
- Combine the flour, baking powder and soda, sugar, lemon zest, and salt in a large bowl. Mix together well. Set aside.
- Take your cold, straight from the fridge butter and cut it into small pieces. I usually cut the butter in half lengthwise, then cut it again lengthwise giving me four long pieces of butter. Then cutting cross, cut into small cubes.
- Take out your heavy cream and egg and mix together and have it ready.
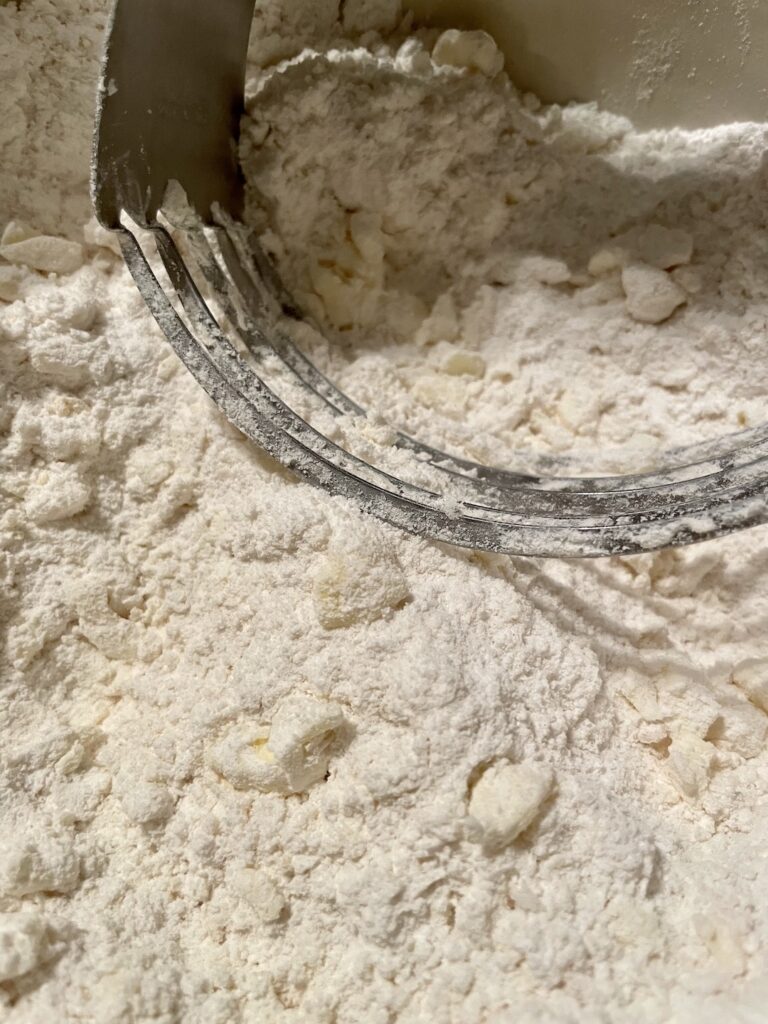
- Place your butter cubes into the flour mixture, coat the butter in the flour. Take your pastry cutter and cut the butter into the flour until the mixture resembles sand. The biggest the butter should be is around small pea sizes.
- Create a little well in the middle of this mixture, pour some of the heavy cream/egg into the well. Take your fingers (or a fork) and mix the heavy cream/egg into the flour/butter mixture. What you are looking for is a loosely held together dough. Make sure you do not pour too much heavy cream/egg into the flour. Add it a little bit at a time to ensure that the dough does come together.
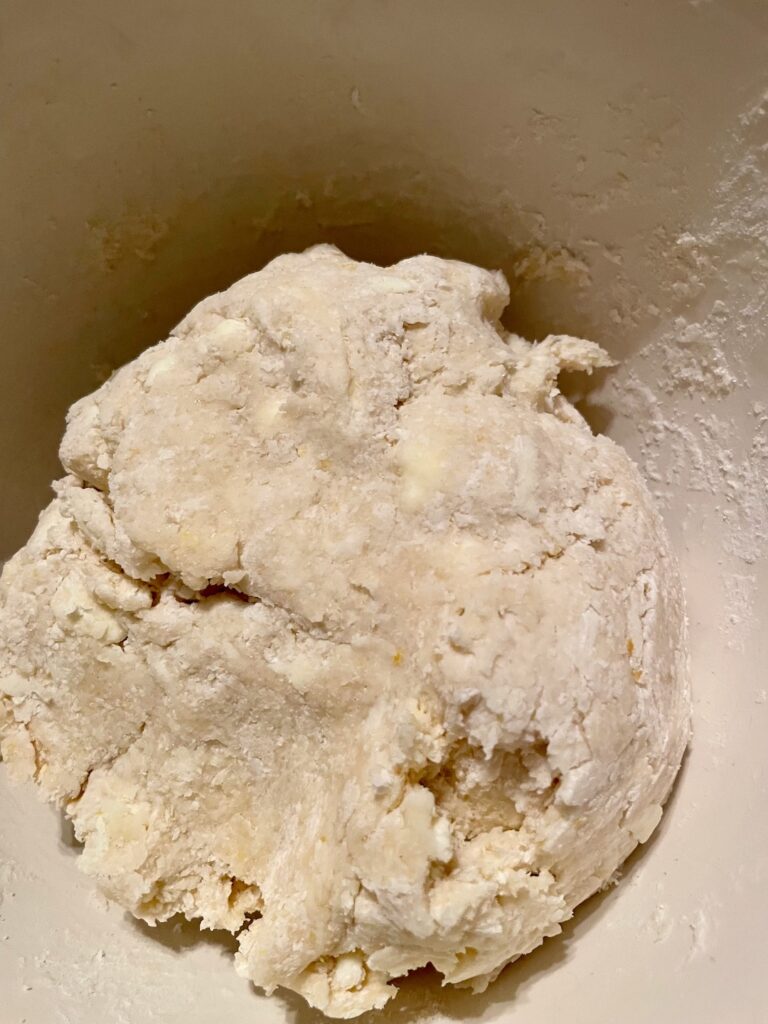
- In the bowl, knead the dough until it comes together with little to no crumbs in the bottom of the bowl. You should be able to hold the ball of dough in your hand without it crumbling apart. The minute the dough comes together, stop. If you need to add more heavy cream to achieve this consistency, do so sparingly.
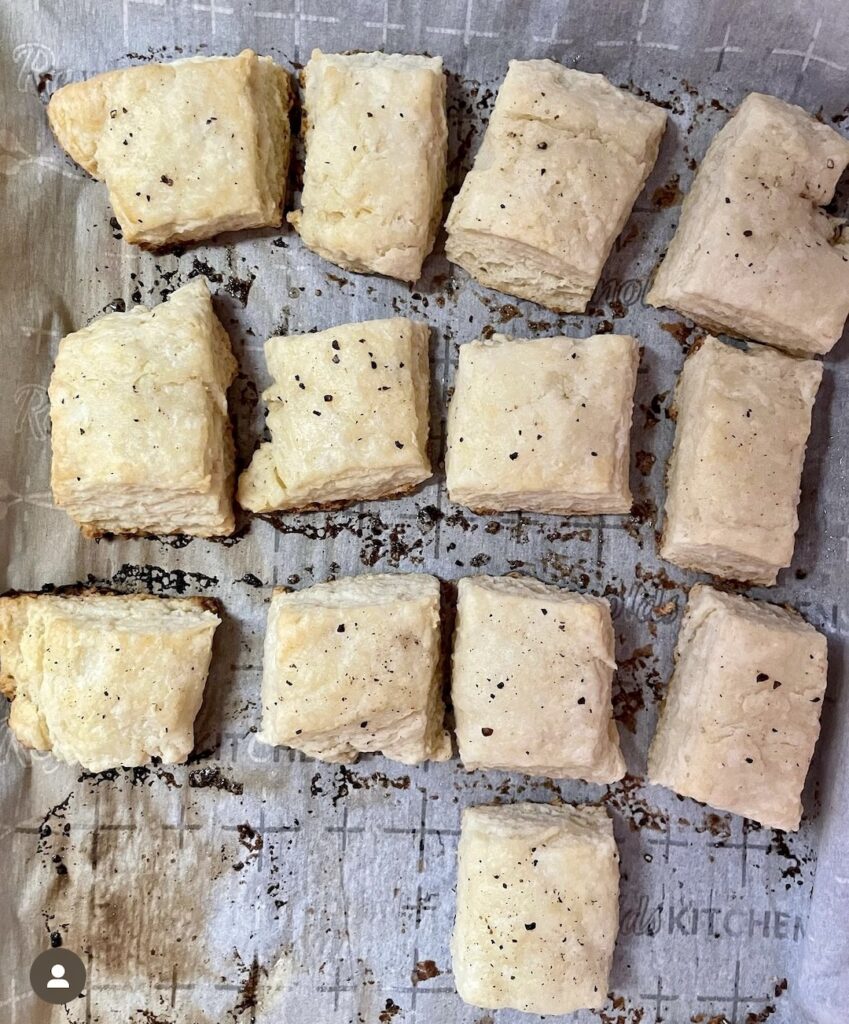
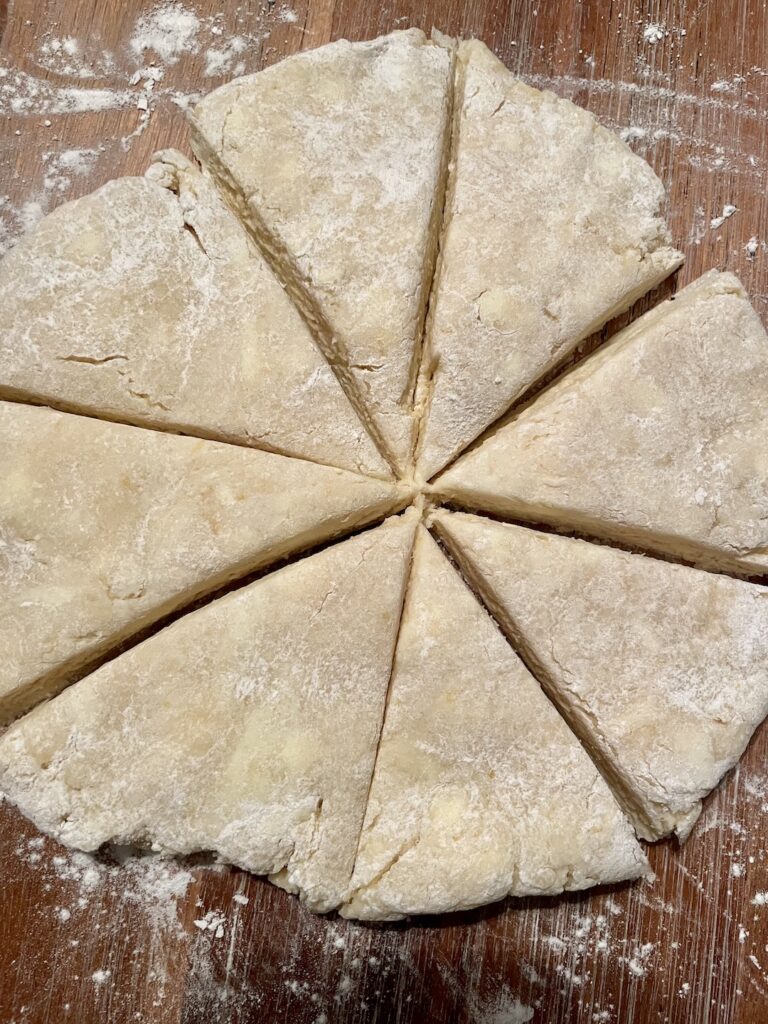
- Turn out onto a lightly floured surface. Pat into a square or circle. The traditional scone is formed into a circle with about half to an inch in depth. Take your bench scrapper and cut the circle into 6 or 8 triangles. Move each triangle from your surface to a parchment paper lined cookie sheet
- Take a little more heave cream and brush the tops of the triangles. This will ensure browning
- Bake for 15-18 minutes
- While the scones are cooling, make the glaze.
- Take your powdered sugar and slowly add the heavy cream, lemon juice and vanilla extract until it comes together. I like a thicker glaze, but make your glaze as you want!
- Wait until the scones are cooled. Take each scones and dunk into the glaze to ensure awesome coverage!
- Enjoy the lemony goodness!
Blackberry and Almond Scones
Ingredients
- 2 cups AP flour
- 1 TB baking powder
- 3 TB sugar
- 1/2 tsp. Salt
- 6 TB cold butter, cut into pieces
- 1 cup heavy cream
- 1/4 tsp. Almond extract
- 1/3 cup of sliced almonds
- 1 cup blackberries
- 1 cup powered sugar
- 4 to 5 TB heavy cream
- 1/2 tsp. Almond extract
- 1/4 cup sliced almonds for garnish
Directions
- Preheat oven to 400 degrees
- Combine the flour, baking powder, sugar, and salt in a large bowl. Mix together well. Set aside.
- Take your cold, straight from the fridge butter and cut it into small pieces. I usually cut the butter in half lengthwise, then cut it again lengthwise giving me four long pieces of butter. Then cutting cross, cut into small cubes.
- Take out our heavy cream and have it ready for your use. I add the almond extract into the milk (so I do not forget it).
- Place your butter cubes into the flour mixture, coat the butter in the flour. Take your pastry cutter and cut the butter into the flour until the mixture resembles sand. The biggest the butter should be is around small pea sizes.
- Create a little well in the middle of this mixture, pour some of the heavy cream into the well. NOTE: You might not need all of the heavy cream. Take your fingers and mix the heavy cream into the flour/butter mixture. What you are looking for is a loosely held together dough. You can now add the blackberries. Make sure you do not pour too much heavy cream into the flour. Add it a little bit at a time to ensure that the dough does come together.
- In the bowl, knead the dough until it comes together with little to no crumbs in the bottom of the bowl. You should be able to hold the ball of dough in your hand without it crumbling apart. The minute the dough comes together, stop.
- Turn out onto a lightly floured surface. Pat into a square or circle. The traditional scone is formed into a circle with about half to an inch in depth. Take your bench scrapper and cut the circle into 6 or 8 triangles. Move each triangle from your surface to a parchment paper lined cookie sheet
- Take your leftover heave cream (or more heavy cream) and brush the tops of the triangles. This will ensure browning
- Bake for 15-18 minutes
- While the scones are cooling, make the glaze.
- Take your powdered sugar and slowly add the heavy cream and almond extract until it comes together. I like a thicker glaze, but make your glaze as you want!
- Take a fork and drizzle the glaze over the scones, then take the sliced almonds and sprinkle them over. The glaze will help with making the almonds stick to the scones.
- Enjoy
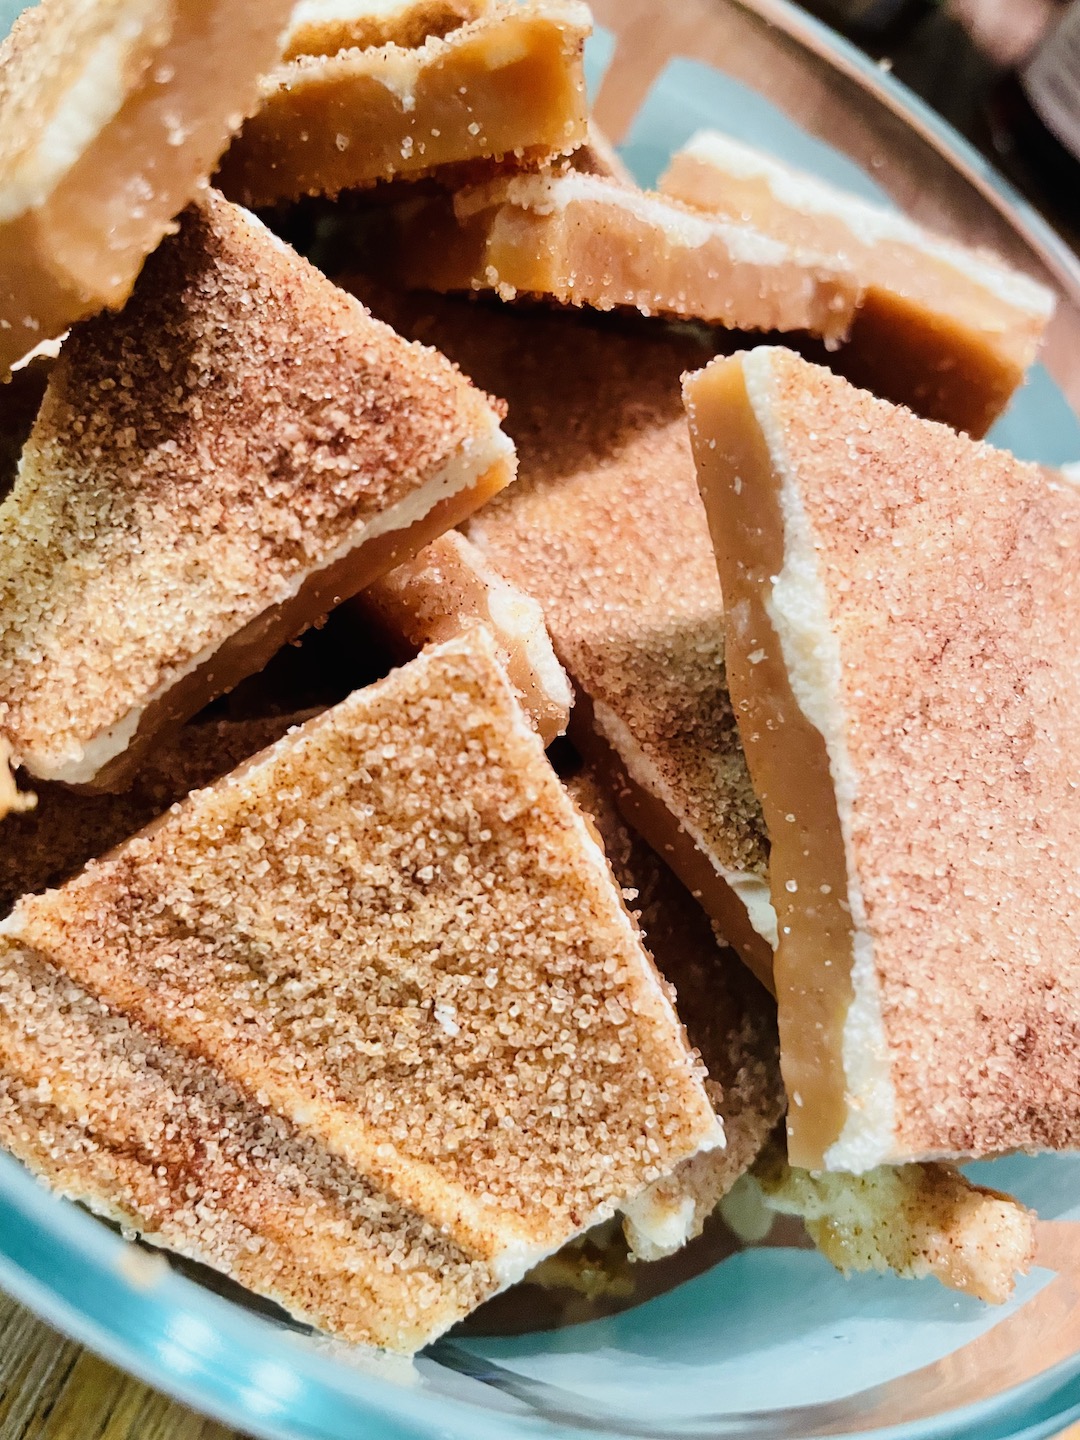
Change it Up!
Change ingredients! Raspberries instead of blackberries. Cinnamon chips! Once you master one recipe, the world is your scone! Go out and try different recipes! I will say that I do usually go back to the blackberry and almond recipe to compare to new ones I find because I know that this is my tried and true recipe. I have also made and love savory scones like thyme and gouda or zucchini and cheddar cheese!
Conclusion
I honestly hope that this helps you to overcome fears, get into the kitchen, and be adventurous! You can do this! Take your time and listen to your instincts! Yes, you can absolutely have kitchen instincts, ask your grandmas or moms! From scones, branch out into biscuits and make homemade biscuits and gravy!! The Husband and I did and it was so much fun! The Husband made the fresh sausage and then from there made the sausage gravy and then I made the biscuits! Hmmmm… perhaps we will do another combined blog!! Well, anyways, as always, I hope you enjoyed my rantings and found some of what I said either helpful or inspiring!
Thanks for the recipes, I have the fortune of tasting many of your scone recipes! I just had your lemon ones(I love lemon) and they were delicious. Keep up the good work.
Thank you so much! I have a couple more recipes up my sleeve for scones!