A hoy-hoy! Today we will be straddling the line between Sewing and Camping. How is this possible? Well, just you wait and see…
Okay, I’ll tell you now, cause I kind of need to in order to explain what I am doing. So! Today we will be sewing our own pennant flags for our new HC1 camper. See? Sewing and Camping! Yes, it is more sewing than camping, but it is for the camper, which is camping! Just go with me on this! Thank you. Pennants are also referred to as Bunting Garland. I have no idea what bunting means, maybe one of you can tell me in the comments below, but, for the remainder of this post, I shall be using the term: pennant. Hope ya’ll don’t mind! I know that I did an Intro to Sewing, and I will be completing a PJ pants blog (more advanced). I thought creating this blog is a kind of a first step into the sewing world. Most of what we will be doing, I think, is pretty straightforward and I hope piques some your interests. If not, just sit back and enjoy the show! Blog, enjoy the blog, LOL.
Theme and Fabrics
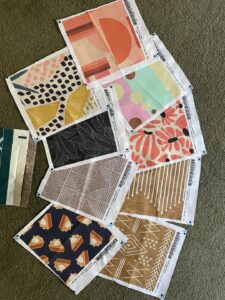
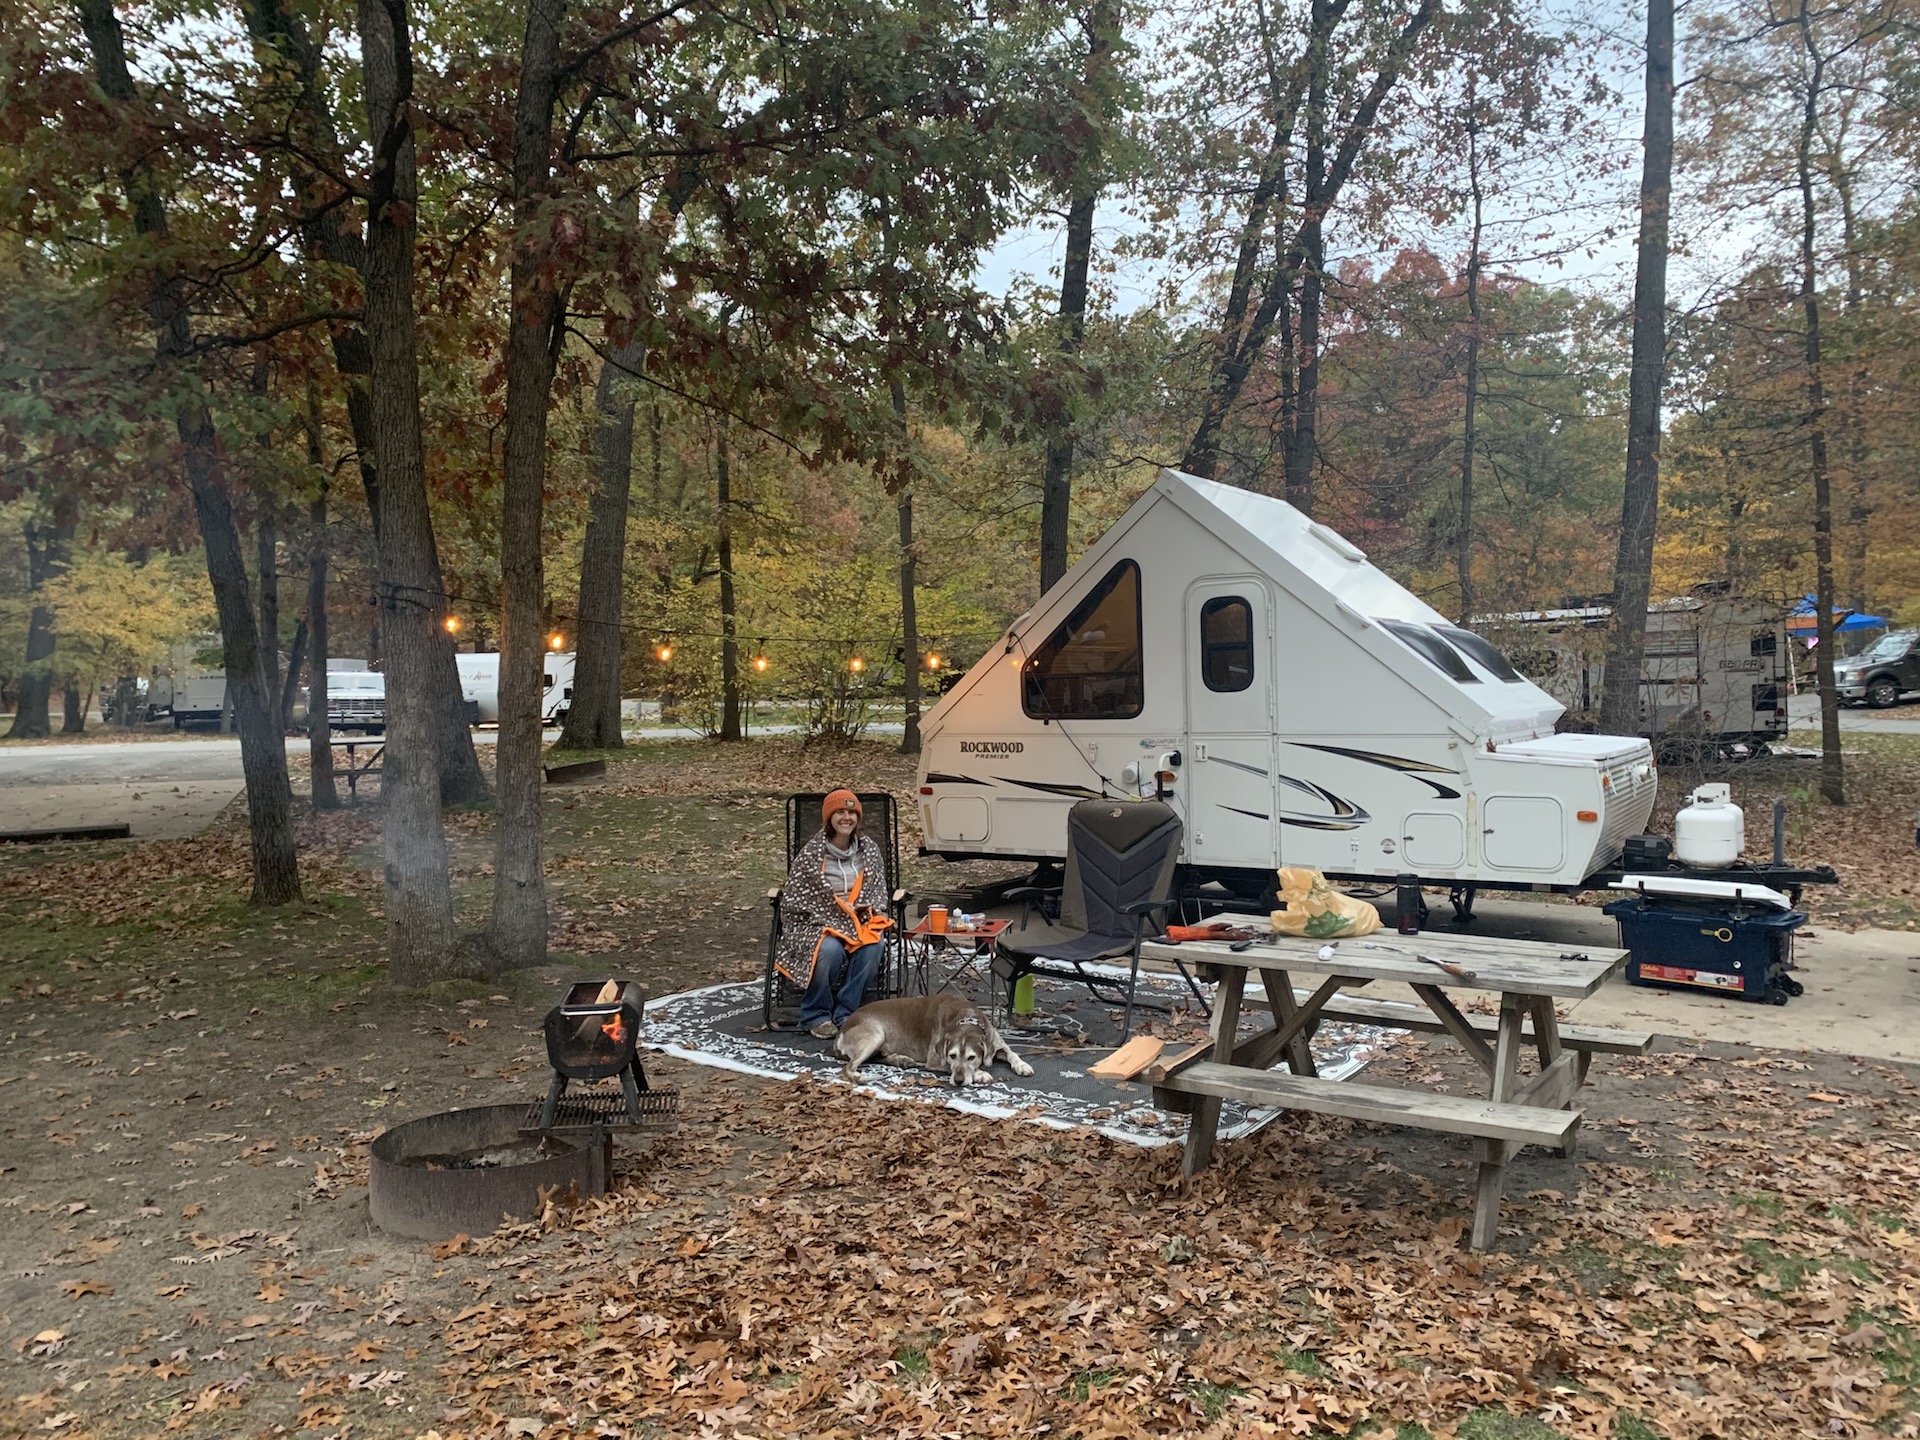
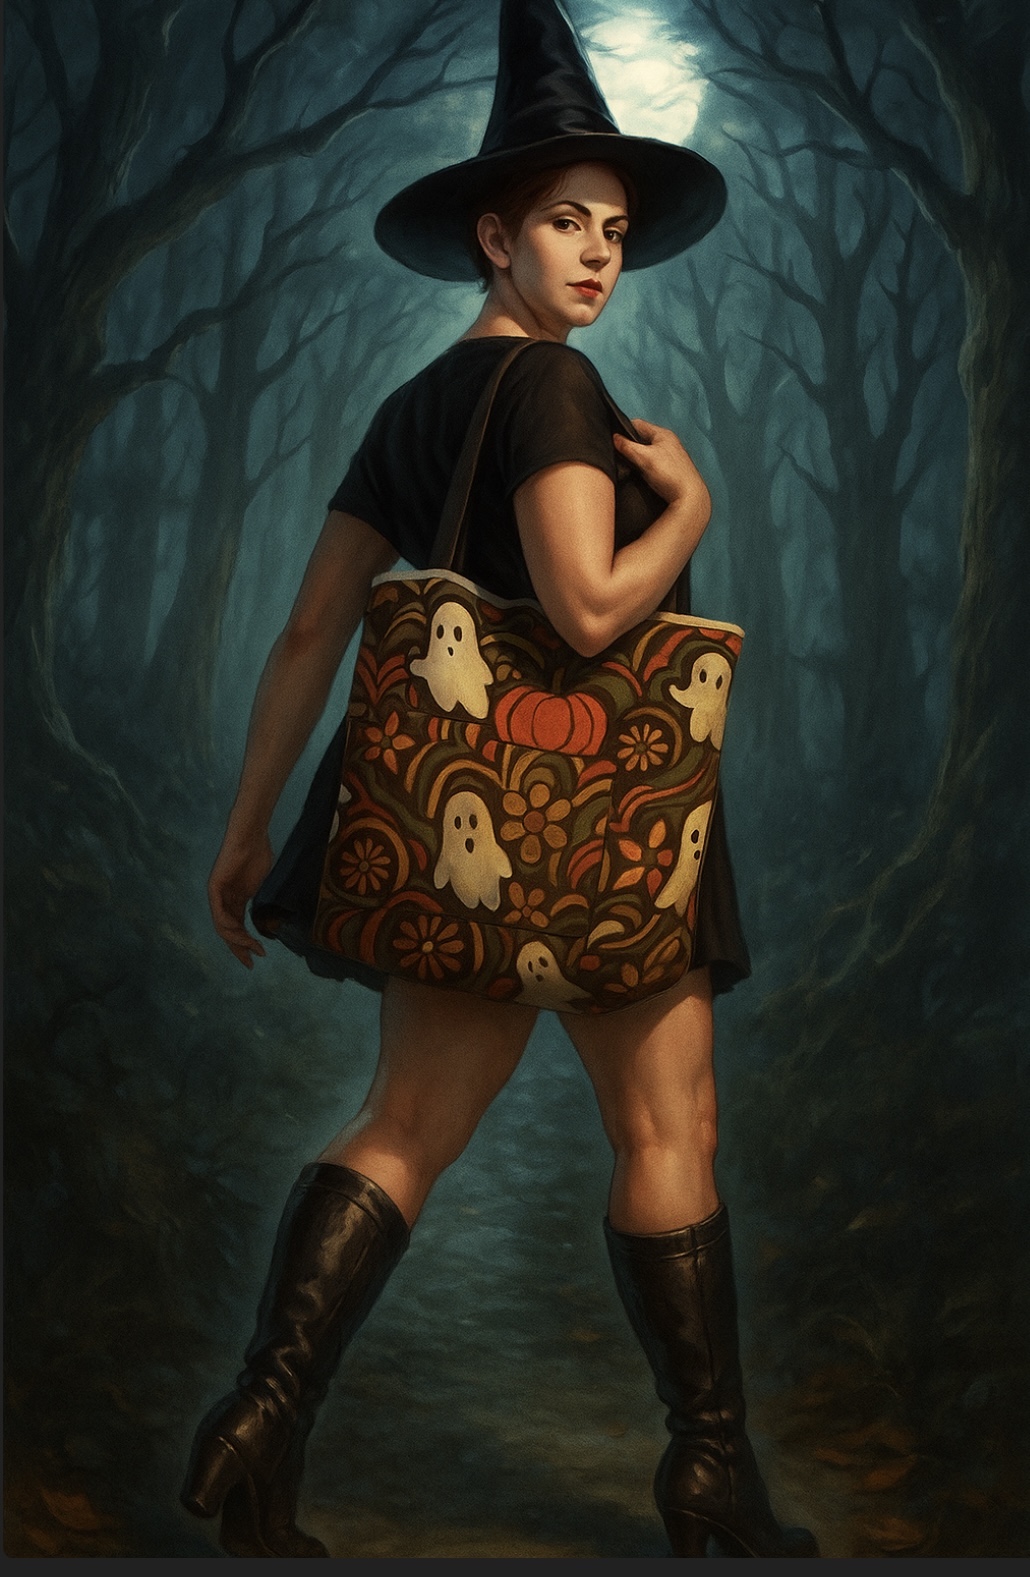
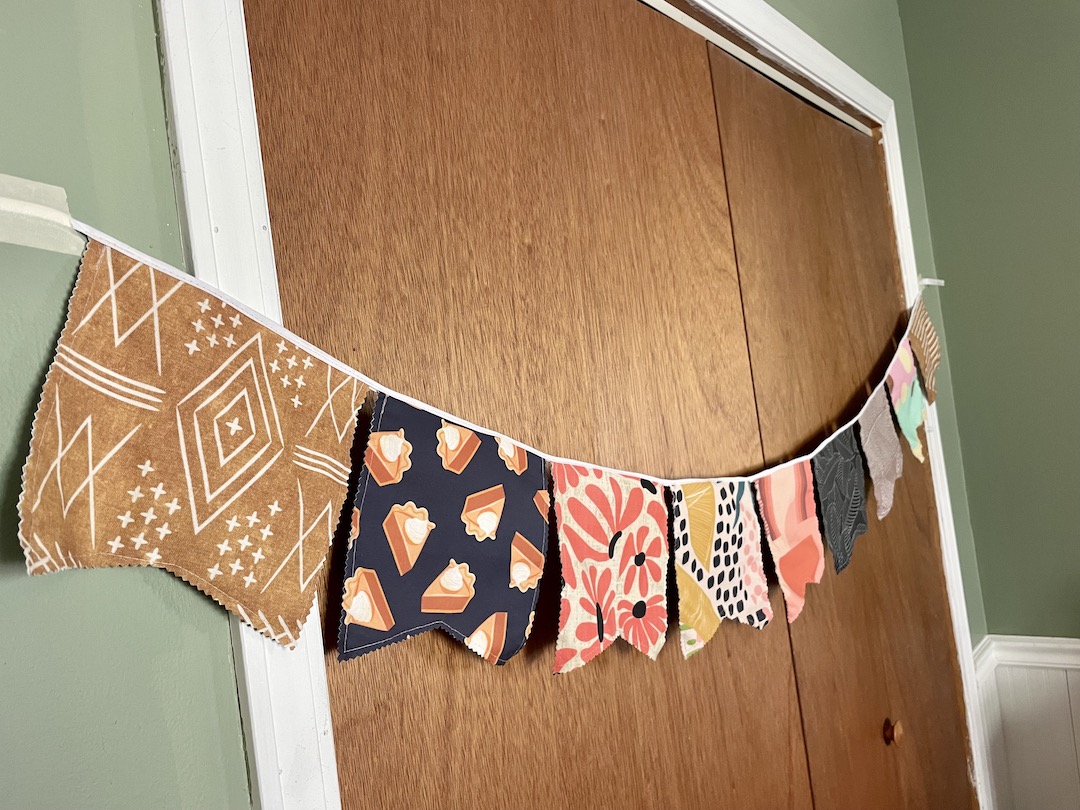
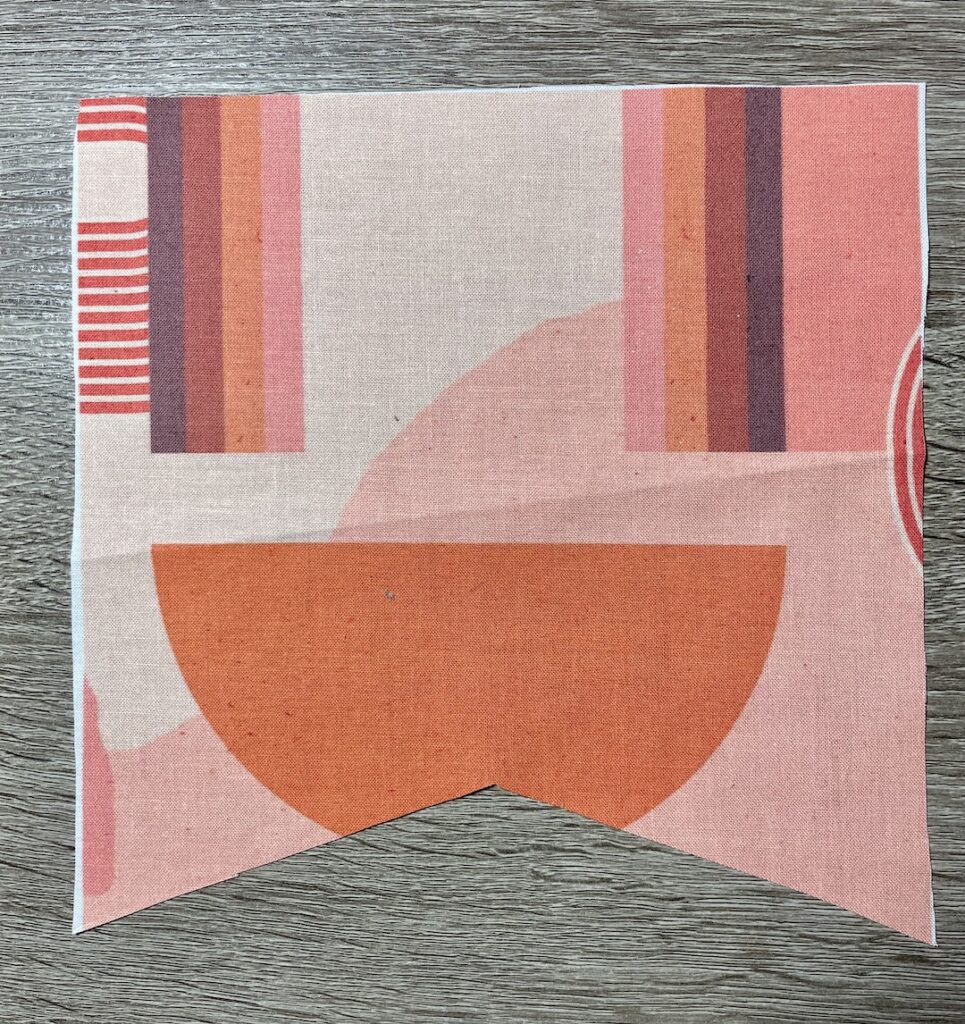
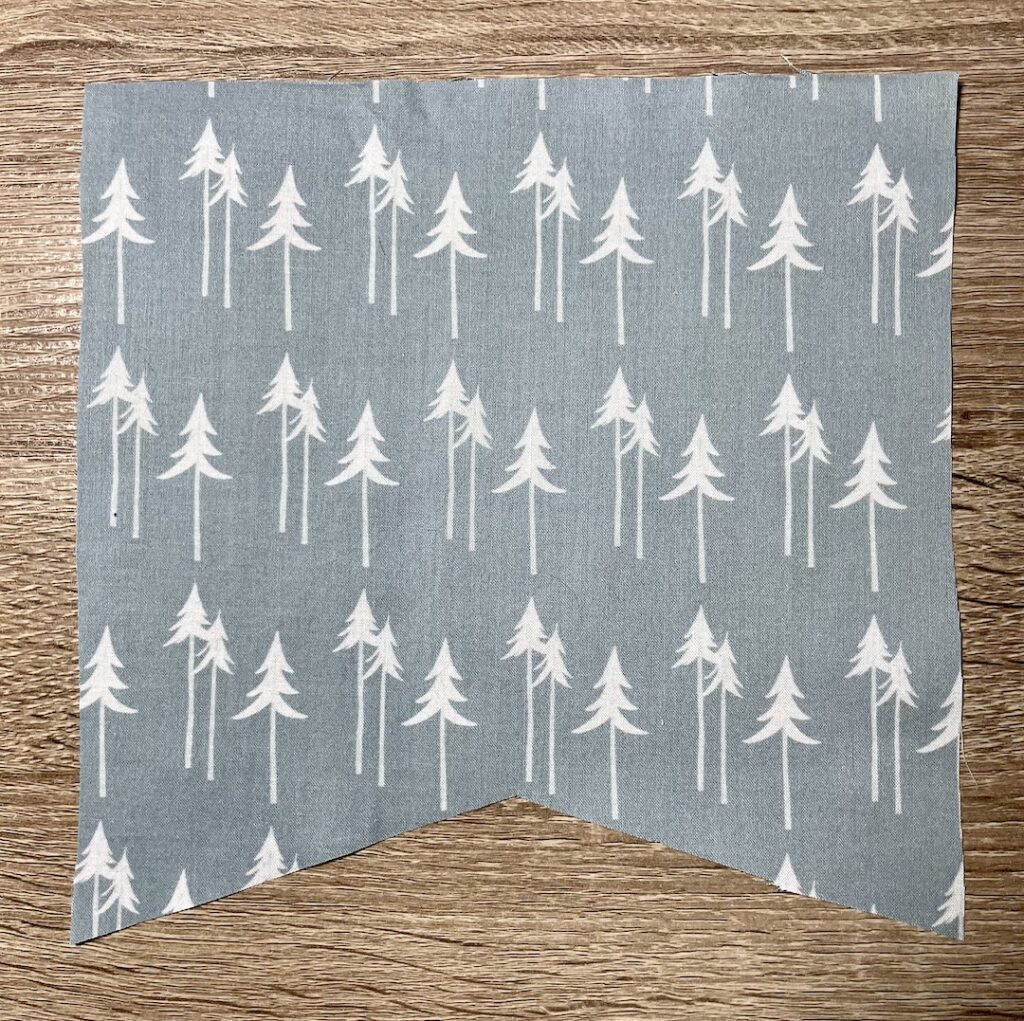
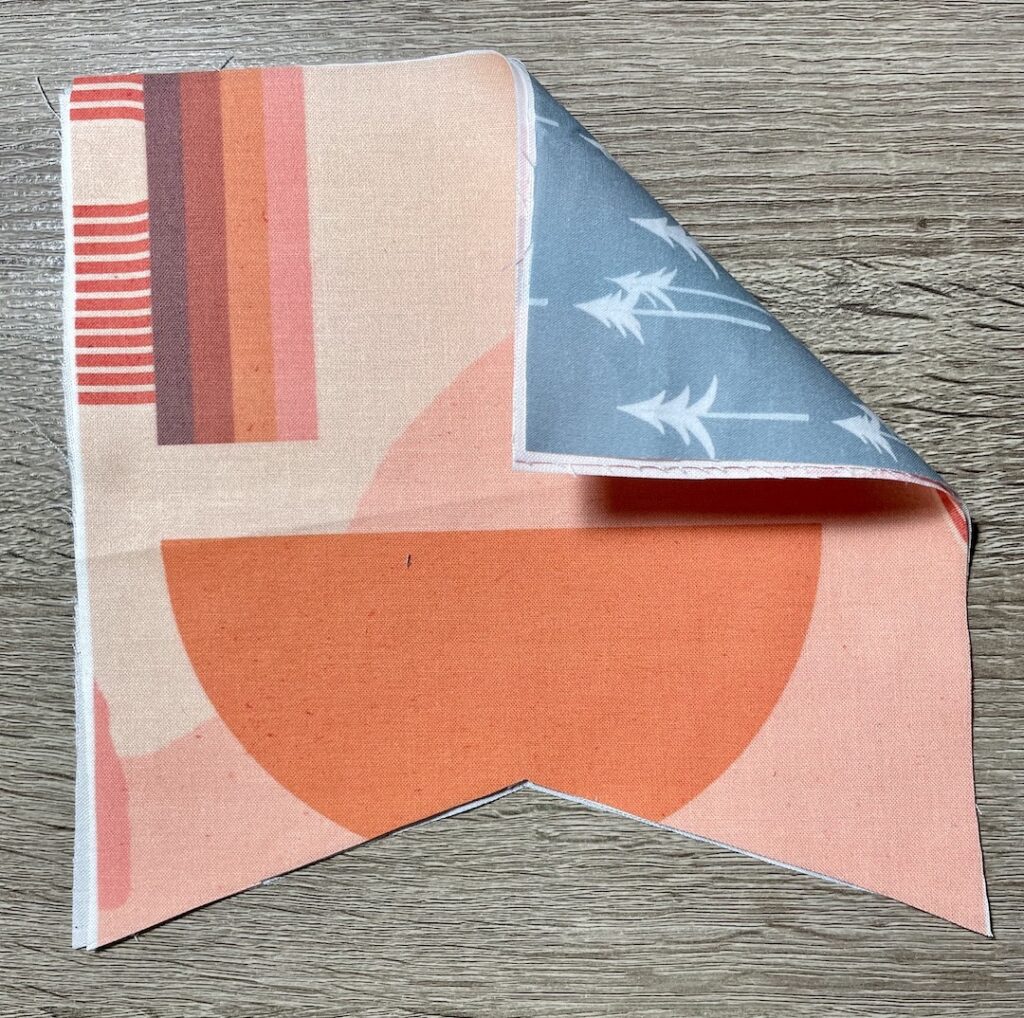
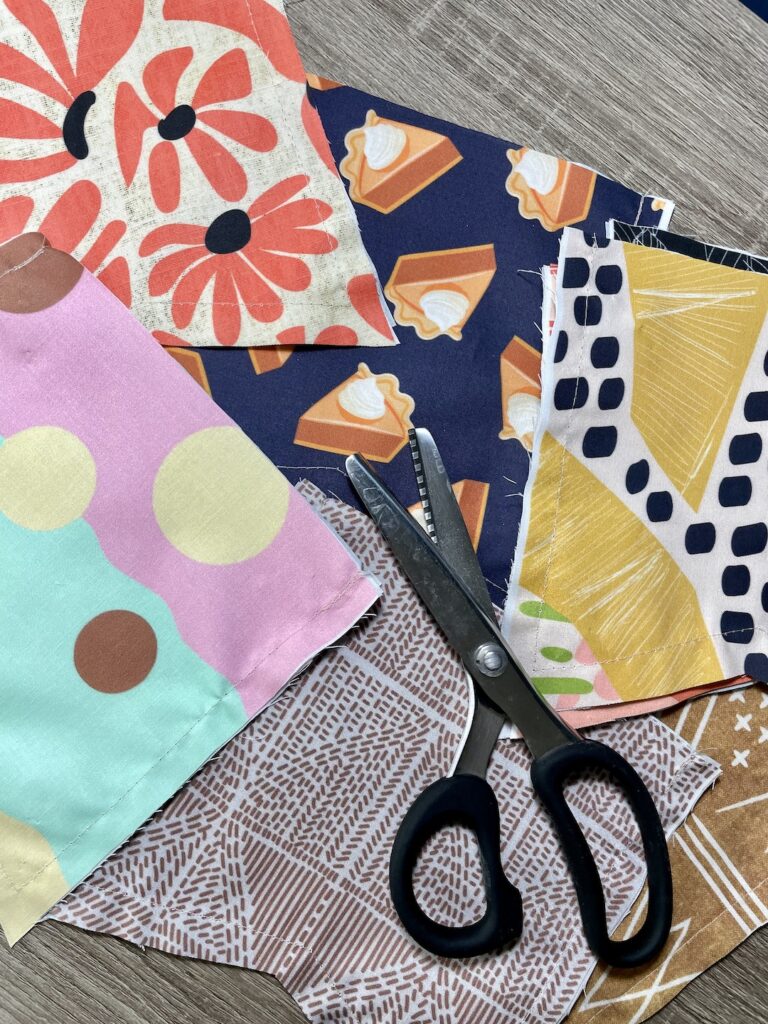
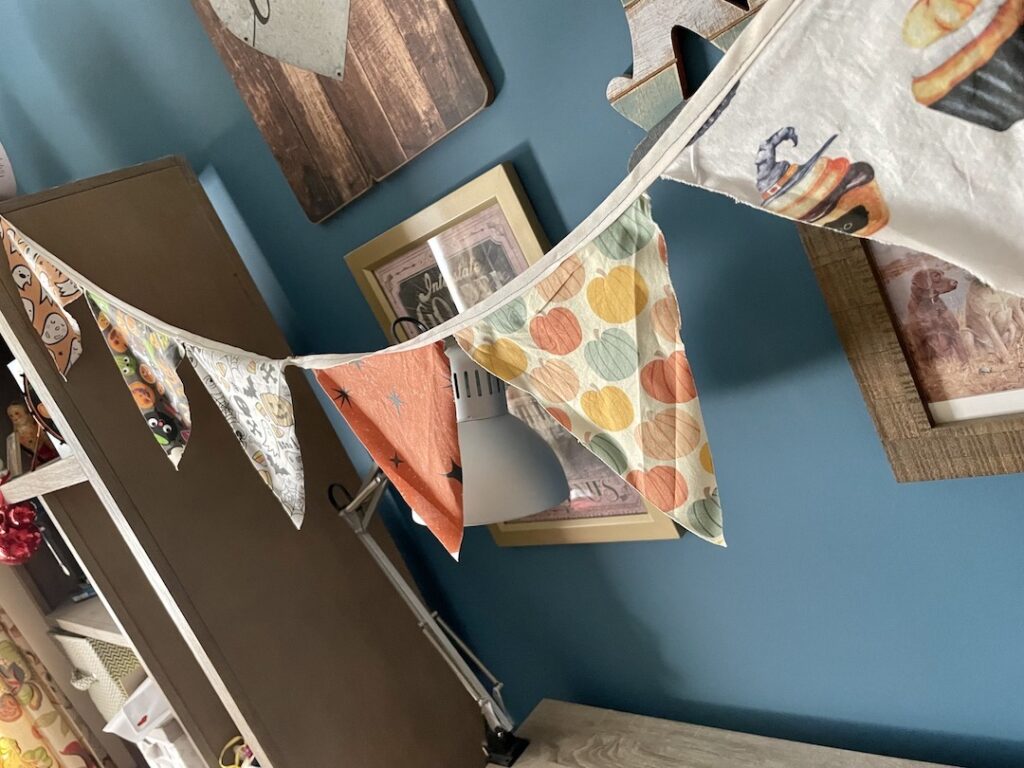
First things first: we need to pick out fabric, and in order to do this, we need to think about a theme or the reason for making this pennant! Is it for a birthday? Graduation? Halloween? Thanksgiving? A girls bedroom? A boys bedroom? Your craft room? You get the point (hopefully). For this post, I will be focusing on the pennant that will live in our new HC1 camper, Cosmic Charlie (that’s what we named her)! So, camping, but, do we want cheesy camping fabric (like I did for the A-frame) OR do we want a theme? For Cosmic Charlie, I have chosen a theme. I have always loved warm, rich colors like gold, browns, and reds combined with blues, greens, and pinks (I can’t wait for you to see the pillows I got on sale)!! Therefore, when picking out my fabric patterns, I searched using keywords such as desert and Moroccan. I am very happy with the my pattern choices (yes, you do in fact see pumpkin pie fabric, ask no questions, and I will tell you no lies). Why did I use keywords such as desert and Morocco? Those themes had the color scheme I was looking for. Pick out what makes you happy and you won’t be disappointed! Below are pictures of pennants I made, one for myself in a Halloween motif and the pennant I made for the A-Frame.
Square or Triangle?
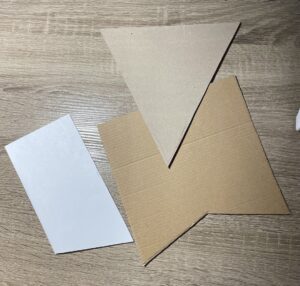
Next choice you have to make: squares or triangles? Until now, I have only made triangle pennants, as those were the examples I saw the most when I was originally researching how to make them. Is there a difference between sewing square pennants versus triangle pennants? Not really. You make a pattern for yourself and go from there! I found pattern ideas with lengths online (good ole Pinterest). For the triangle pennants, I used the top line as my guideline for the other two lines, so I make sure that the top line is 8 inches, which is the length of the top of the pattern that was sent to me. I did the same for the square pattern. I cut out a square 8×8 piece of paper, then folded it in half and from the bottom corner to the middle, I made angled cuts, until I liked the pattern I had. I didn’t want to take out too much because I wanted to showcase as much of the patterns on the fabric as I could. YOU can cut your patterns to whatever you want! You could go smaller or bigger!

What You Will Need
- Pattern Material (for back and front)
- Interface (the middle fabric)
- Bias tape
- Sewing Machine
- Scissors
- Pins
- Tape Measure
- Pattern – be it triangle or square
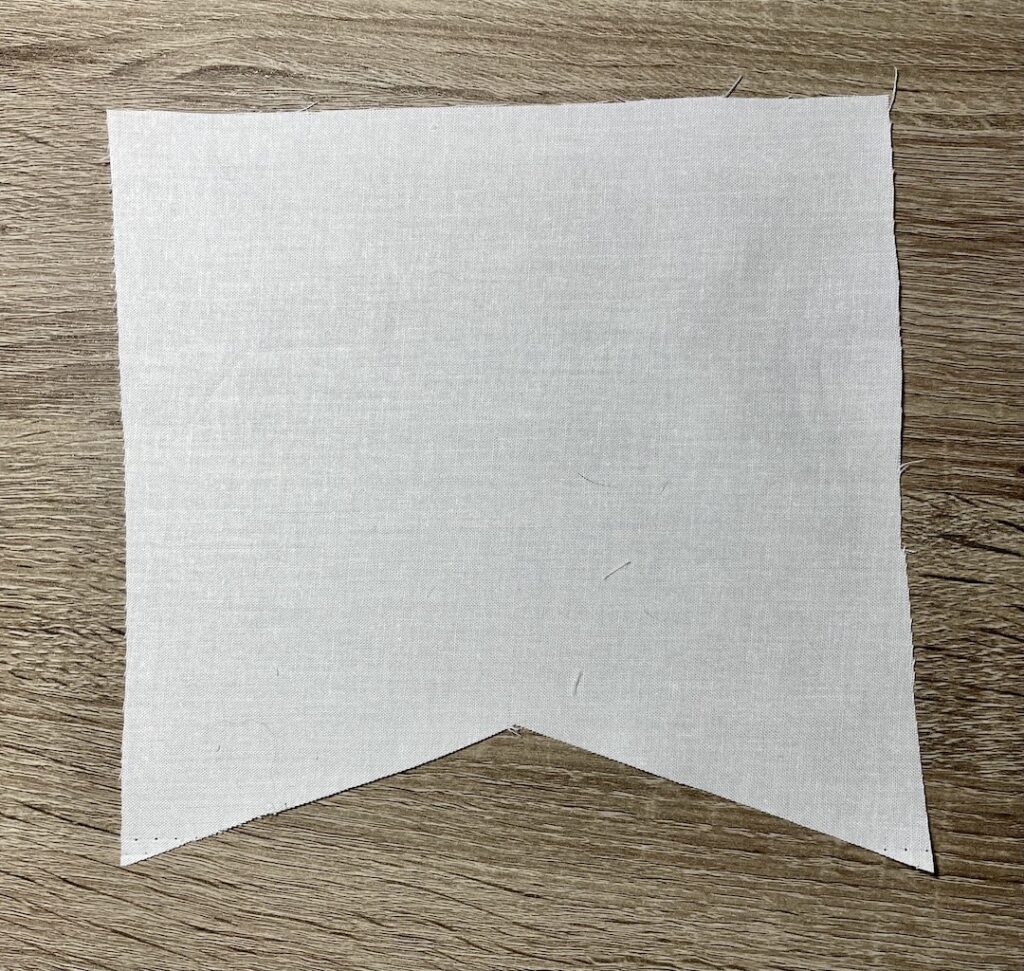
NOTE: You may not need the interface, the material for the back of our pennant, if you so choose. The triangle pennants I only used one piece of fabric. This one, I decided to use the interface and a back piece of fabric (leftover fabric from my camping pennant). Why? Honestly, just cause I felt like it. I know, technical and deep. Hahaha
Double NOTE: What is bias tape? It is folded strips of fabric that can help with a variety of sewing projects such as finishing edges of quilted work, or seaming, binding, and hemming. For our purpose, we will be using bias tape to bind together our squares or triangles and will use the ends to hang our pennants (I’ll take a pic of how to use them later on).
Super Duper NOTE on Aesthetics: I just wanted to note that while I want this to look nice and cute, I am not going for perfect. Therefore, I am going to cut all three layer the same. Bridget, why are you telling us this? I am telling you this, because the middle layer might be seen or stick out a little. I am okay with this. If you are not, make a second pattern for the middle layer
(Smaller in size) so that it is between the other two layers, but will not be seen at all
Cutting and Trimming
Before we dive into the exciting world of sewing pennants, let me preface this by saying to make things easier, I will break down the fabrics and their order. The Top fabric is the main fabric you want to be seen, the middle fabric (if using) is the Interface fabric, and finally the back fabric is exactly that, the fabric that will be least seen as it is on the back (again, if using). I will also explain both methods to make pennants that I have done, starting with the square pennants. Without further adieu, ladies and gentlemen…….. The Square Pennant Process
Step 1 – Make or find and print the pattern of your choice
Step 2 – Take your fabric and cut them out using your freshly made or printed pattern NOTE: Some very talented and probably seasoned ladies on the internet will take all three fabrics and cut them out all at once. I, unfortunately, cannot do this. Therefore, I took each fabric and cut out my squares one at a time. Just put on music or do what I did and call a friend and talk while doing this – makes the time fly and before you know it, its done! Or cut all three out at once!
Step 3 – Take your freshly cut squares and place them together: top, middle, and back (make sure the top and middle are facing out NOTE: Sorry for all of the notes. I’m going for a more rustic look. If you want a finished look, take your front and back pieces and turn them right side in. Then sew all three together, leave the top open and turn it right side out and you won’t see the stitches. I want to see the stitches, so I am leaving the front and back as show on the picture.
Step 4 – Pin them together, or not, again, a lot of magical ladies on the Internet do not, and sew everything straight. Again, I am not that talented, so I pin them together.
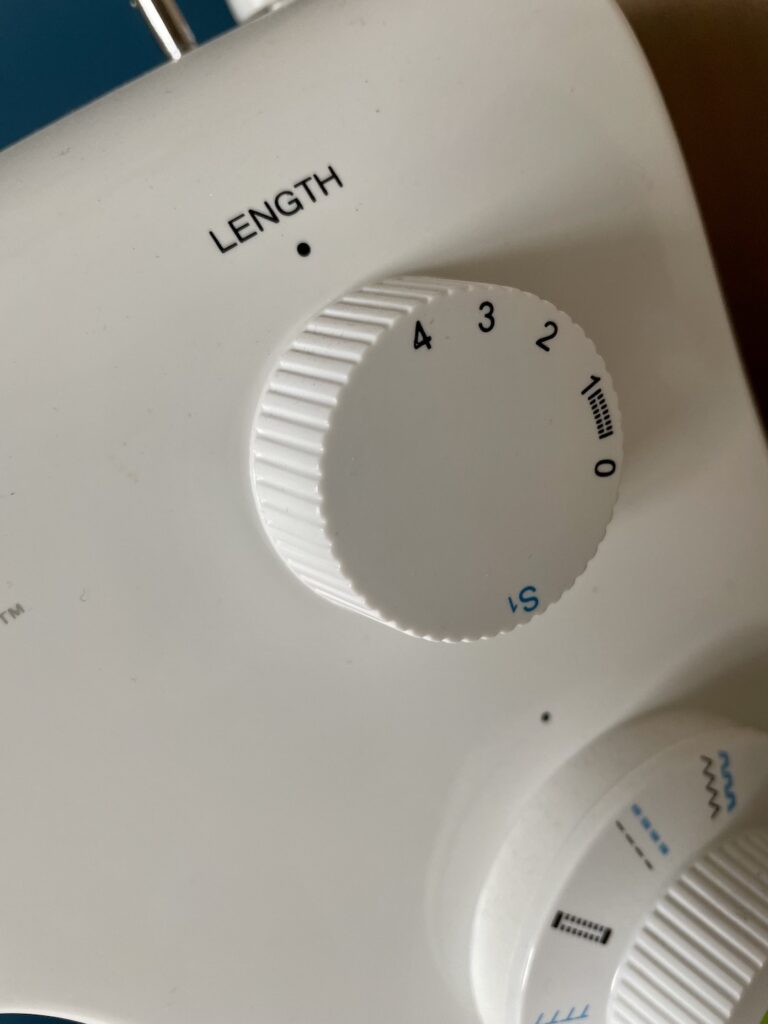
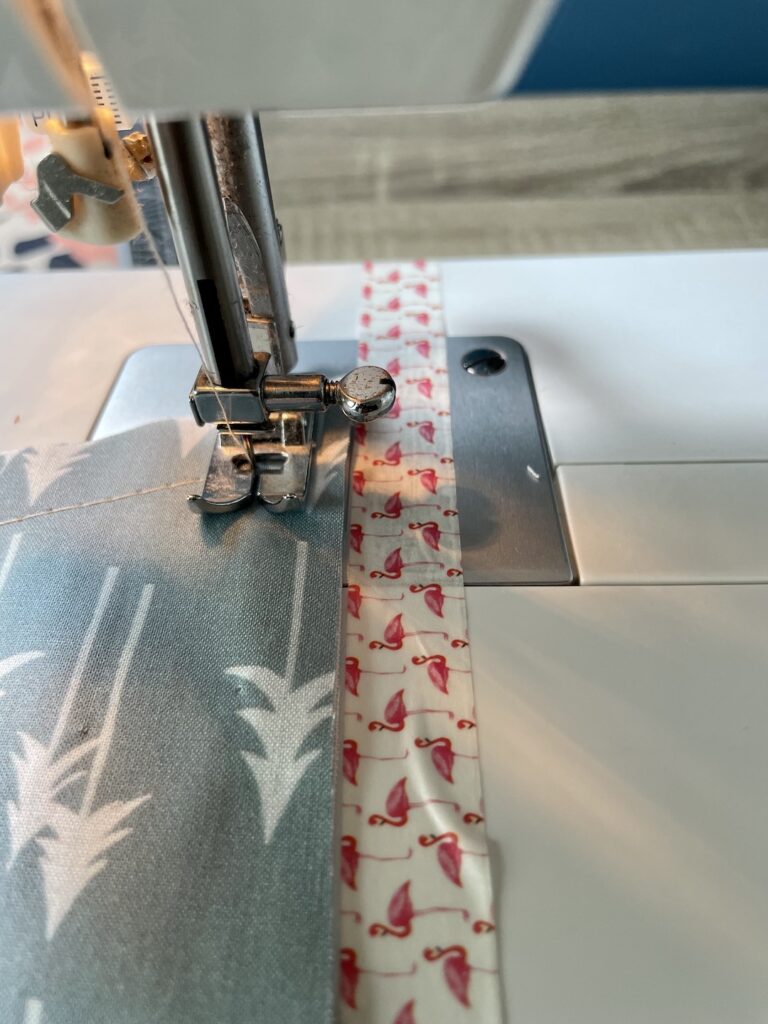
Step 5 – Sew the sides and bottom of your squares with 1/4 inch margins. (There are lines on your sewing machine that you can follow, or you can put tape on that line, to make it easier – see the pic with flamingo tape) I decided to use cream thread so that the stitching is visible. Leave the top open, DO NOT sew the top. I mean, if you do, it’s not the end of the world, but you just don’t need to (I’ll explain later). Once you have the square sewn, take your pinking shears and cut off excess material, trying to leave 1/4 inch of material, if you can. NOTE: Stitch length, as I had mentioned above, I want my stitches to be seen. I usually sew with a stitch length of 3. This time, I changed my length to 4 (picture is shown). I will also note that I used cream thread (mainly because it was already in my sewing machine, and I was too lazy to change it out). Yup, wish I would have changed it out for white.
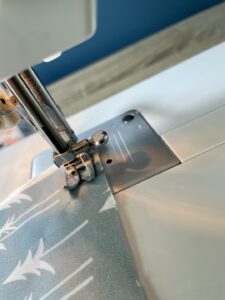
Step 5b – Okay, I want to make another technical note, but was tired of writing “note”, LOL. When sewing the squares, I sewed in one continuous line. When I got to a corner, I slowed down the sewing machine (use the hand turn if you need) and stopped so that the needle is in the fabric. Lift the sewing machine foot and turn the material. Lower the foot back down and continue until your next pivoting point and repeat. Just makes things easier and less stopping, cutting and restarting.

YOUR SQUARES ARE DONE!!!! WOOO!!!!!
Step 6 – Take your freshly sewn squares and line them up into the order you want them in (or place them randomly)! Lift your bias tape and sandwich your squares into the bias tape and sew! Depending on the look you want, place your squares next to each other, touching, or have a small amount of space in between each square.
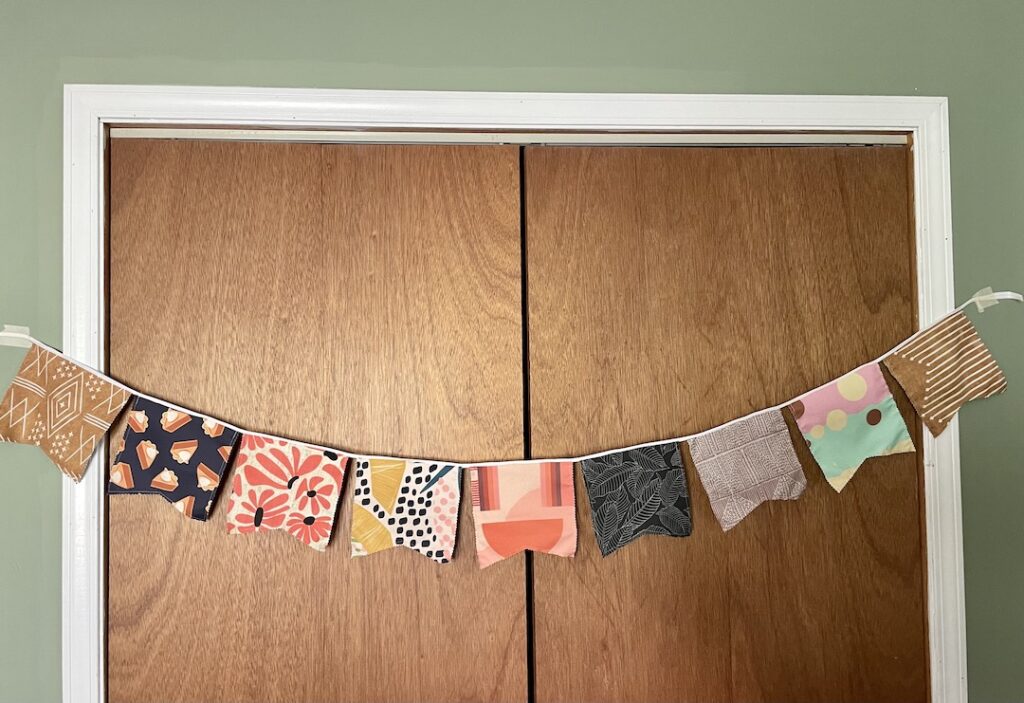
Don’t forget to leave some extra bias tape at each end of your pennants for hanging
The Triangle Pennant
Step 1 – Make or find and print the pattern of your choice
Step 2 – Take your fabrics and cut them out using your freshly made or printed pattern NOTE: this didnt take as long as I only used one piece of fabric. I did not use the middle or back fabrics as I did in the Square Pennants
Step 3 – Take your freshly cut triangles and line them up into the order you want them in (or place them randomly)! Lift your bias tape and sandwich your triangles into the bias tape and sew! For the triangles, I have their tips touching as I am sewing, unlike the squares.
Three steps and you are done!
Question
You might be asking me, “Bridget, why the heck would you do the three material way instead of the three step super easy method???” Well, sometimes, I want to challenge myself and do something new. You can choose to do either method! Do the three step method with squares! The pennant world is yours to pick and choose from and remember, HAVE FUN with this! Don’t take it too seriously!
In Conclusion
I really hope that you enjoyed this little dip into the ocean that is sewing. I hope that this will be a good beginners project to get you ready and confident to tackle other projects (like PJ bottoms!!). LOL I will have that up as soon as I can, hopefully. Then, as soon as we get our little HC1, I will post a fun blog on that as well!