A hoy-hoy and welcome back!! Remember, in my first blog, when I stated that I would delve more into frosting making and the different types of frosting? Well, this is your lucky day, cause I am about to show how to make Swiss Meringue Frosting and how to frost with two colors at one time! I know, this is going to be a roller coaster of a blog! Hold on to your chonies!
Let’s Talk Frosting!!
Okay, in my Lemon Layer Cake blog, I walked you through super fluffy and sweet traditional buttercream. THIS time, I am going to walk you through Swiss Meringue Frosting!
No, no!! DON’T LEAVE!!
PLEASE! Just wait! Come back!
There, thank you!
I know, most people hear meringue and quickly walk away in fear and panic. There is a reason its’ been like twenty years and I have finally gathered the courage to make it. LOL. In addition to Swiss, there is also an Italian Meringue.
Now with Swiss Meringue and Italian Meringue, there are five main ingredients: Egg whites, sugar, salt, flavoring, and butter. It’s the method in which you cook the ingredients that makes one Swiss and one Italian (okay, okay, this one also has water to go with sugar). I have NOT tried the Italian yet; that, my friends, is for another day. Far, far into the future. LOL. Anyhoo, the main difference between the two is that in the Swiss Meringue you cook the egg and sugar together and then whip the tar out of them. In the Italian Meringue, you whip the tar out of the egg whites only; cook the sugar and water, then add the sugar water mixture slowly into the whipped egg whites. Like I said, one day I will attempt the Italian. But for now, I am having fun making the Swiss.
“What’s wrong with the traditional buttercream you have always used?”, You ask. Or you didn’t, but let’s just say you did. Buttercream, cream cheese, and whipped frostings are wonderful, they are, but can be (especially the buttercream) sweet. Like SWEET. Like, whew! Like, slap your mama, sweet. And, well, let’s be honest here. In my travels through life and age, I am finding that I maybe am not liking the cloyingly sweet stuff that I used to. What’s nice with the Swiss Meringue frosting is that is light, airy and not too sweet. I mean, there are only two cups of sugar for 28 cupcakes. Not too shabby. And the texture! It’s like smooth, creamy delicately happy clouds dancing across your tongue and pallet!
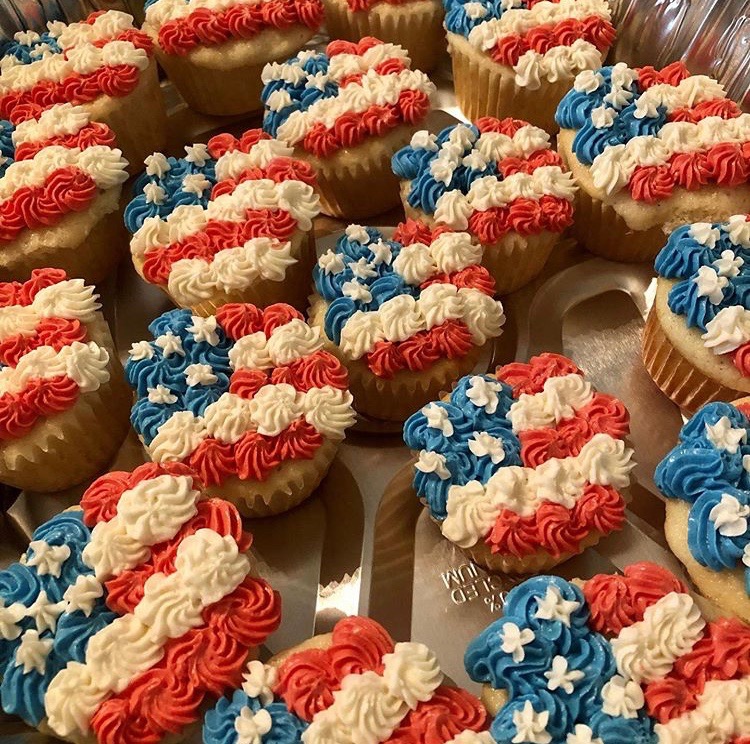
I have made this frosting four times now, and people LOVE it. LOVE IT. And the compliment I get the most? That it is not too sweet. Also, it pipes like a dream! Take a look at my Fourth of July cupcakes I decorated. I impressed even myself!! HAHAHAHAHA. Because of the soft texture, the frosting simply glides out of the piping bag and beautifully onto your cake surface (like all this description I’m putting down on you?!?!).
THEREFORE, WITHOUT FURTHER ADO!!!
Making the frosting!!
Ingredients:
6 egg whites
2 cups of granulated sugar
3 sticks of butter, cut into tablespoon pieces
Pinch of salt
1 teaspoon whatever flavoring you want (my favorite is almond)
BUT FIRST – SCIENCE!!! And organization. And disclaimers. LOL
Science
The main reason it took me so long to make this frosting was the need for thermometers. Now. If you have a instant read one, great (just make sure you aren’t touching the sides of bowls or anything). A candy thermometer would be preferred, of course. OR what I use: an infrared digital thermometer (it’s what I have, don’t you judge, also, it works very well for me). You will need this for the sugar and egg white mixture as well as to monitor the temperature of your cut up butter.
Orangization
- Cut up your butter and have that ready. But monitor your butter’s temperature to make sure it is at around 60 degrees. (what happens if the butter gets higher than 60??) We shall talk about what ifs and other stuff in the disclaimer portion. However, if the butter is getting warm, simply put it back in the refrigerator. If it’s not perfect, that’s okay.
- Have your salt and flavoring next to the mixer. Sometimes I forget that stuff and it’s nice to have in your line of vision (so you don’t forget about it).
- Before I make anything, cooking, craft, or sewing, I always research and watch as many videos as I can. That is what I did for this as well. There are some really good videos out there! It is because of these videos and all of different people reassuring me that this frosting is indeed easy to make and indestructible, that I decided to give her the old college try! (whatever that means).
- That’s about it for organization! See?Not too bad!
Disclaimer
- I have only had this recipe come out perfect the first time once. That’s okay!!! This frosting is wonderfully heavy duty and indestructible! Trust me!!
- Due to temp. stuff, many things can not go according to plan. Again, it’s going to okay. For real. You can fix it. I did! I will tell you my funny story about the first time I made this.
- No matter what happens, do not panic. For real. I didn’t, for once, and I was right not to.
- This frosting is seriously indestructible.
Okay then, let’s make this, shall we?
Instructions
- Place six egg whites and two cups of granulated sugar in a ceramic bowl. Create a double boiler with a pan of water and place a ceramic bowl over the water (try to make sure the water is NOT touching the bottom of the bowl). Does it need to be ceramic? No, it does not. Whatever mixing bowl you have it good! Mine just happen to be ceramic.
- Stirring constantly, bring the sugar and egg white mixture to a temperature of 160 degrees Farenheight. The mixture will be smoother and have a glossy appearance.
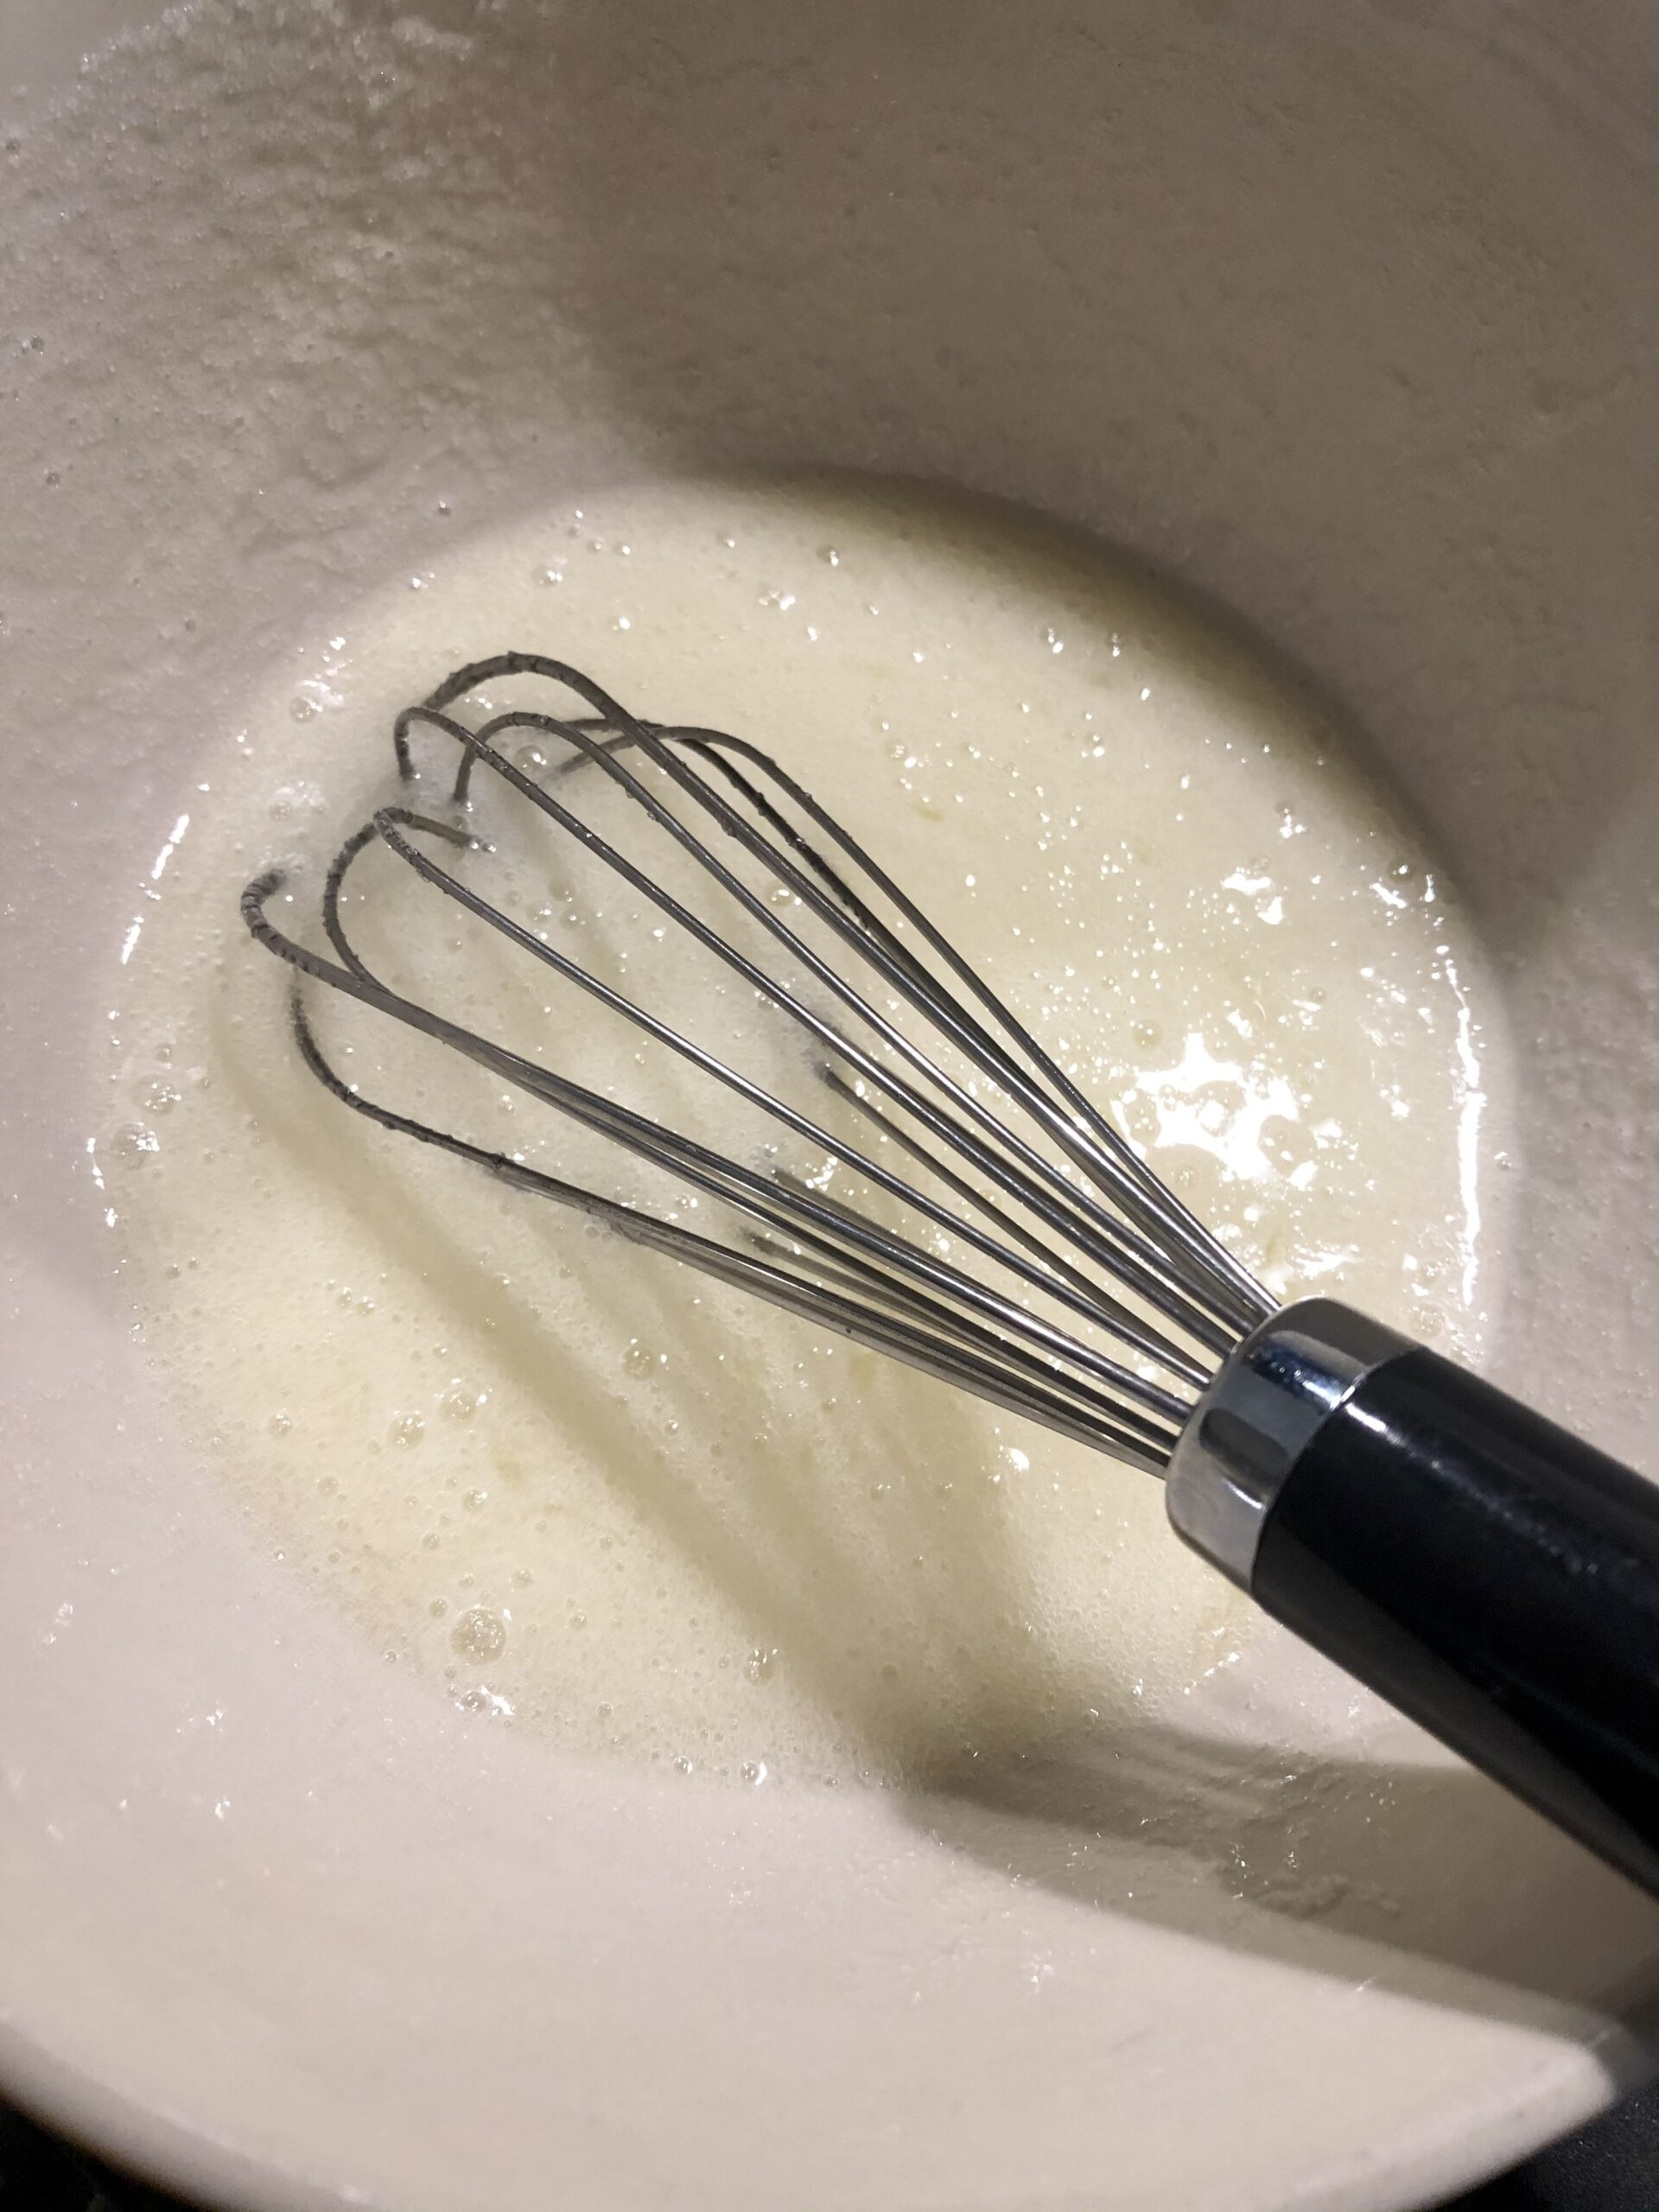
- Take it off of the heat and pour mixture into your mixing bowl. With the whisk attachment, whisk the mixture until it doubles in size and thickens into stiff peaks. The bowl should also be cooling down and the mixture should be at room temperature (around 60 degrees Farenheight).

- While your sugar and egg white mixture is whipping up, cut up three sticks of butter. Keep the butter at around 60 degrees.
- Once your sugar and egg white mixture is fluffed, has stiff peaks, slowly add the butter, one tablespoon at a time. Wait to make sure the first tablespoon has been fully incorporated before adding the next tablespoon.
- Once all of the butter has been added, add in your pinch of salt and 1 teaspoon of whatever flavoring you prefer.
- Color and pipe out or spread onto your waiting cake surface of your choice!

NOTE: This makes enough to cover a 9×13 inch cake or 24 cupcakes.
Step-By-Step Walk Through
- Now, if you did the research like I told you to, you will see that some people use a different bowl for the double boiler, some did not. I started out using my mixing bowl on the double boiler and then straight to the mixer. However I have found, for myself, I liked to use a separate bowl for the double boiler and then transfer the sugar-egg white mixture from the ceramic bowl into my mixing bowl. It is up to you and what you prefer, with all things, play/experiment with stuff; it’s the only way you are going to see what you prefer and like to do! Either way, start with a small pot with several inches of water (again, just make sure the water is not touching the bottom of the bowl). Bring this to a boil, turn the heat down to low/medium and then place your ceramic bowl over the water on the pot.
- When you first whisk together the egg whites and granulated sugar, the mixture will look thick and grainy. I took a picture so you can see the before (grainy mixture) and after (smooth and glossy mixture). Cause, you know me, I like visuals. Most ladies said to stick your fingers in there and see if the mixture is still grainy. I simply stir the mixture with a whisk until my thermometer reaches 160 degrees. I wouldn’t step away from this, as sugar can burn fairly quickly. I just turn on my music and dance a little while I stir. LOL. As the sugar-egg white mixture comes to temperature you are going to notice that the sugar granules that were on the sides of the bowl are melting, and that the consistency is becoming smoother with a glossy appearance. Keep taking it’s temperature until you are at or close to 160 degrees (if you wish to stick you fingers in there to see if it is grainy, by all means stick away!). This takes about 15-20 minutes, depending, I typically don’t use a time, but keep checking the thermometer.
- Take this now smooth and glossy (yes, I know that I keep saying glossy) mixture into your mixing bowl. Add the whisk attachment, and start whisking. Move your way up to your mixtures highest setting and let her go for about 10-15 minutes in the Fall/Winter and 20-25 minutes in the Spring/Summer – humidity and warmth has a lot to do with how long this takes. If you have not reached stiff peaks in the time recommended, keep going until you have reached stiff peaks. The bowl should be cooling down so I also take the temperature of the mixture. It should be around 60 degrees.
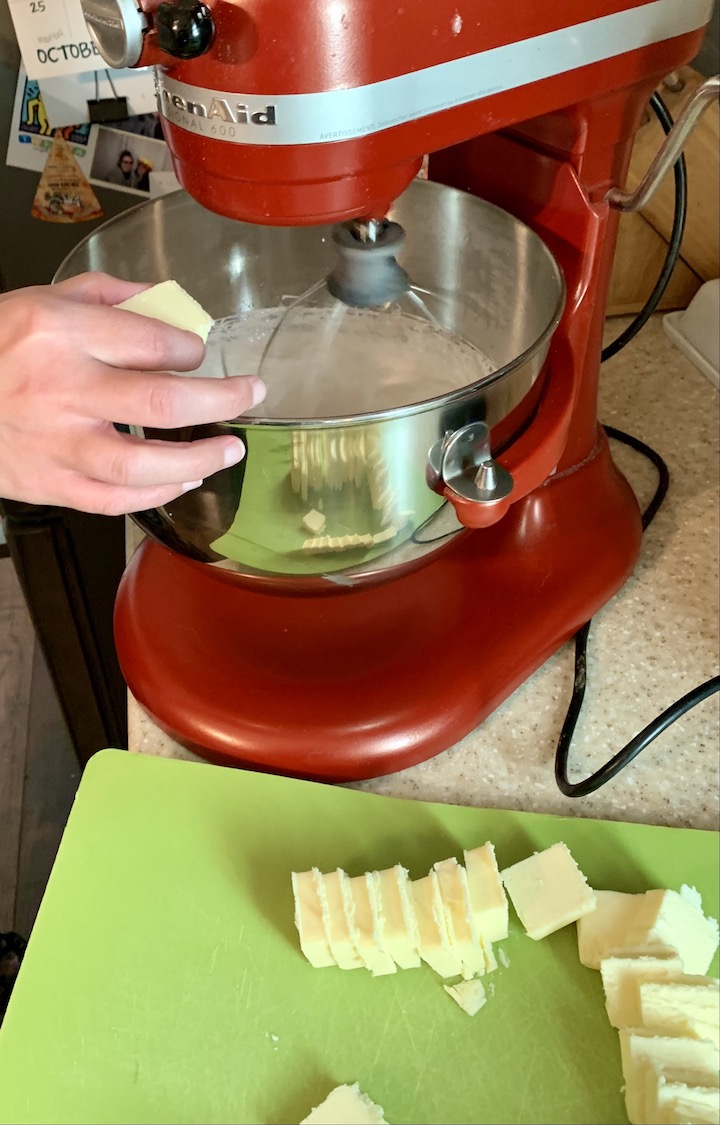
- While Step 3 is going on, get your three sticks of butter and cut them up into tablespoon size pieces. As the mixture is whisking, make sure to check the temp of your butter to maintain a temperature of around 60 degrees. If it gets too warm, simply place it back into the refrigerator to keep that 60 degree temperature.
- This is where things can go from “doing good” to “WTF just happened???”. Remember. DO NOT PANIC. Honestly, three scenarios can occur.
- How It’s Supposed to Go: Slowly begin to add your butter into the mixture a tablespoon at a time. It should also be noted that you can switch from whisk to paddle. I have done both and prefer to keep the whisk on; again, it is up to you. Make sure that you are incorporating the one piece of butter before you add another one into the mixture. It may deflate a little, do not panic, it’ll fluff back up. Once you have all of your butter into the mixture, it should look like the picture I have provided: light, airy, and all incorporated. Ta Da!!! You did it!!!
- WTF, it’s soupy: If, as you are adding your butter, the mixture really deflates and gets soupy (or loses its fluffy, light texture – as seen by the whisk no longer making tracks in the frosting), stop and put the bowl and whisk, into the refrigerator for 10-20 minutes. Take it out and start whisking again, the mixture should fluff back up and you should be getting your stiff peaks back.
- WTF?! It looks like cottage cheese!: It’s okay. It broke a little, nothing to worry about. Simply place the bowl over the warm water from your double boiler. If you threw out your warm water, don’t worry. Just make some new hot water. Let the mixture warm and melt along the sides of the bowl (don’t re-melt the whole concoction). When that has happened, whisk again, it should come together!
6 & 7. Once the frosting is light and fluffy, add in your pinch of salt and flavoring. Then, you can color your frosting. Ta Da!! You did it!
FUNNY STORY TIME!!!!
I am going to tell you about the first time I made Swiss Meringue Frosting. This should make you feel better. Seriously. First of all, I made sure the hubby and dog were out of the house… don’t ask. I may or may not have a temper. It’s fine. Whatever. Anyhoo…
I glided through steps one through four with no issues. In fact, when I was whisking the mixture over the double boiler, I ended up somehow whipping it up to peaks! Then I put it on the mixer and started mixing. Where it promptly deflated. Hmmm, okay, that was weird, but whatever, the lovely ladies on the Internet told me not to panic. I’m not going to panic. I left it mixing and it started to fluff back up; yes! Okay, I got this! I am the Goddess of my kitchen and all things cake decorating! I then switched from the whisk attachment to the the paddle attachment.
I began to add my butter… where it promptly deflated again. That’s okay! It will come back!! Yeah, any minute now. It will come back… still waiting. I put all the butter in, thinking that would help. It did not. Now, my frosting which was supposed to be light, airy, and fluffy is curdled, and soupy. Crap. At this point, I am referring back to my lovely ladies who told me not to bleeping panic. By the way, I am bleeping panicking. Kind of. In a calm way, because everyone on the bleeping internet told me this was fool-proof. I see what to do if soupy. I see what to do if curdled. I did not see what to do if curdled and soupy. Of bleeping course not. First, I put it back over the double boiler. I let the sides melt down then put it back on the mixer and started to mix. Aaaand nothing. That’s okay. Still not panicking. I gave it some time on the mixer. When I realized that it was still soupy and not light and fluffy, I decided to try putting it in the refrigerator for 10-15 minutes.
During these times, I am furiously looking up, watching, and rewatching all of the videos and tutorials I can. Let me say that everyone kept assuring me that this frosting is indestructible. Okay. Again, I am not going to panic (are we seeing a pattern, here)? I took it out of the fridge and started to pray to the Kitchen and Cake Decorating gods as I put it back on the mixer. IT WORKED. The heavens opened, angels came down and started singing Hallelujah! I maybe started to cry in relief (did I forget to tell you that this frosting was to be used for my Fourth of July cupcakes that I was bringing to my in-laws for their really big Fourth of July party? Yeah.)
And that, my friends, is the story of the first time I made this frosting. So, see? It is near impossible to mess this frosting up!!
FROSTING/DECORATING
Okay! Now we move onto the decorating!! On my first blog, we went over decorating a two layer cake with lemon filling. THIS TIME we are going to talk about frosting cupcakes with two colors AT ONE TIME. I know. Strap in, everybody, it’s gonna be a crazy ride! Crazy.
Yeah, so, lets start out by saying, I have learned that I like to decorate cupcakes with the larger sized decorating tips. Why? Honestly, they make my cupcakes look like the cupcakes on the Pinterest and the Instagram. LOL. They cover more surface with larger swirls. The tips I have been favoring lately include: Tip 1M, 1A, (my favorite!!) 869… 869 is a biggie, just warning you! But that is the tip I used for the two Halloween cupcakes shown.
Two colors; one bag.

Of course I have researched this as well. I noticed that there were two ways to this. According to the Internet, the easy way was to put the colors into their own separate bags and then put those two smaller bags into a giant bag and pipe. The other way, that the Internet said was not so easy was to put the frosting onto cling wrap and then wrap it and shove both into one bag.
The Internet “easy” way: Yeah, if you happen to have giant piping bags along with smaller piping bags, you bet this would work. I, however, am cheap, and do not want to have two types of piping bags, when the normal sized bags do me just fine (I’m not a bakery, after all). HOWEVER, I did try this way with zip top bags. NO. NO. NOPE. BLEEPING NO. That was horrible and a disaster. The bags exploded open in a blaze of frosting and creative swear words. The seams couldn’t handle the pressure. Easy my ass, Internet.
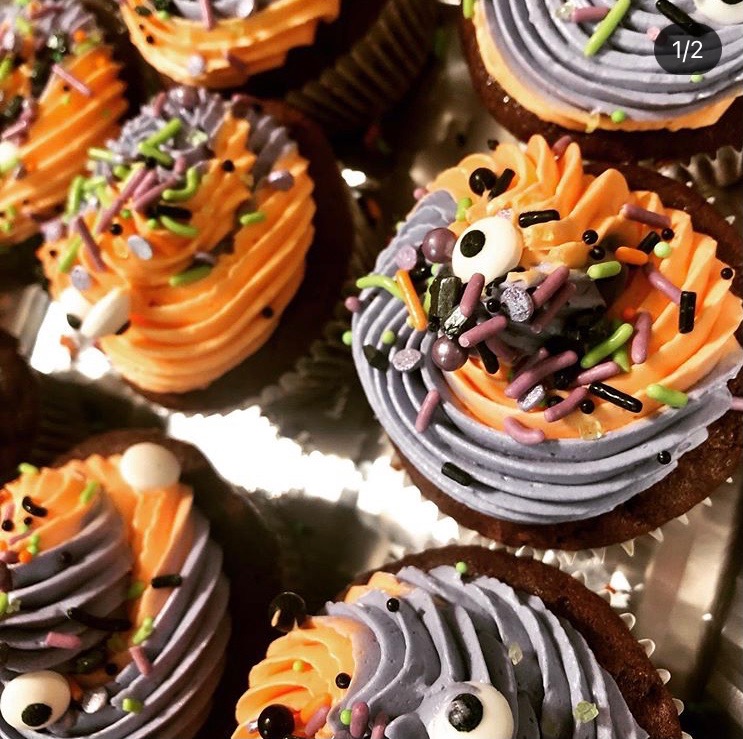
The Not So Easy (I think it is super easy) Internet Way: Lay out the cling wrap onto your table. Flop on some of the frosting, trying to keep it in a line. Wrap her up like sweet burrito, cut off one end. So the same for the other color. Stack one on top of the other and gently place them into the piping bag. They may not fit to the very bottom at the tip. That is okay. Get them as close as you can. Then apply pressure – the colors will come out at the same time (or close to it) and swirl once you begin to pipe.
Once you run of frosting, simply throw away the used cling wrap and start fresh with new cling wrap! Swirled frosting!!! (I of course have pictures to show you)!
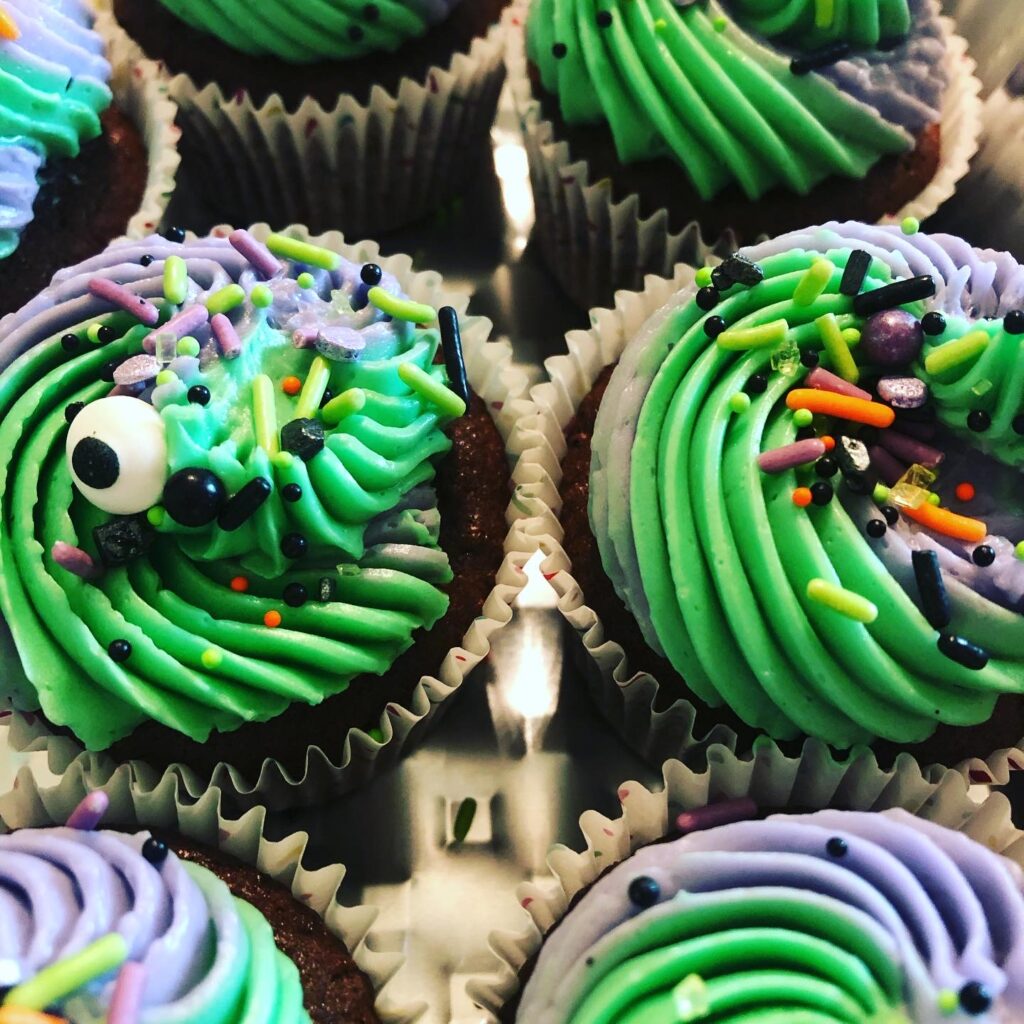
And there you have it!! Fun and tasty cupcakes that are also fancy, just add fun sprinkles for that extra WOW factor, and you are golden, my friends!! Just one small, little note, with my chocolate cakes, I always add a pinch of chili powder. Just a pinch, it will bring out the complex notes of the chocolate and vanilla flavors without adding any heat! Hope you enjoyed this and thanks for stopping by!!