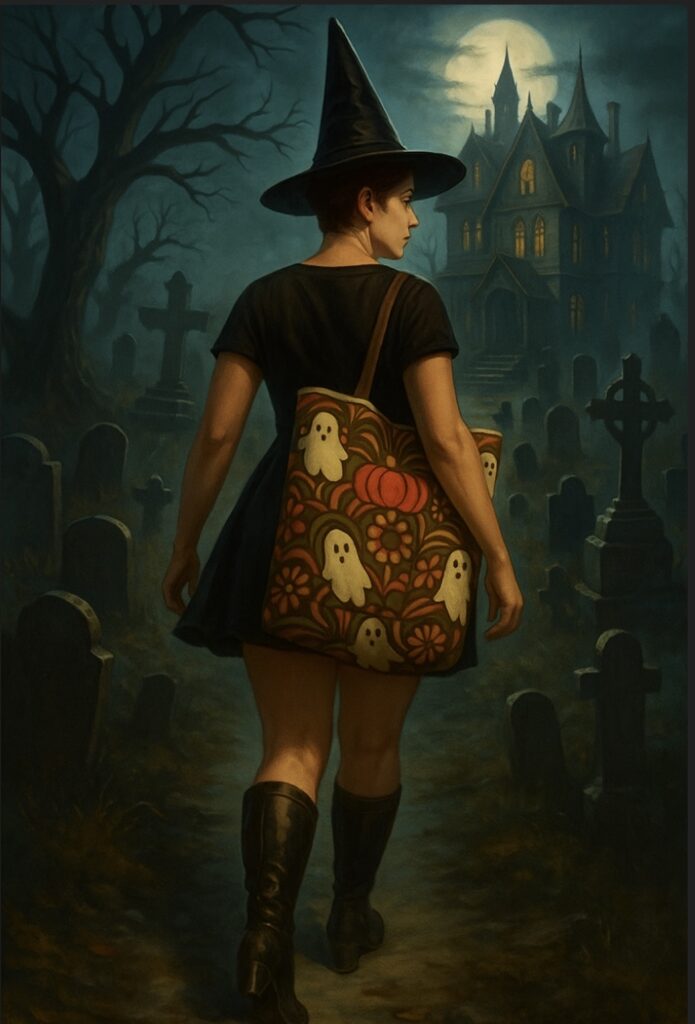
It sat, unassuming on the old and well-worn table. A bag, and a simply bag, at that. It had green straps, a pocket in the front, but something was off about this simple tote bag. One could never place the feeling of unease the bag projected; but people could and would swear to their mother’s graves that something wasn’t right about it. And never stick your hand in the bag to retrieve an item as you never knew what was going to come out. Chapstick? Kleenex? Subterranean monster with sharp daggers for claws and vicious yellow eyes and teeth? Who knew? All we know is we must leave it, undisturbed, on its unassuming position on the old and well-worn table in the witches house, in the deep, dark forest.
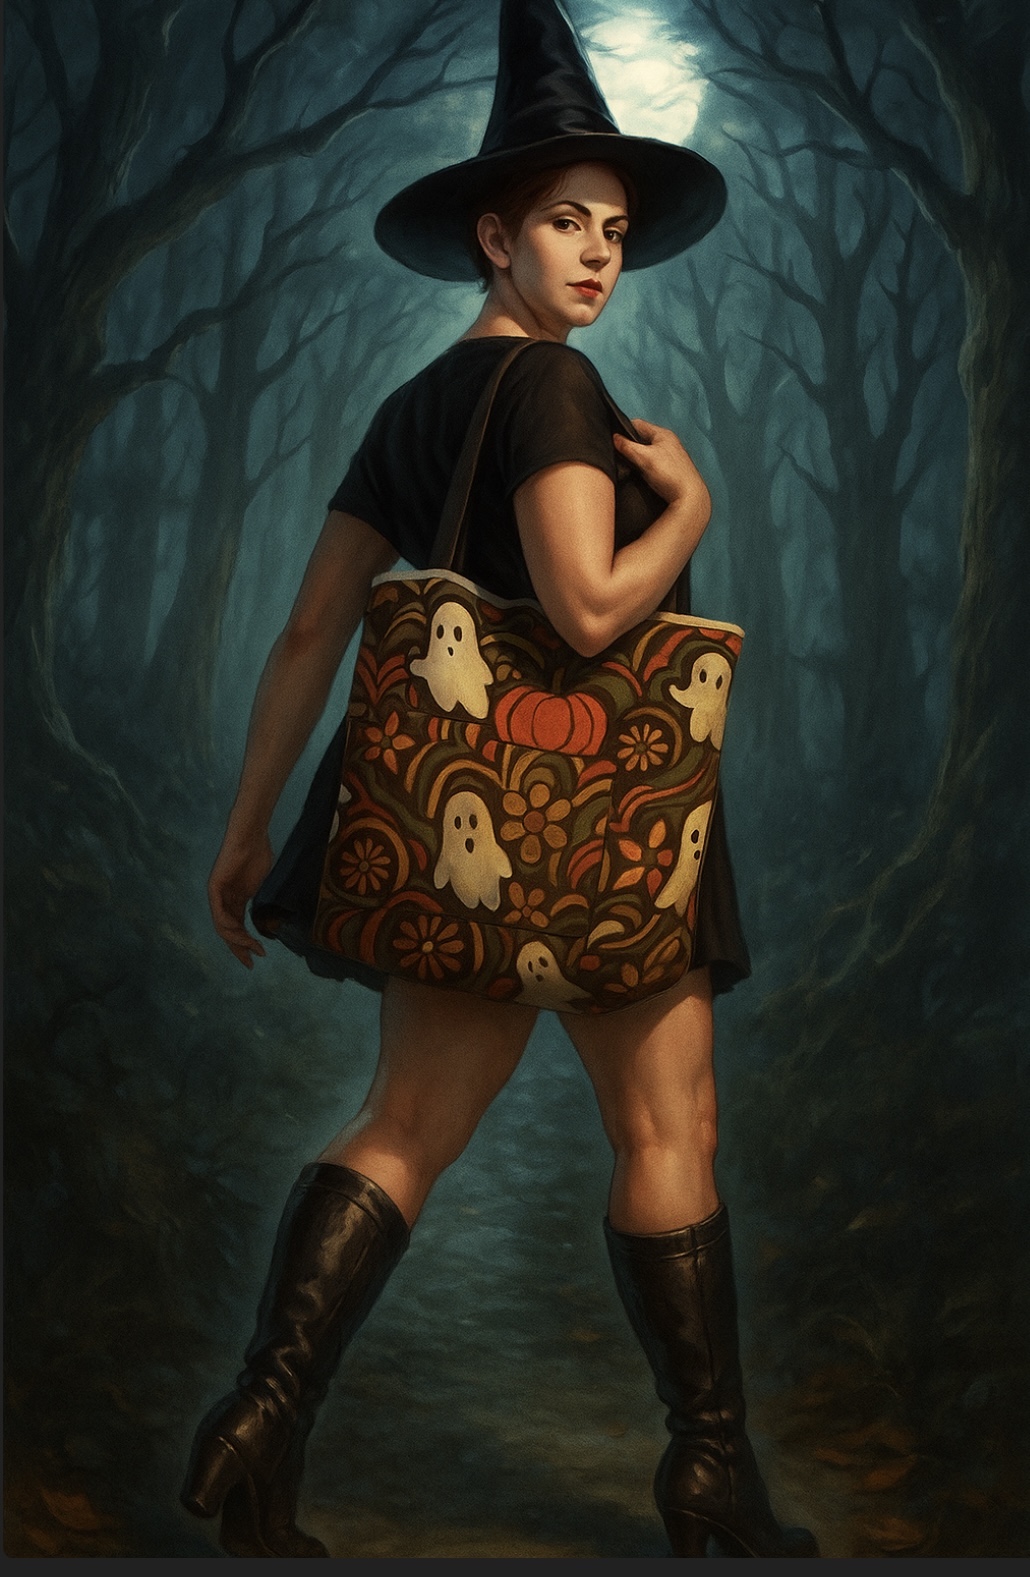
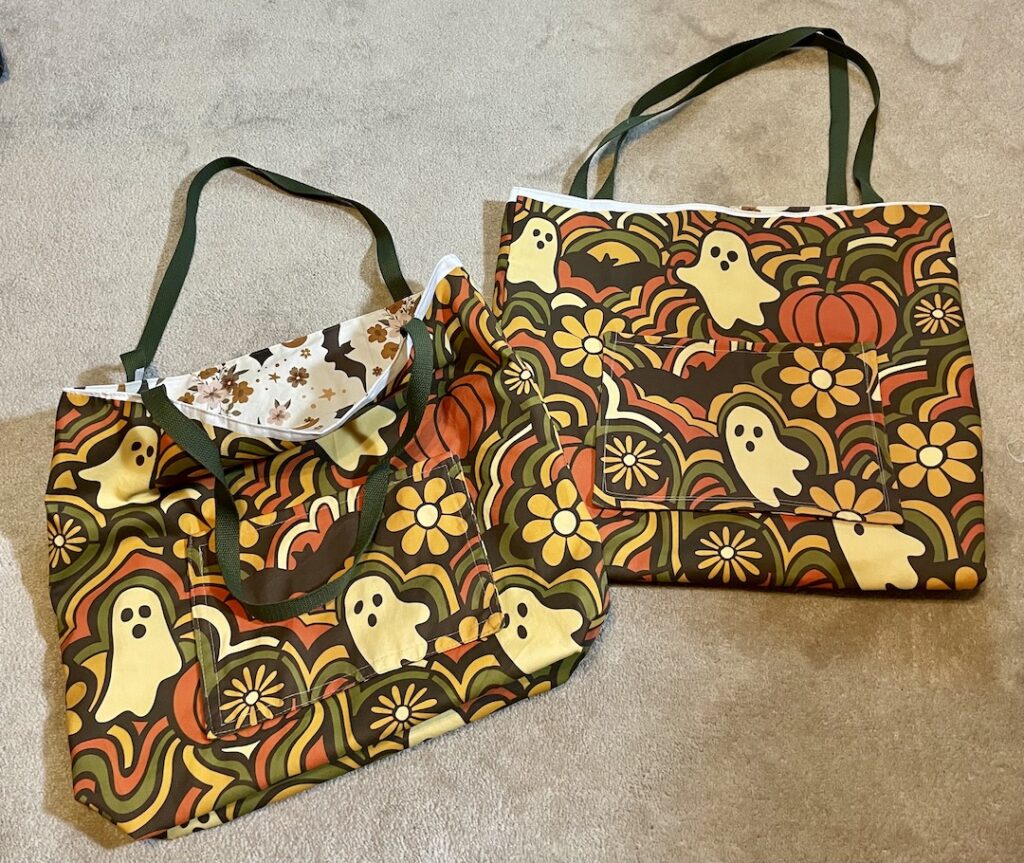
A hoy-hoy and Happy Halloween!! That’s right! It’s that time of year again…. My favorite time of year! The time for cool, crisp, clean air, vibrant leaves, darker nights, and cute little spooky ghosts, goblins, and witches running around for amusement and fear! Midnight Margaritas! This Halloween story, however, begins in the Summer: August to be precise. My favorite fabric vendor held a Halloween pattern competition and had uploaded their results onto the Instagram and lo and behold, I saw it! The best Halloween fabric ever!!! It has this grave-like groovy 1970s vibe with waves of warm earth tones of avocado green, harvest gold, and burnt orange sprinkled with a spectacle of ghosts, frightful bats, and a sinister pumpkin patch. Sorry, but I’m having fun with this theme! In general, I love the combination of the warm tones and Halloween theme. I had to have it.
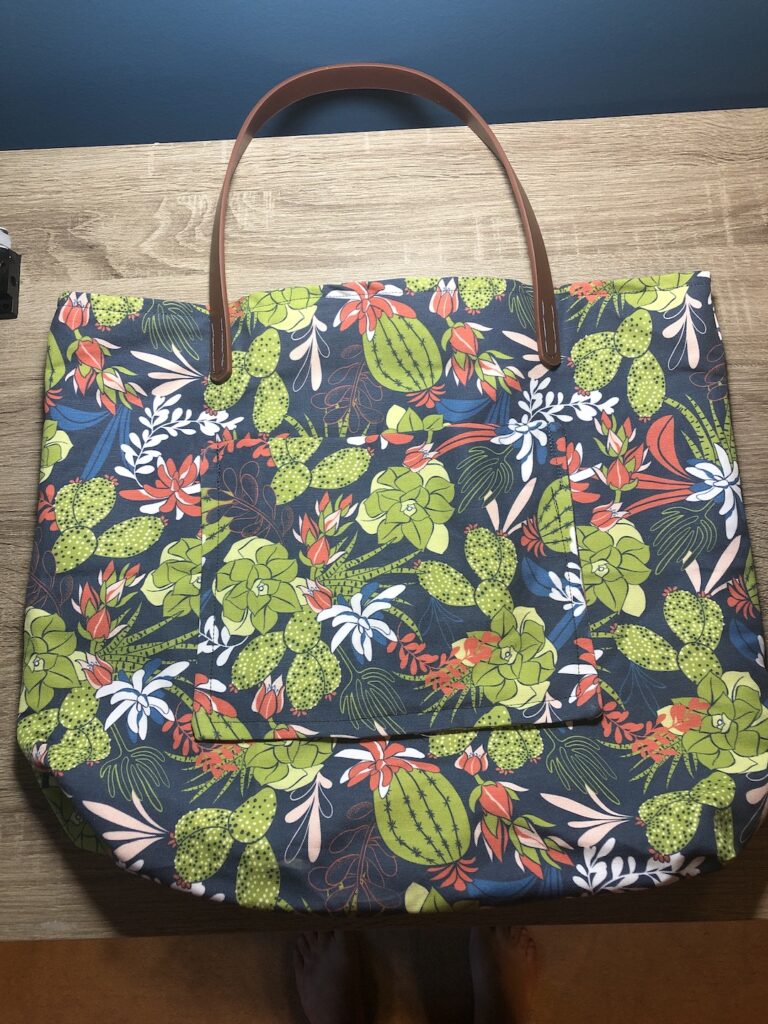
But what to do with it?? I had no idea. The Husband would kill me if I made another blanket (so many blankets). I guess I could have made PJ bottoms, but didn’t want to. Therefore I did what I always do when I am stuck in life, I doom scrolled on the Pinterest. Yup. This time, however, I found inspiration! Tote Bags! I had completely forgotten that several years ago, I had made several of these easy to make tote bags, and then I stopped. LOL. This gloriously spooky material, however, acted as my muse and I decided that this would be the perfect project: its fun and it will be useful, especially for camping! I am going to provide the original link to Spoonflower for their step-by-step here but throughout this spook-tacular blog, I will go through each step I took and any issues or “shortcuts” I found to make this project go as smooth as a bat’s wing.
Note – Here is the link to the instructions from spoonflower.com – I have followed most of these instructions. However, The Husband and I found the instructions for the corners to be infuriatingly confusing and I didn’t cut them at 5 inches. I did 2 inches. I just wanted to let you know!
PART ONE – THE HAUNTED INGREDIENTS
FABRIC TYPE
I had already picked out what pattern I would use for my project, the next step is to decide what type of fabric to use. What is the purpose of the item I am making? A bag. So, I will need to choose a fabric that is good on wear and tear – linen and silk are out, LOL. In the past, I would perform my Googling research. However, Spoonflower is a great tool not only to purchase fabric, but it is a resource you can use to assist you as you walk through the Vally of Sewing. LOL. For example, there is a section that goes over every type of fabric they have, what projects can be performed using that specific fabric, and how maintain the fabric. In the instructions for this Tote Bag, Spoonflower suggests using Lightweight Cotton Twill fabric. I looked this up, saw that it was a durable fabric appropriate for bags, and went with their suggestion.
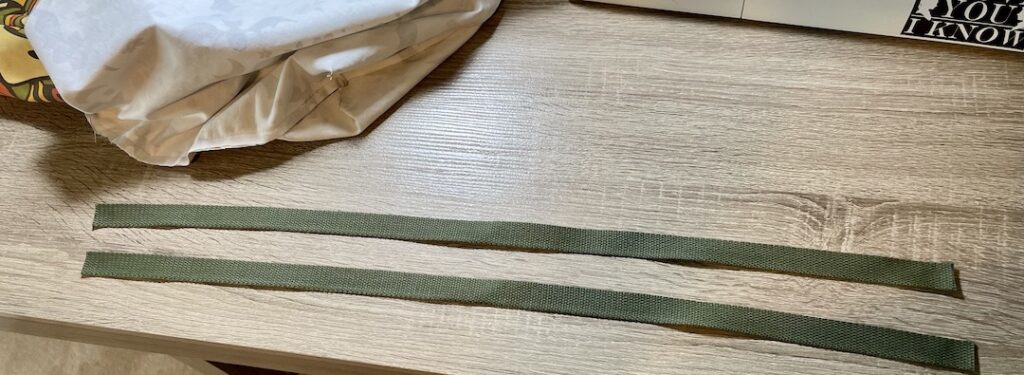
STRAP MATERIAL
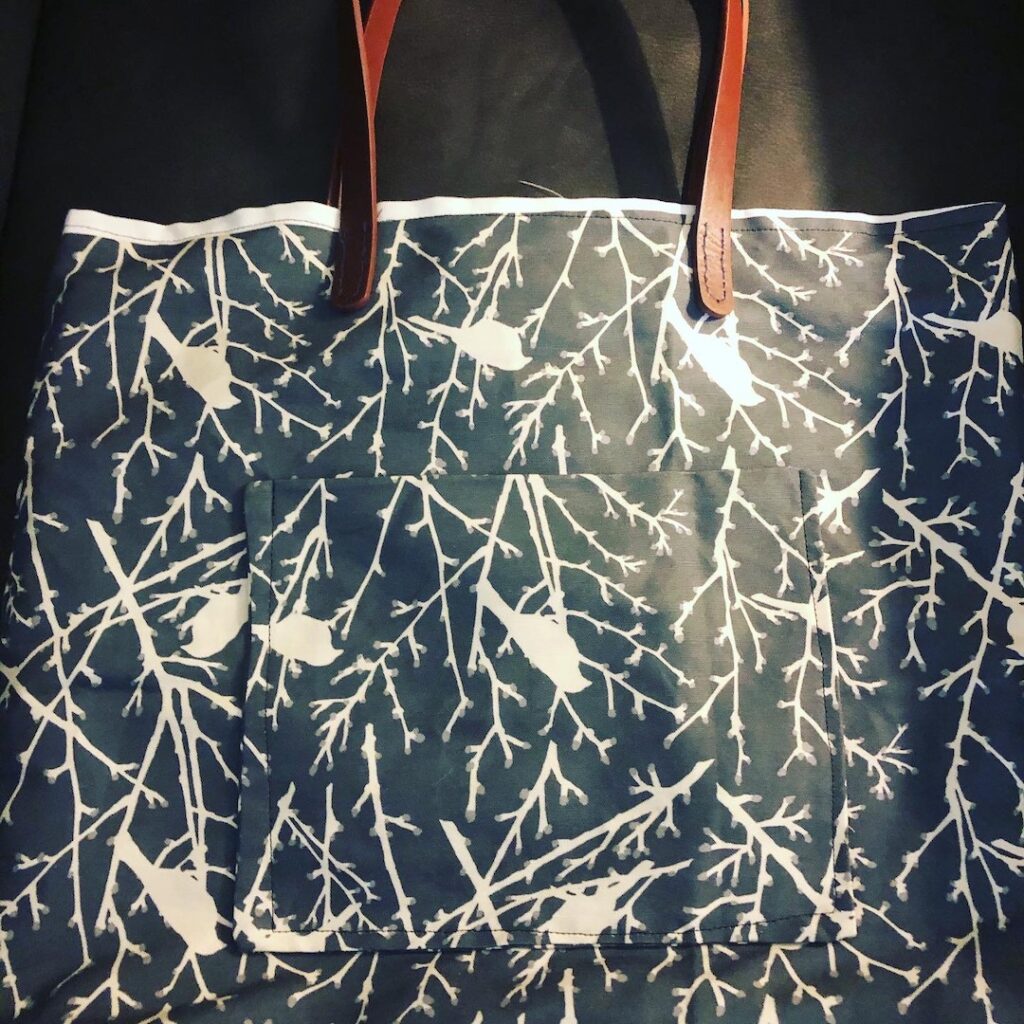
Do me a favor and look back at the photos of the first batch of totes I made several years ago. For those, I used a leather material for the straps. I liked the way they looked, and this was what the instructions wanted you to use. I must say that I had to sew the straps on by hand (no machine). I was a pain, and it took me awhile as I wanted to make sure that the stitches were well sewn and would not snap or unravel. It was honestly the reason I stopped making the totes as the straps were beginning to hurt my hands. This time around, I chose to use a Cotton Webbing Strap made for bags and belts. When we get to the adding the strap section of this blog, please not that mine will be different from Spoonflower’s. I don’t want to give anything away, but I will elaborate further when we get to this section. Now, without further adieu, lets getting conjuring, I mean, sewing!!
In the dark forest, in the deep, in the witch’s house, on the well-worn table, sat the menacing tote bag. A tote bag who none dared to reach into for fear of – wait, the sound of footsteps creeps along the hallway to the doorway of the kitchen. A woman of stern features, sharp, dark eyes, and long, flowing hair enters the room. She gathers supplies from shelves around the room and turns to approach the bag with arched eyebrows and a tiny smirk on her lips.
PART TWO – THE SPELL
(AKA – The Instructions)
What you will need:
1 yard of fabric**
1 inch wide by 27 inches long strap material
Fabric scissors
Ruler
Pins
Sewing machine
** 1 yard of fabric is for one tote bag
Step One – Cutting Material
In all reality, step one should be to wash, dry, and iron your fabric first. Then cut. WAIT!!! THE SPIRITS ARE TALKING TO ME!! They are telling me to warn you to pay attention to the carefully written instructions BEFORE you cut your fabric, lest you mess up and need to buy MORE fabric, like a certain blog writer…. HEED THE SPIRITS WARNING!!!!
So, yeah, I maybe became too excited, cut the fabric, and cut it completely wrong. I then had to go and purchase more fabric…. Don’t do what I did. Please.
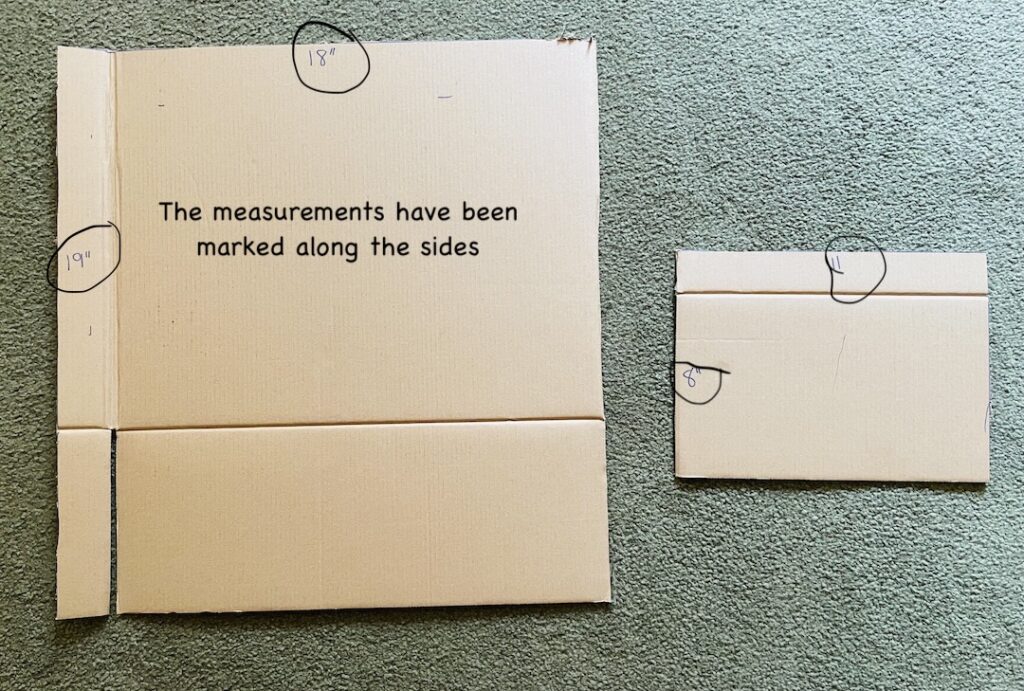
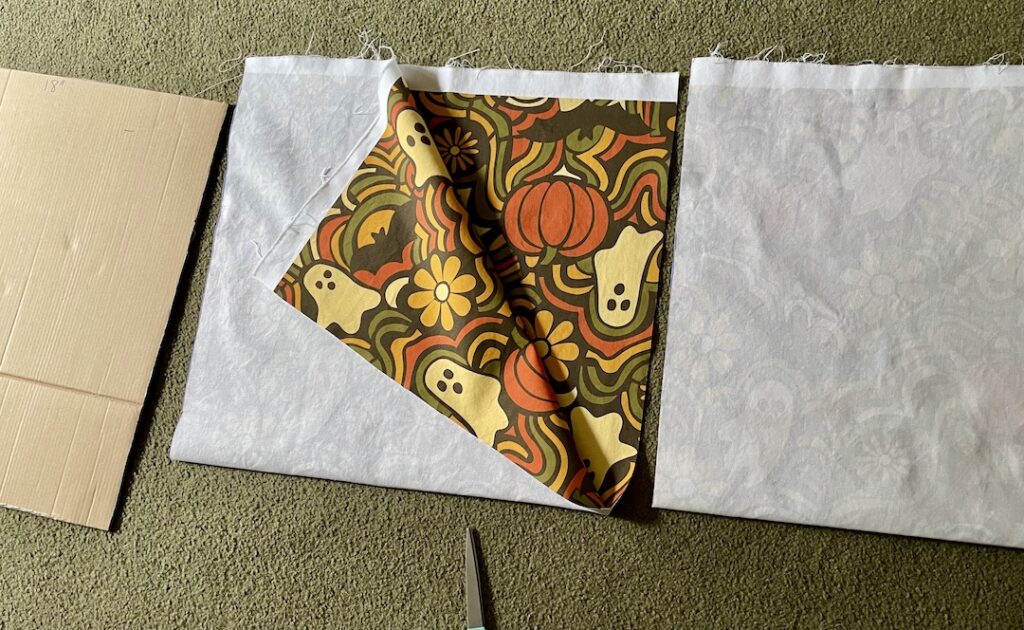
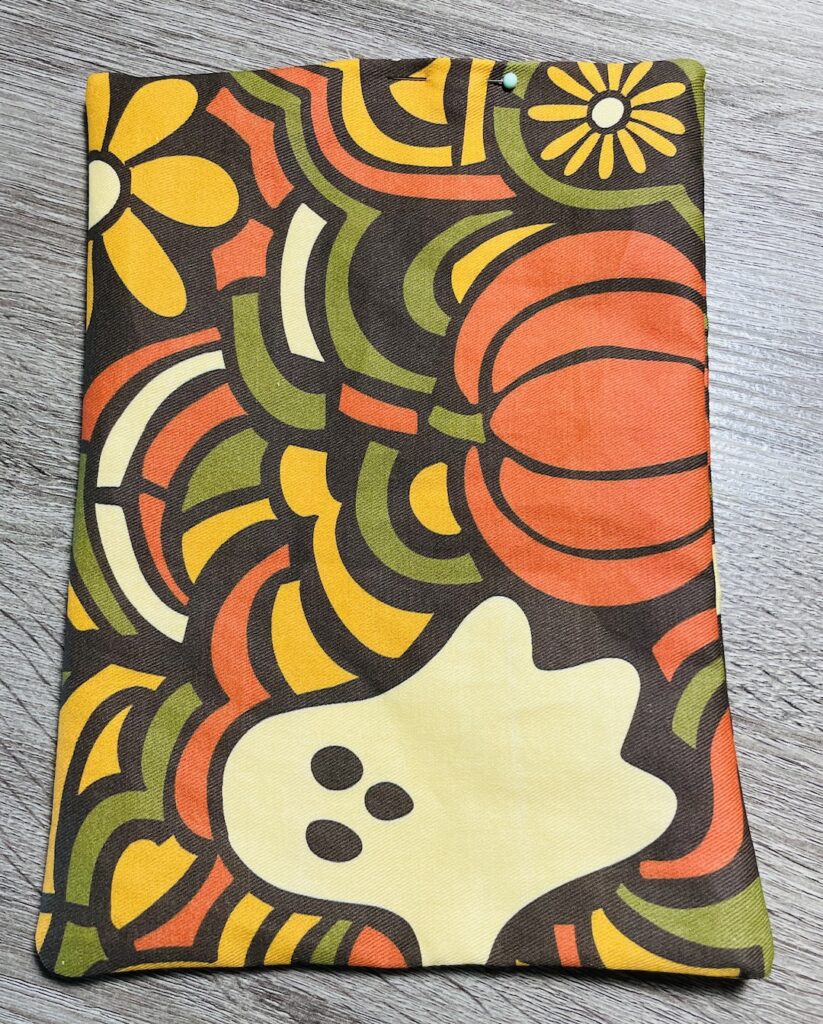
Make a pattern – I used cardboard to make one pattern for the interior and exterior fabrics and then a second pattern for the pocket. Pattern for interior and exterior fabrics should be 18 inches by 19 inches. The pattern for the pocket should measure 10.5 inches by 8 inches. Once you have them cut out, I would mark which is which, this will be important later, especially for the bag patterns. Please refer to photo that I took of the patterns I measured and cut out.
Cut out the Pattern – You have your patterns made. Now, take your fabric and fold it in half with the patterned sides facing each other!!! Please see this and do this. I didn’t, and then had to buy more fabric. Once you have the fabric folded in half, place your pattern on the folded side of the fabric, trace it, then cut it out. See pictures below. You should have three pieces of fabric that look like this:
POCKETS
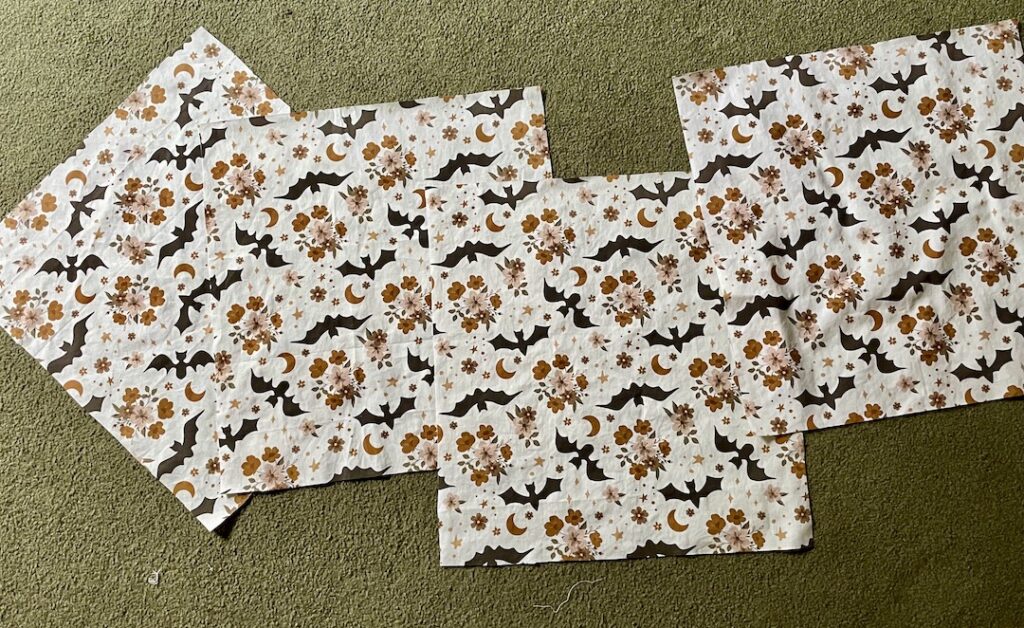
If you go to the original spell book (instructions online), you will read that the pocket material is one long piece (similar to the exterior piece of fabric). I cut that material in half. On accident, but then I just went with it, but I find it easier to sew in two pieces. Therefore I have two pieces that measured 8 inches by 11 inches.
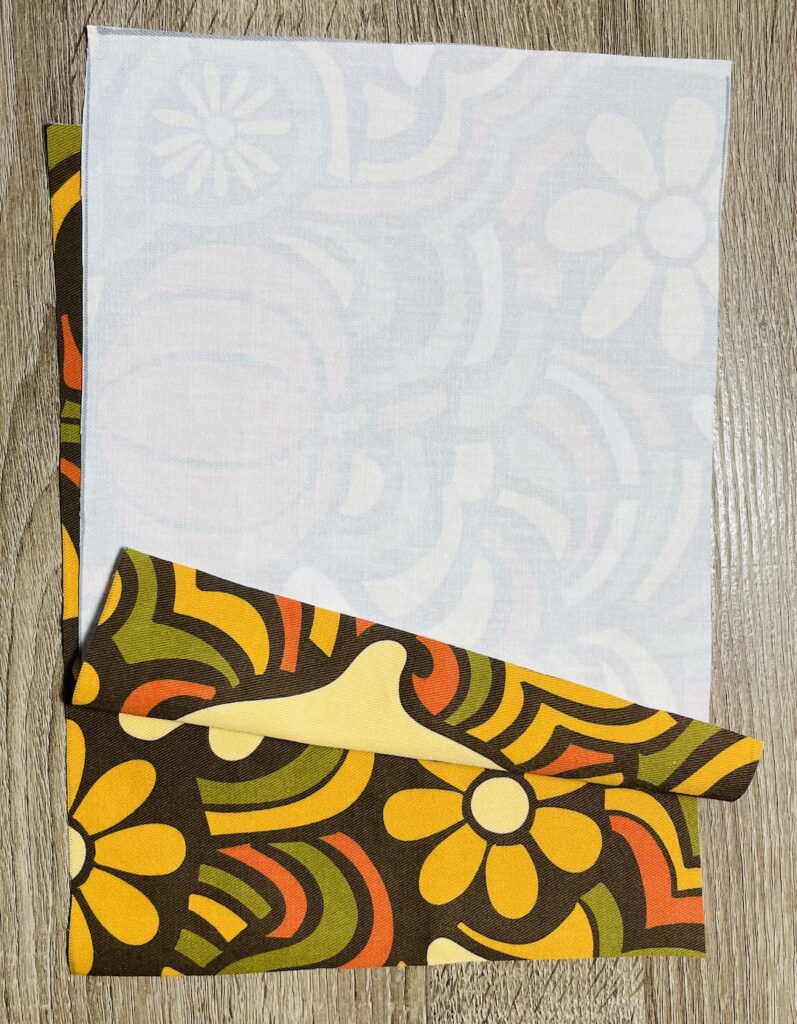
Step One – Take your two pieces of material and place them together with the patterned side facing each other, as you see if Pocket Picture 1.
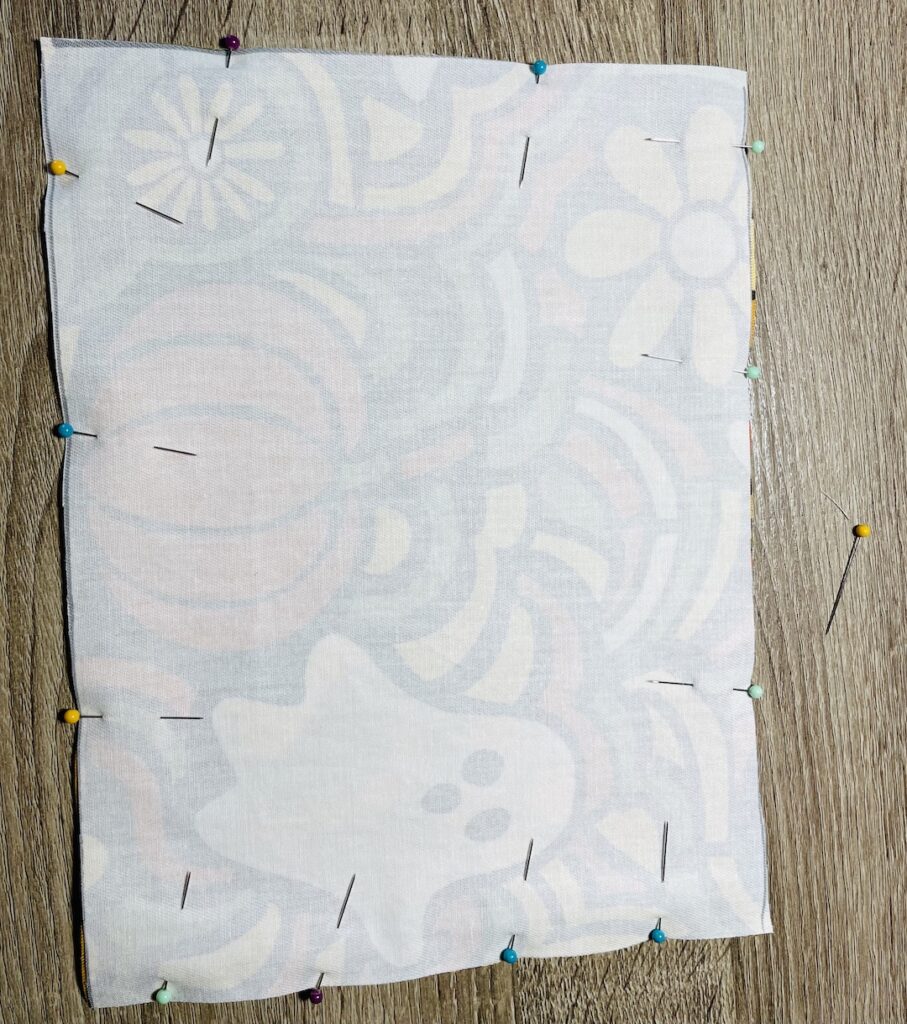
Step Two – Pin around the material but leave a 2-3 inch section open (this is so that, once sewn, you can turn it inside out as seen on Pocket Picture 2. Sew.
Step Three – Once sewn, turn the pocket inside out and use chop sticks or pencil or whatever to make sure the corners have been turned out correctly and are as sharp as you can get them. See Pocket Photo 3. You can also iron the pocket, which would help you in Step 4, but you don’t have to (I did not out of sheer laziness).
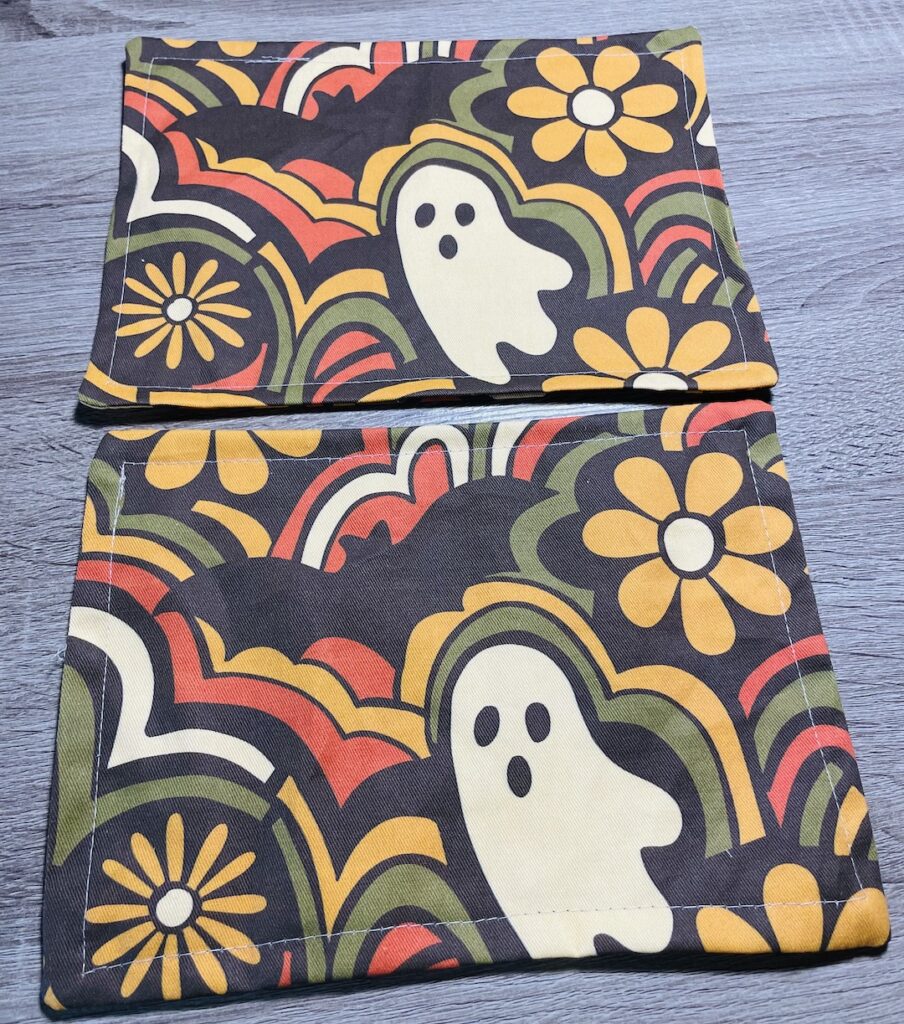
Step Four – Once turned out, pin where there is the opening (we need to close this). I chose to sew all around the pocket for a more completed look. I used a 1/4 inch seam and sewed all around the pocket… and DONE! See Pocket Picture 5 for ready-to-attach pockets!
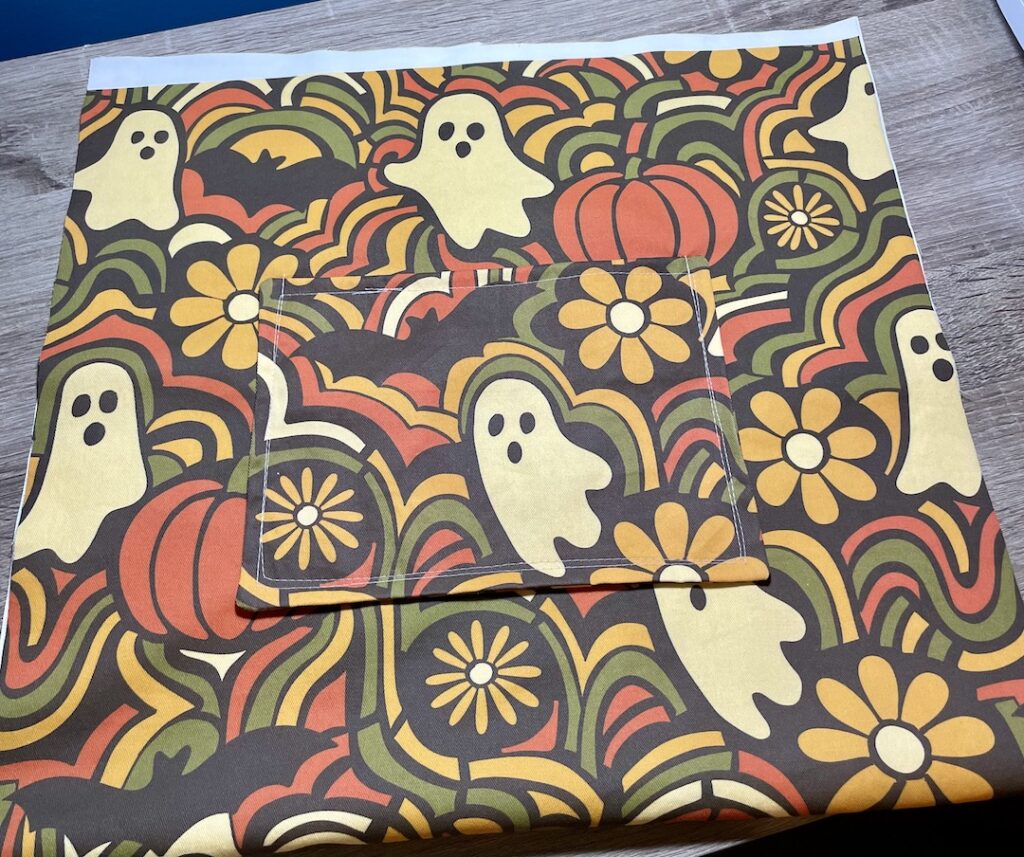
ATTACH POCKETS TO EXTERIOR FABRIC
Step One – Take your pocket and place it where you want on the exterior fabric – pin in place.
NOTE: If you want, you can measure the pocket 5 inches down from the top of the fabric and center
Step Two – Sew along the sides and bottom – leave open the top! Use a 1/4 inch seam here.
INTERIOR FABRIC
Please note – The Exterior fabric will be left as one long piece of fabric. The Interior fabric you cut into two pieces.
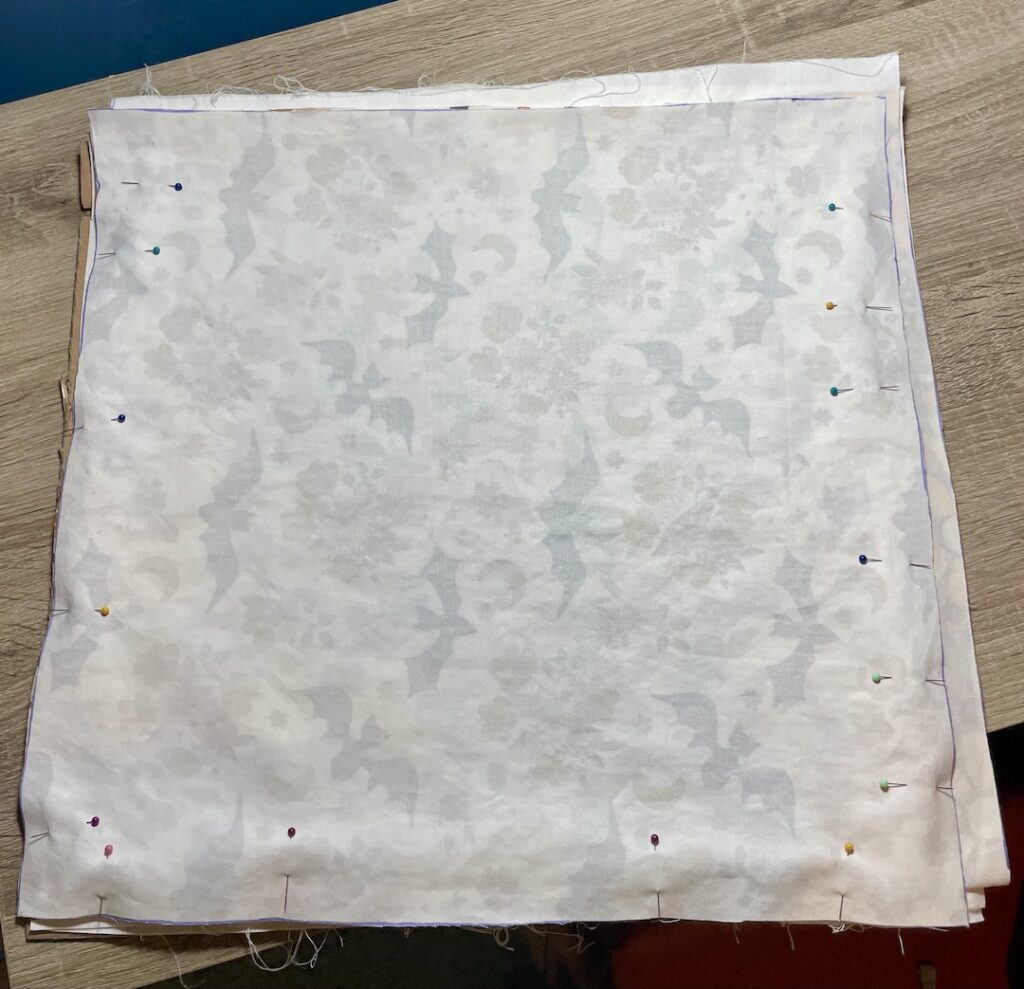
Step One – Take your two pieces of interior fabric and them together patterned side facing each other. Pin the two sides and the bottom – leave the top open! While pining the bottom, leave a 3 inch gap where we will not be sewing (we need this to turn everything inside out once we are done).
Step Two – Sew around where we pinned – make sure to leave the top open!
EXTERIOR FABRIC
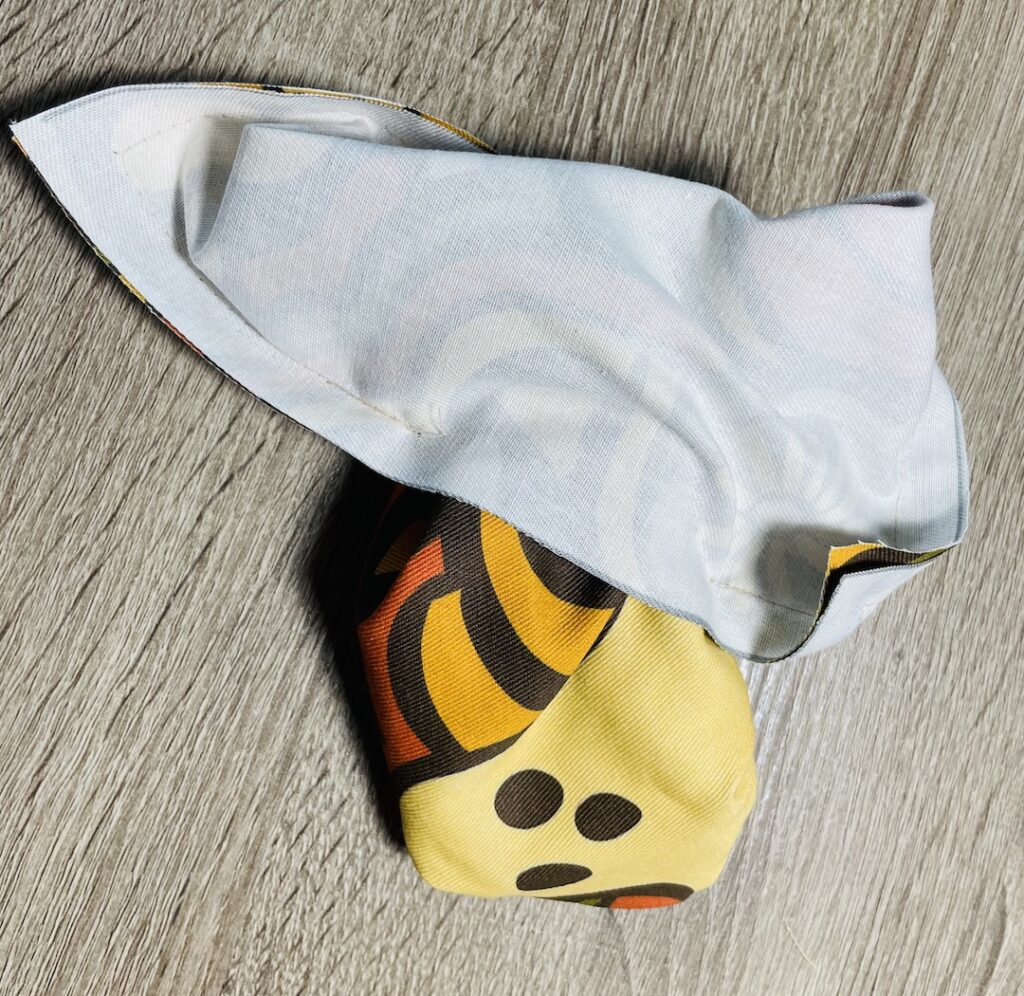
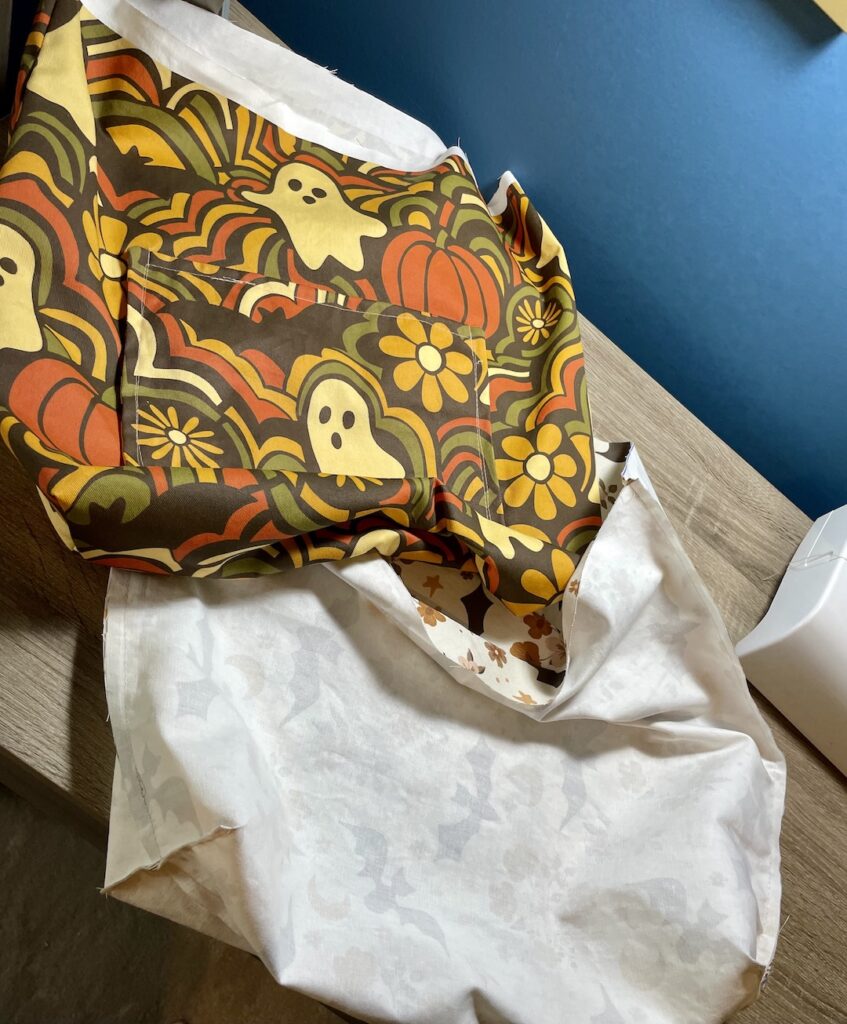
Now that the pockets are attached. Turn the material inside out, having the pattern face each other. Pin the sides and sew along the sides. The bottom will be closed as we never cut the bottom (as we did for the interior fabric).
STOP!! Okay. Let’s look at life right now. We have the exterior pocket added and the sides sewn together. Check. The interior fabric is also sewn together completely up the sides, the bottom we check a 3 inch gap and the top is open. Okay, lets move on…
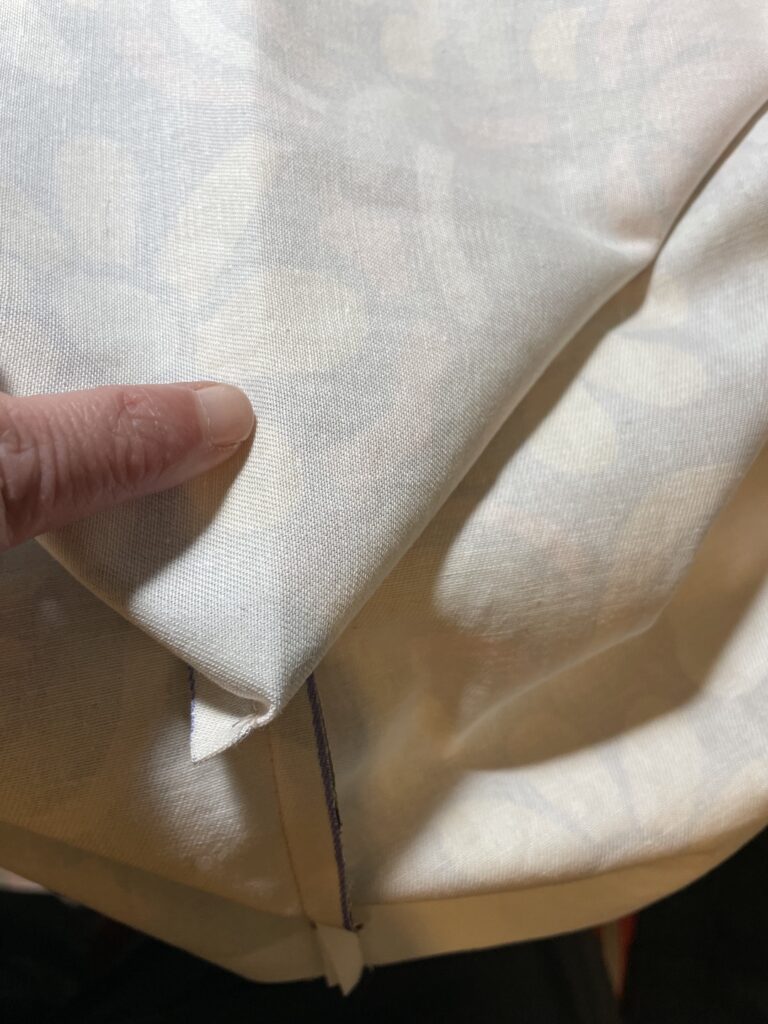
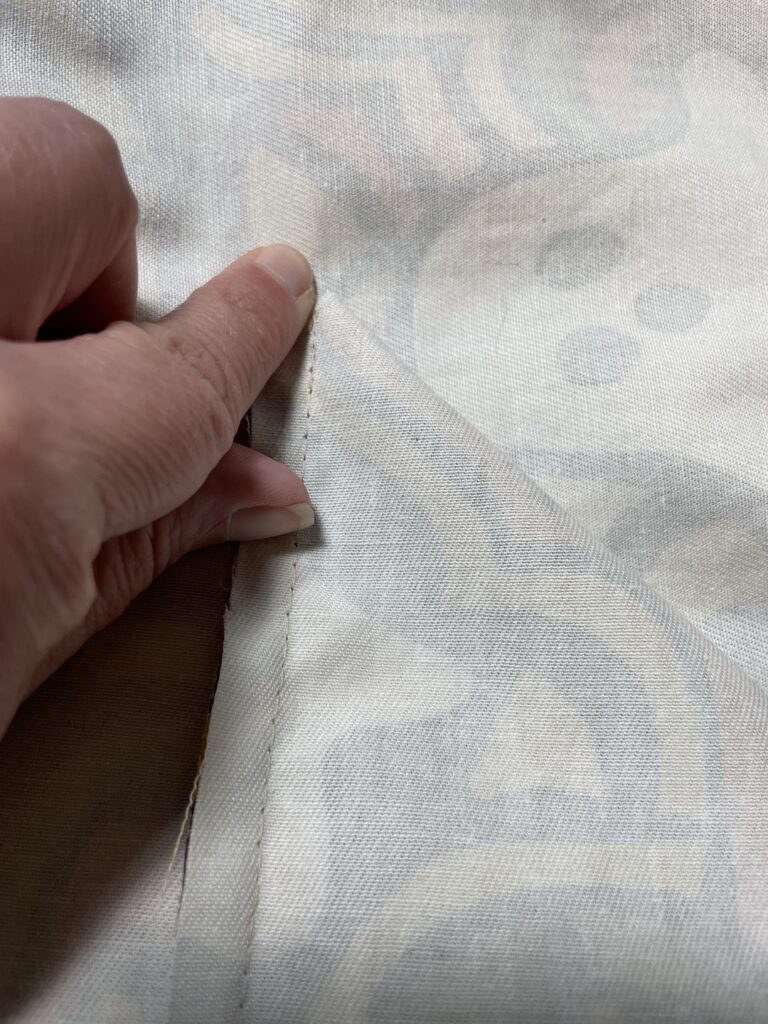
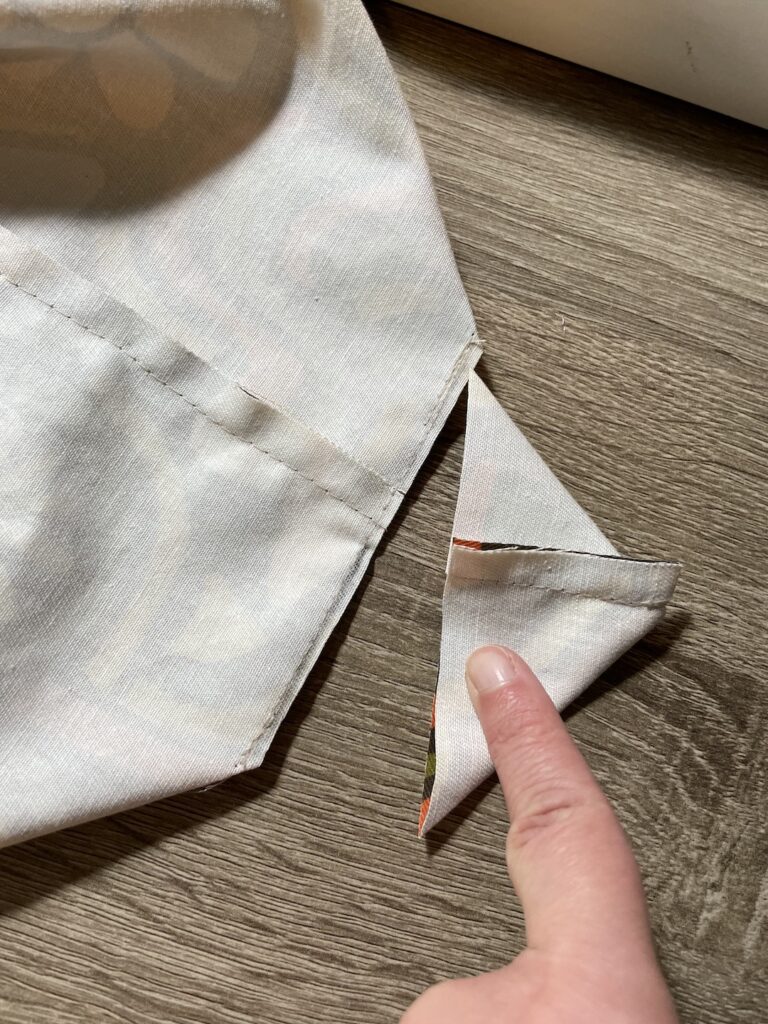
THE CORNERS
Step One – Now we’re going to square off the corners. The exterior fabric is going be a little bit different than the interior fabric because there is only a bottom crease on the exterior but for the interior fabric, we sewed a bottom seam. Place your hand inside the fabric by the corner and make a triangle. You will see the side seam with the stitches. Line this up with the bottom crease.
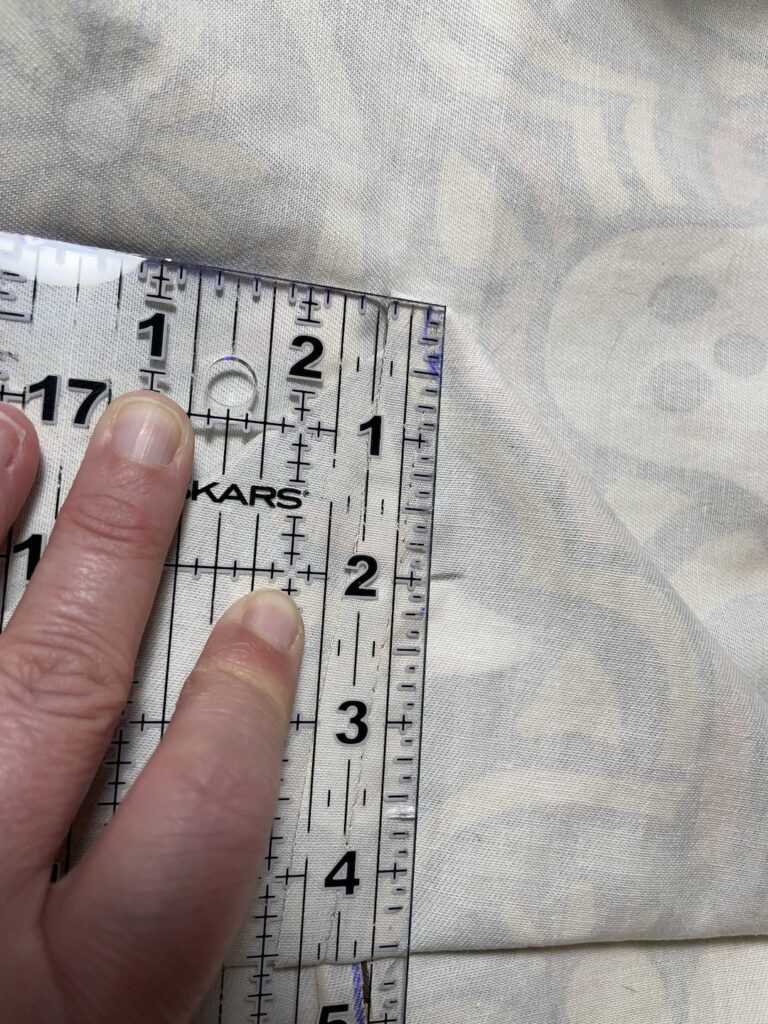
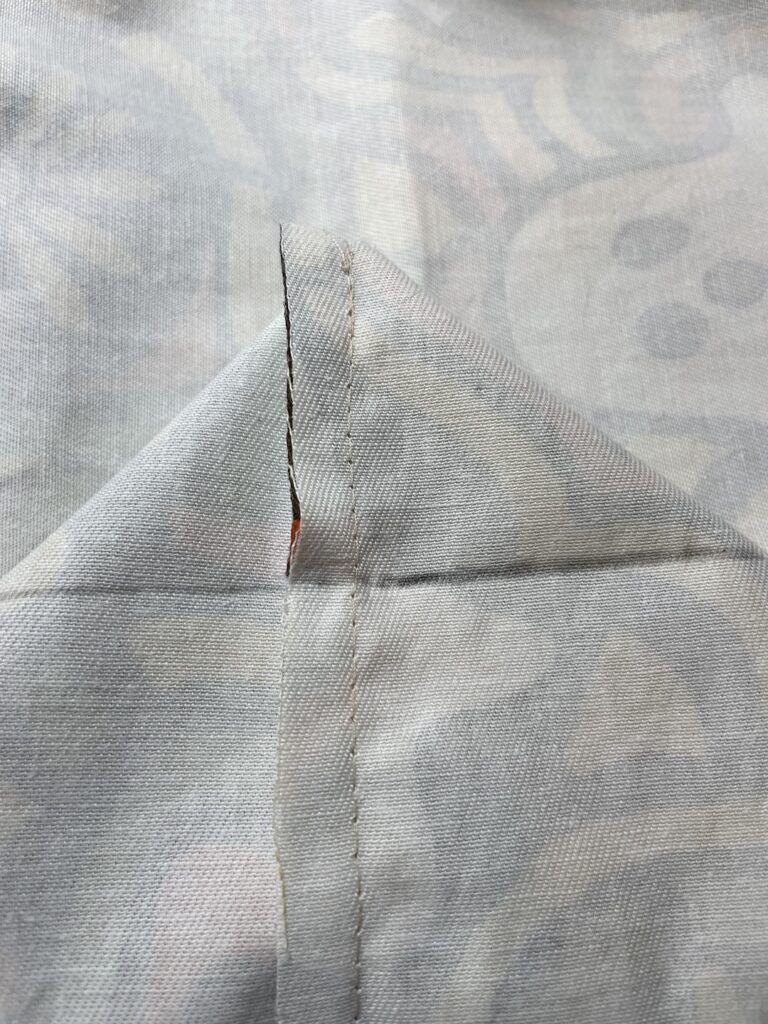
Step Two – From the tip of the triangle measure down 2 inches mark a horizontal line across. Sew along this line and then cut off along the line. Repeat for the other corner.
NOTE: I wanted to note and show you that for the interior fabric, it is a little bit easier because we have a sewn bottom seam that we can line up with the sewn side seam – measure, mark, sew, and cut as before.
PUTTING IT ALL TOGETHER
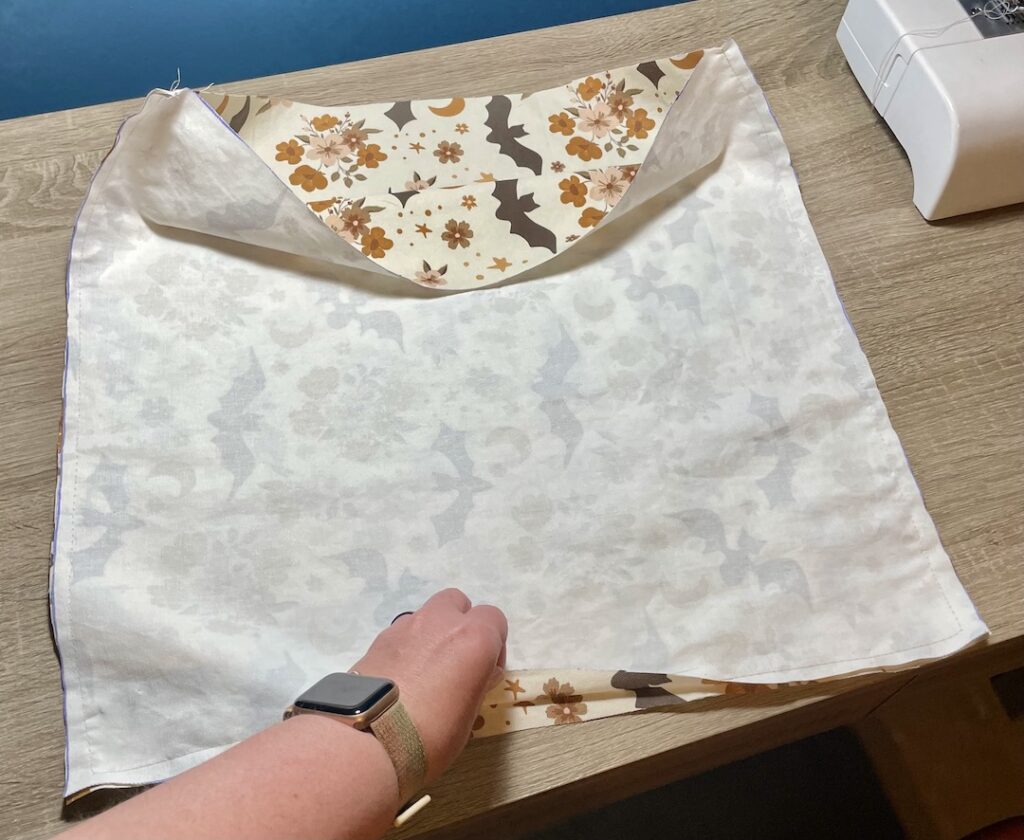
Step One – Take your exterior fabric and turn it right side out. Leave the interior fabric where the pattern is facing each other, and put the exterior into the interior – now the patterns are facing each other. Make sure to line up the squared off corners, the side seams, and the very top of the fabric.
WAIT! THE STRAPS!!
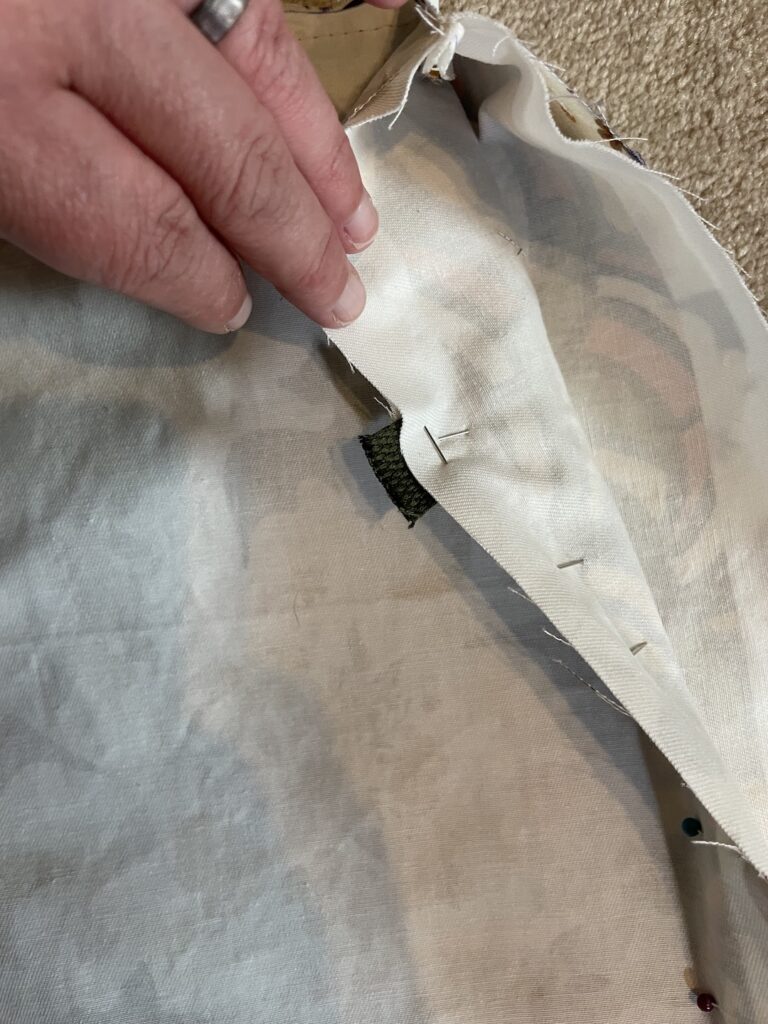
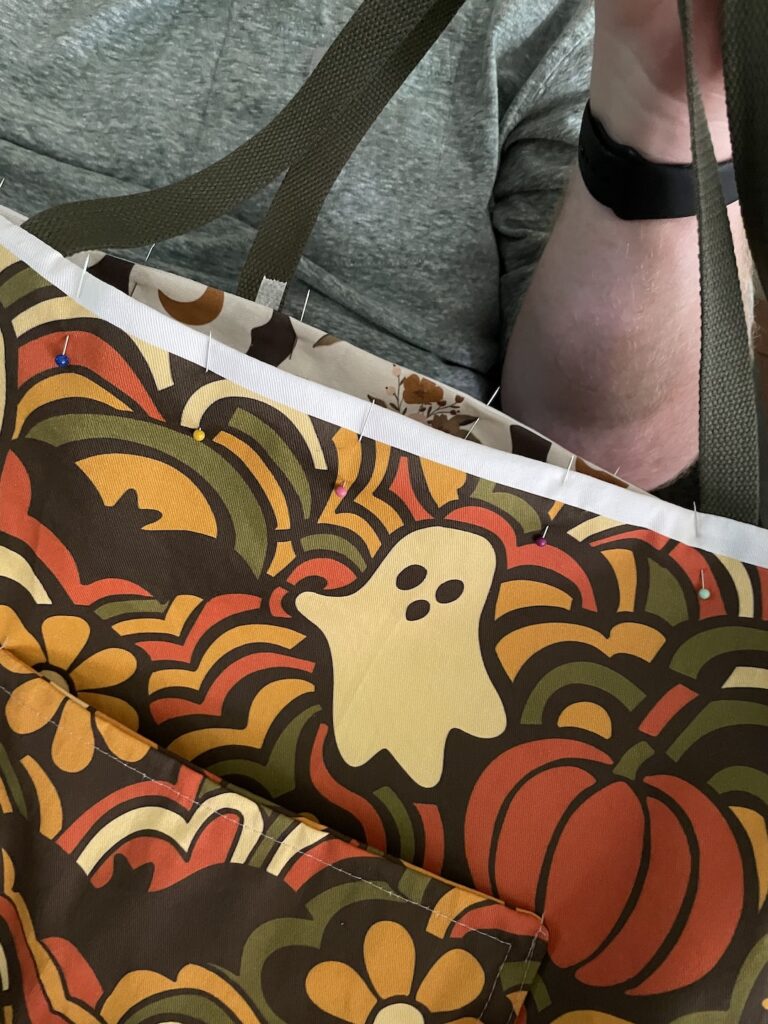
Step One – Measure your strap 27 inches you’re going to need to straps one on each side
Step Two – Take your straps and place them in between the interior and exterior fabrics making sure the edge is sticking out – pin

ASSEMBLING THE CREATURE
I swear to you, we are almost there. Thank you for sticking with me on this.
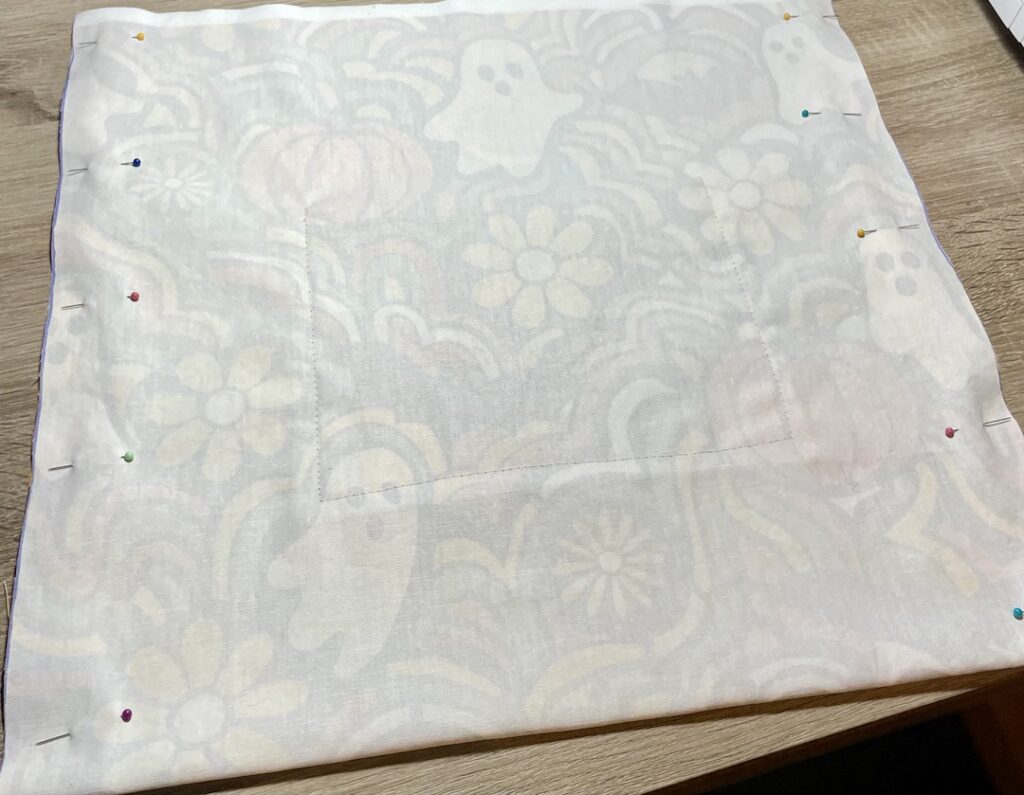
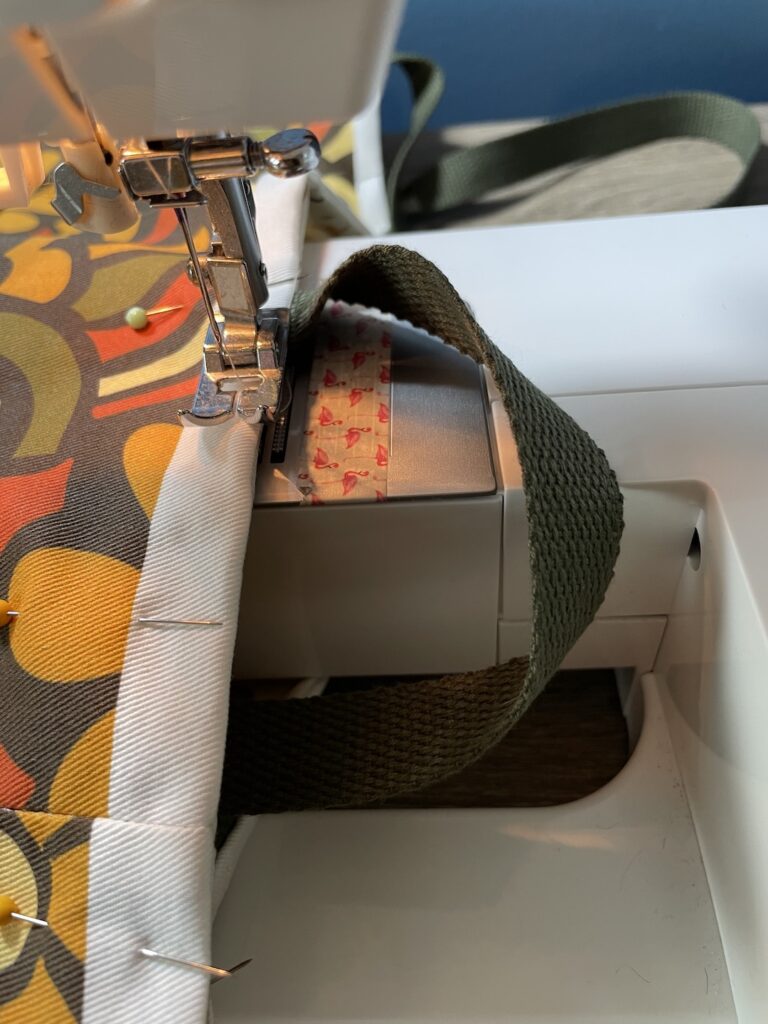
Step One – Sew around the top of the bag to attach the interior to the exterior fabrics together
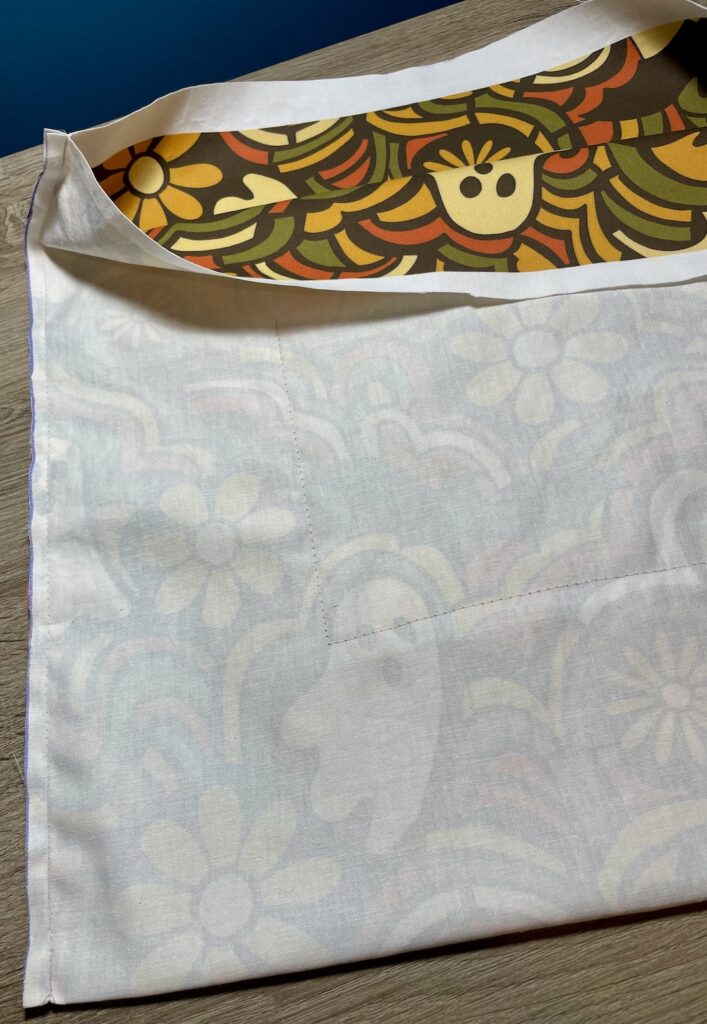
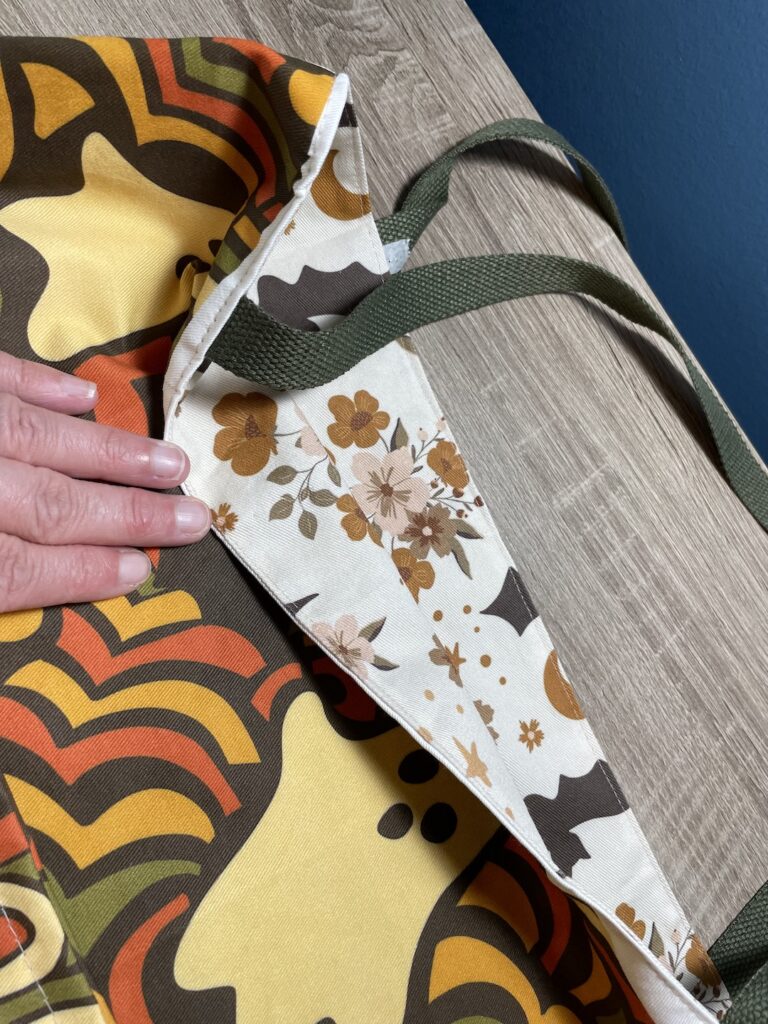
Step Two – Remember that hole we left at the bottom on the Interior fabric? We are going to use that hole to turn the whole bag inside out. Now all correct sides of the pattern are out and showing!! The straps should also be out with the bottom safely tucked away on the inside where no one can see them.
Step Three – Sew that hole in the bottom of the interior fabric closed – don’t need anything falling in there!
Step Four – Again, line up the corners, side seams, straps, and the top edge of the bag. Pin this together and sew around one last time – this is to ensure everything is secure.

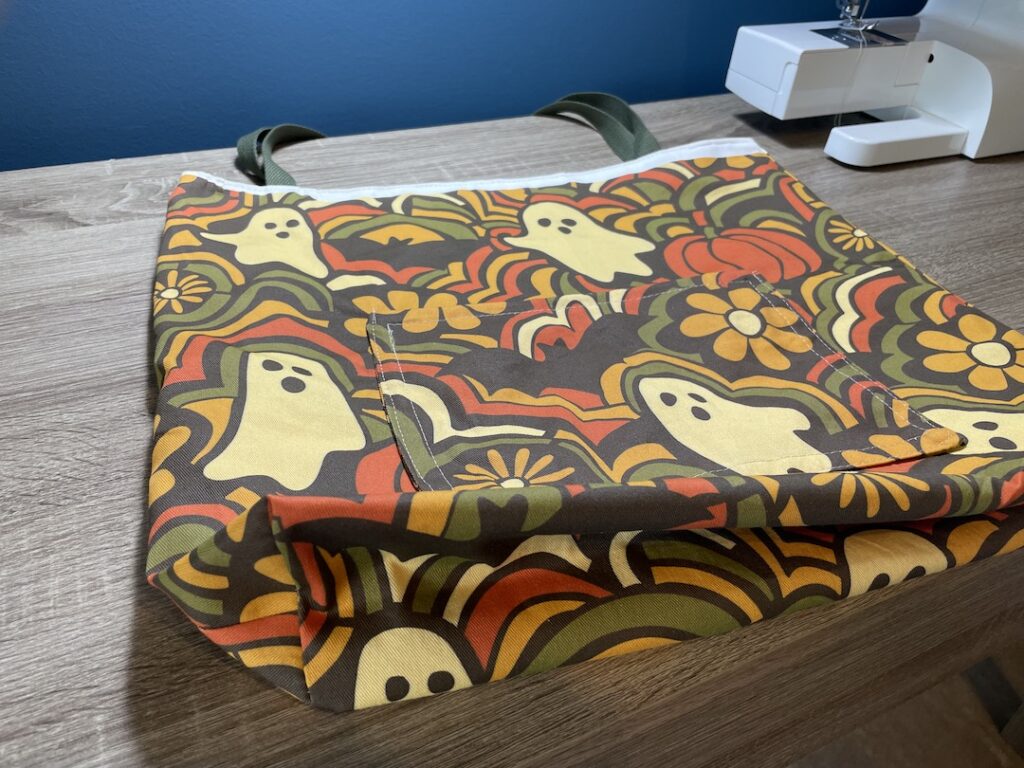
IT IS DONE!!
Rats scurried and bugs jumped quickly out of the way. Crickets stopped serenading and the creatures of the night, who’s eyes shone with warning, hid at the pattering of her shoes against the cobblestone path. The notorious bag was slung over her petite shoulder: what sounds and movements came from the bag? No one knows. Well, one person knows. And as she checks on the contents of the bag, she looks up and smirks. Tonight was a night for mischief and spells!
The Conclusion
Okay. Now you can leave it open as I have or you could add velcro to close or even use snaps to close, if you so chose. I just knew, back in August I had to do something with this groovy ghost fabric and tote bags it was. I will be using mine for camping storage – you can never have too many things to carry around in. I hope you enjoyed this chilling blog on how to sew a tote bag! Until next time, happy sewing and Happy Halloween!!!! MUWAHAHAHAHA!!!


I absolutely adore this bag!!
THANK YOU!!!
Very good, I believe after reading the instructions I could possibly make one. Maybe not! I also enjoyed the story. Another great blog, keep writing and creating. Love you.
Thank you so much! I had a lot of fun writing this Halloween post!
Another beautiful creation and another fun blog!! You will look great with it next October as we visit Halloween, SC, known the rest of the year as Conway!! 🧙🎃🦇
Thank you and yes!! That sounds great!
Great job! I love the story with it. And the bags are amazing! I use mine all the time. Great AI pics too.
Thank you so much! I saw the fabric and knew I had to do something with it and immediately thought of you!!!
Love love love it!!!!
THANK YOU!!