A hoy-hoy and welcome back!! Throughout this post we will be discussing the many interesting facets of vanilla. Yup, we are back to vanilla for I have deemed 2025 as the Year of Vanilla. Today we will combine two ideas: the many wonderful attributes of vanilla while following along with my first time making a “legit” cheesecake. I have helped people make cheesecake, gave them the tips and tricks, but I have not, myself, made one; but first, Vanilla. In general, vanilla has been labeled “boring, mundane, and plain”. However, used correctly, vanilla can brighten any dish or stand out on it’s own! Ancient civilizations from Mexico have used vanilla to flavor their cocoa and other dishes. Quick quiz: Did you know that vanilla is, in fact, a spice? I didn’t either! Vanilla comes from the dried fruit pods of the vanilla planifolia orchid. That’s right, vanilla is a spice.
“Somehow the word “vanilla” has come to mean bland and boring, but in my book, there is truly no flavor more intoxicating.” Claire Saffitz, 2022
My muse and I share similar feelings on vanilla as it does not garner the respect that it deserves, and at least in this post, we are going show vanilla the respect it DOES deserve. Therefore, get yourself and your thesaurus ready, because I am channeling my inner food writer for this post to promote vanilla for the magnificent spice that it is!
Patisserie Items in Vanilla
From the rich, luscious thickness of pastry cream, to the light, airy voluminous clouds of whipped cream, and ending in the thin, sweetness of glaze – the delicate, floral flavors of vanilla are what has us coming back for more. We invite vanilla delicacies onto our birthday tables in the form of triple layer birthday cakes covered in bright and festive sprinkles, holiday treat boxes (including the Italian treat called maritozzi, marrying rich brioche buns filled with a sweet, velvety cream), to the everyday table in it’s most simple, yet transcendent forms: ice cream or pudding. Just as coffee and chocolate meld and marry together in dark, robust, complex flavors; so do vanilla and salt or almond flavoring which adds a creaminess to the vanilla enhancing its evocatively floral, buttery notes.
Two sumptuous examples of the enhancements to vanilla include the humble vanilla pudding and velvety vanilla cake. It is a truth universally known, that vanilla is the most competent and consistent wing man in the world of baking. It has the capacity to broaden and deepen, to enhance the complex flavors from deep, rich chocolate to floral fruits, and to deepen the light flavors of citrus. However, vanilla can, and does stand up for itself when given the opportunity. Pudding is the true conduit for the ambrosial tastes of vanilla: its creamy, buttery, and floral notes truly shine in this luscious concoction. Then there is vanilla or white cake. You all know my love and passion for vanilla or white cake. It is all encompassing. I love my chocolate cake too (hell, I love cake, we know this), but as I have preached before and will continue to do so, it is light, with creamy floral notes of smooth buttery spice of vanilla.
Different Mediums of Vanilla
The Glorious Vanilla Bean – I must admit that I have never seen nor worked with a vanilla bean. Honestly, they are simply too expensive, and where I grew up, you never saw them in the stores. That was for celebrity TV chefs, not us normal folks. Therefore, I cannot tell you how to use them, what they are like, or what they taste like. I have heard they are very robust, sweet, and floral, with, of course the tell-tale signs of the small black flecks to prove a real vanilla bean was used. Let’s look further into the other two mediums for vanilla…
Vanilla Paste – This, this is my go-to choice for vanilla. However, this form of vanilla is brand new to me! My muse (all hail Claire) introduced me to vanilla paste and I have not turned back. It combines the wonderful black flecks of the vanilla bean in a thick and viscus vanilla extract. I absolutely love this stuff, as does Erin Jean McDowell. She prefers this as her medium for vanilla delivery.
Vanilla Extract – Vanilla extract is what we all grew up with. It is the tried and true method for vanilla use as it is easy to find at either a grocery store or even at the Dollar Store. I have been known to use vanilla extract in conjuncture with the vanilla paste, simply for an extra redolent kick of vanilla.
I hope this was helpful, but now, on with the cheesecake!!!
The Cheesecake
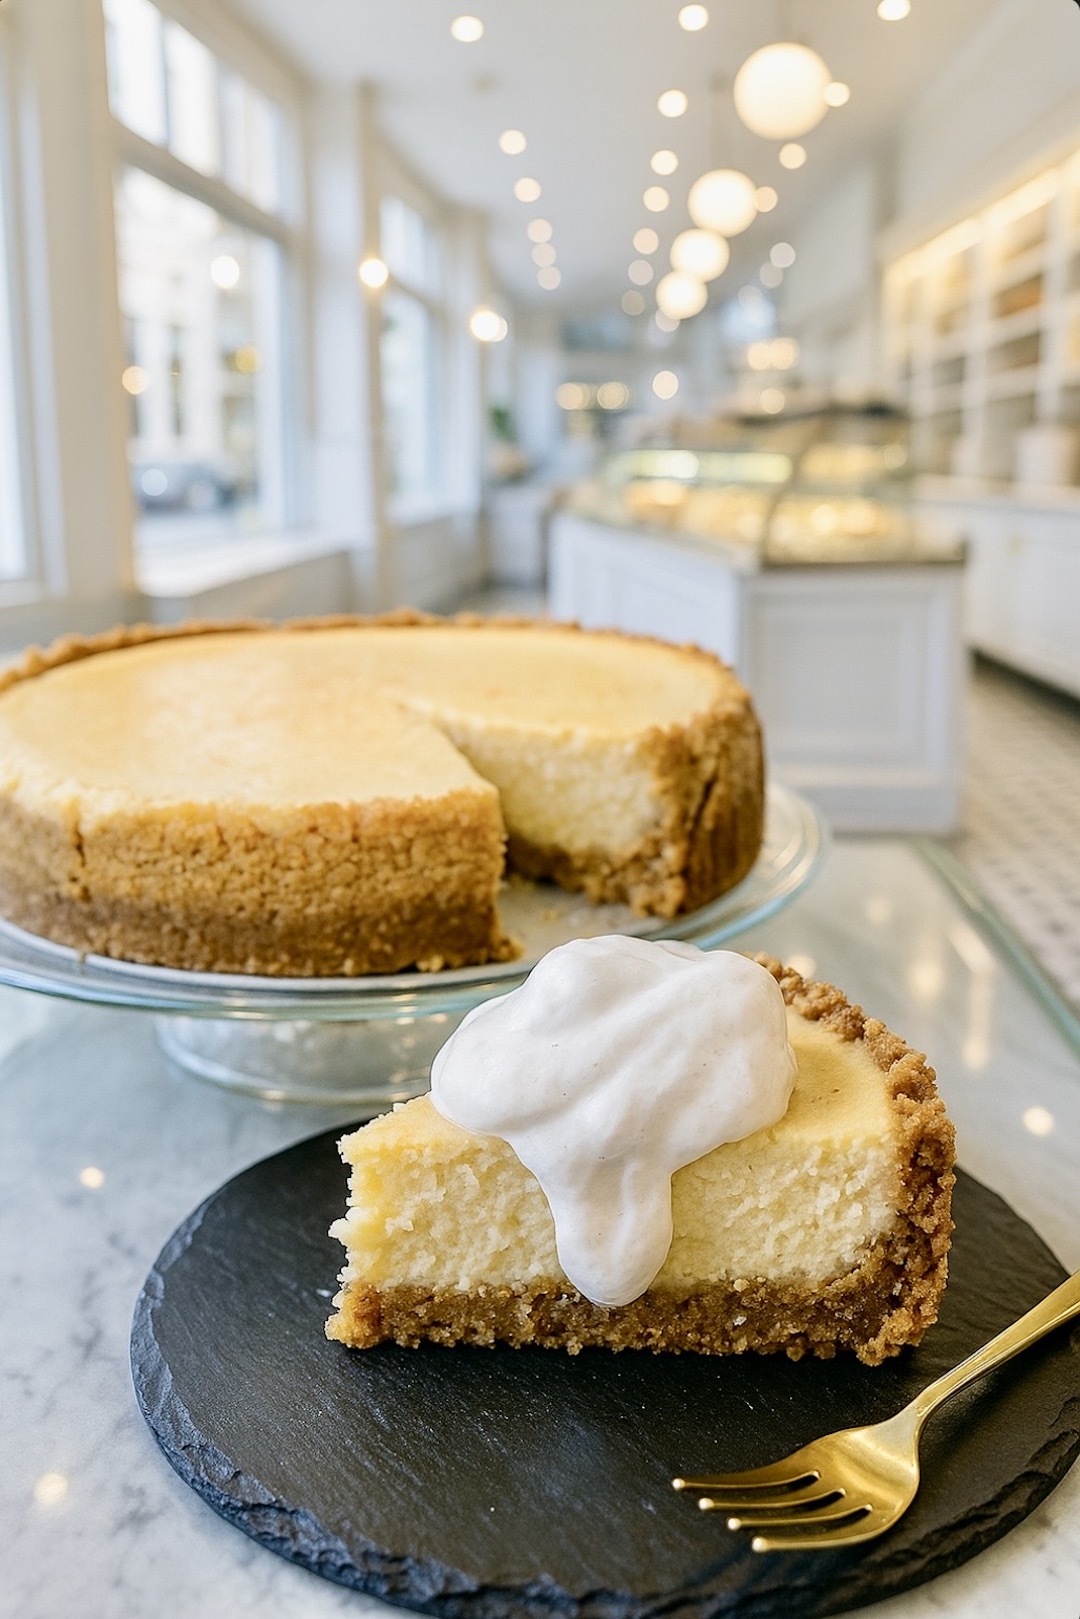
The Cheesecake. I am not an actual huge fan of cheesecake. It is never my first or even second choice for desserts. However, when I do eat cheesecake, I usually really like it. I just really like cake and/or warm brownie sundae. However, as I was scrolling through the Pinterest, I saw this recipe for brown butter vanilla cheesecake and thought, YES. Did I mention that cheesecake is my dad’s favorite dessert? Well, it is. So, I saw this and thought, two birds, one stone: vanilla cheesecake with brown butter and dad’s favorite dessert. As mentioned above, I have never made a true cheesecake. Therefore, you, my glorious readers, will walk with me on this cheesecake journey, and I will let you know what did and did not work!
What You Will Need
I am first going to lay out all of the ingredients you need to assemble this luscious cheesecake. Then, I will break down each step with the ingredients again in an attempt to make this easy-to read and follow.
Browned Butter
1 cup of butter
Browned Butter Crust
2 cups of graham cracker crumbs – ground or pulverized in a food processor – this is a refined dessert and therefore, we require fine and refined crumbs LOL
1 cup of pecans – again ground like the graham crackers
1/2 cup plus 1 TB of the browned butter – try to save the browned bits for the cheesecake. This means, use the liquid, leaving behind the browned bits
2 TB powdered sugar
Browned Butter Cheesecake Filling
2 packages of FULL FAT cream cheese – at room temperature to ensure maximum creaminess
1/4 cup of browned butter with the brown bits!!!
1/2 cup of sour cream
1 TB vanilla bean paste
1 tsp of vanilla extract
1/4 tsp salt
2 large eggs – at room temperature
Whipped Cream Topping
1 cup heavy whipping cream
2 TB brown sugar
Pinch of salt
1 tsp of vanilla extract
1/2 TB of vanilla paste
Cheesecake Making Steps
I – Browned Butter
1 cup butter
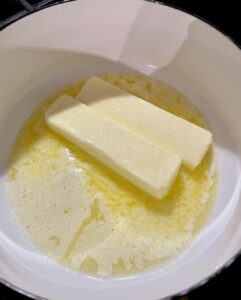
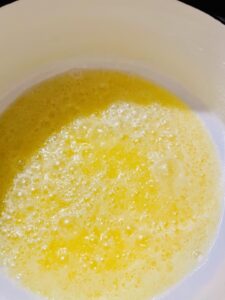
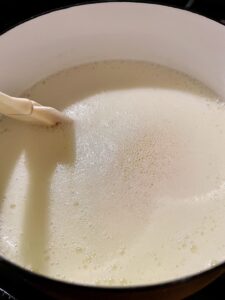
Step One: Place your butter into a saucepan (I happen to have one that is white on the inside, which will assist in me seeing when the butter begins to brown. If yours is metal, don’t worry, simply use a spoon to scoop it up to see brown butter progression).
Step Two: Turn your burner onto LOW. I am instructing and praying that you heed my advice and make sure the burner is turned to LOW. This golden elixir of the cheesecake gods suffers no fools, or those who try to rush good things. Low and slow – think BBQ and always keep an eye on your butter.
Butter Browning Stages:
A – The butter will melt and then begin to bubble and foam white cloud-like tiny bubbles
B – From the white cloud foam it will begin to clear up, this is the water from the butter evaporating.
C – The bubbles will become bigger and clear instead of white, similar to the bubbles in a Bubble Bath
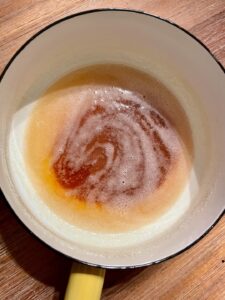
D – Those bubbles will then form another cloud cover of white small bubbles and you will begin to smell the butter toasting – it is at this time, you want to check for brown butter bits and the butter liquid to turn a golden brown.
Step Three: Set this aside to cool – do not put in the refrigerator – leave at room temperature to keep the browned butter in its liquid state
II – The Crust
2 cups of crushed graham crackers
1 cup of ground pecans
1/2 cup plus 1 TB of browned butter
2 TB powdered sugar
Pinch of salt
Step One: Get your springform pan ready by placing foil all around the outside – think of swaddling the beloved pan in a luxurious aluminum cashmere sweater for warmth and protection from the water bath it will later be lovingly placed in – trust me on this
Step Two: Turn your oven onto 350 degrees
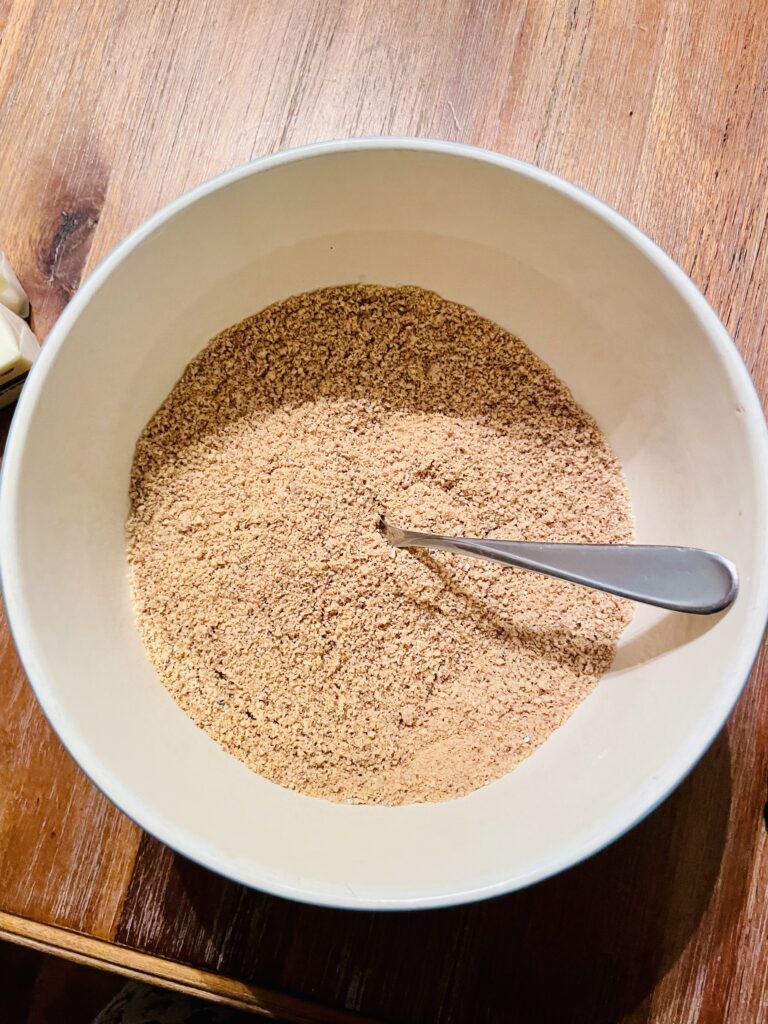
Step Three: Make sure your crackers, pecans, and sugar are well combined. Add the melted browned butter and mix to combine – should look like wet sand
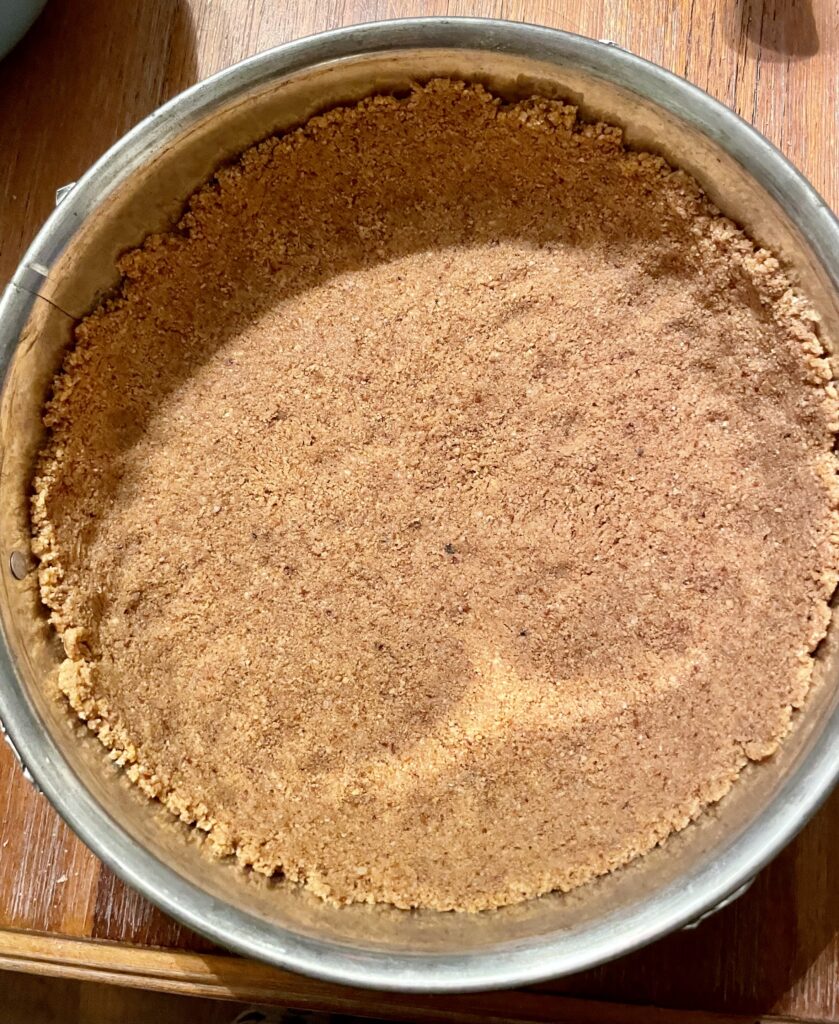
Step Four: Place this into your springform pan and, spread it around. Make sure to cover the bottom and up the sides. Take your time and do not become frustrated with this part. If you have one, take your measuring cup to help you smooth our the bottom, sides, and ensure a nice corner.
Step Five: Place pan into the oven and bake for 10 minutes.
Step Six: Bask in the glorious toastiness of the pecans, butter, and crackers before placing this on a rack to cool off completely – this can to done the night before.
Step Seven: Turn your oven down to 325 degrees
III – The Filling
2 packages of cream cheese
1/4 cup browned butter
1/2 cup of sour cream
1 cup of brown sugar
1 TB of vanilla paste
1 tsp of vanilla extract
1/4 tsp salt
2 large eggs
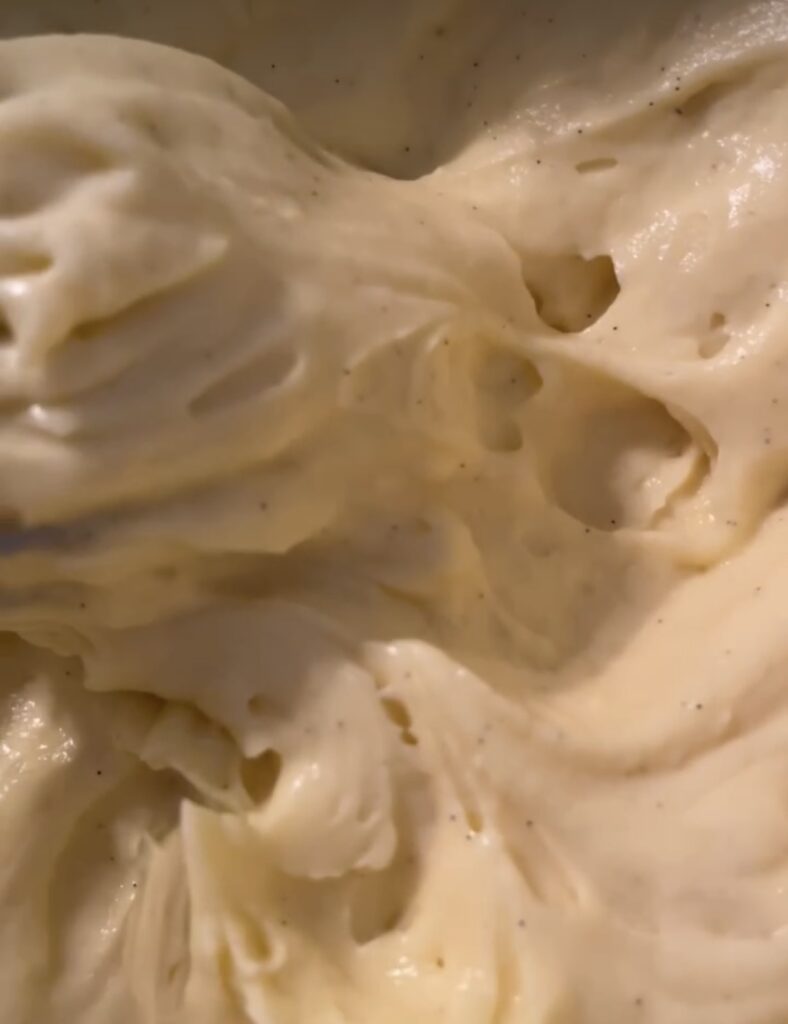
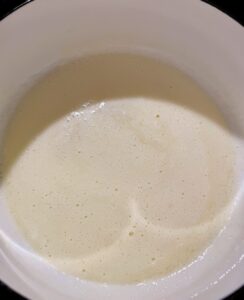
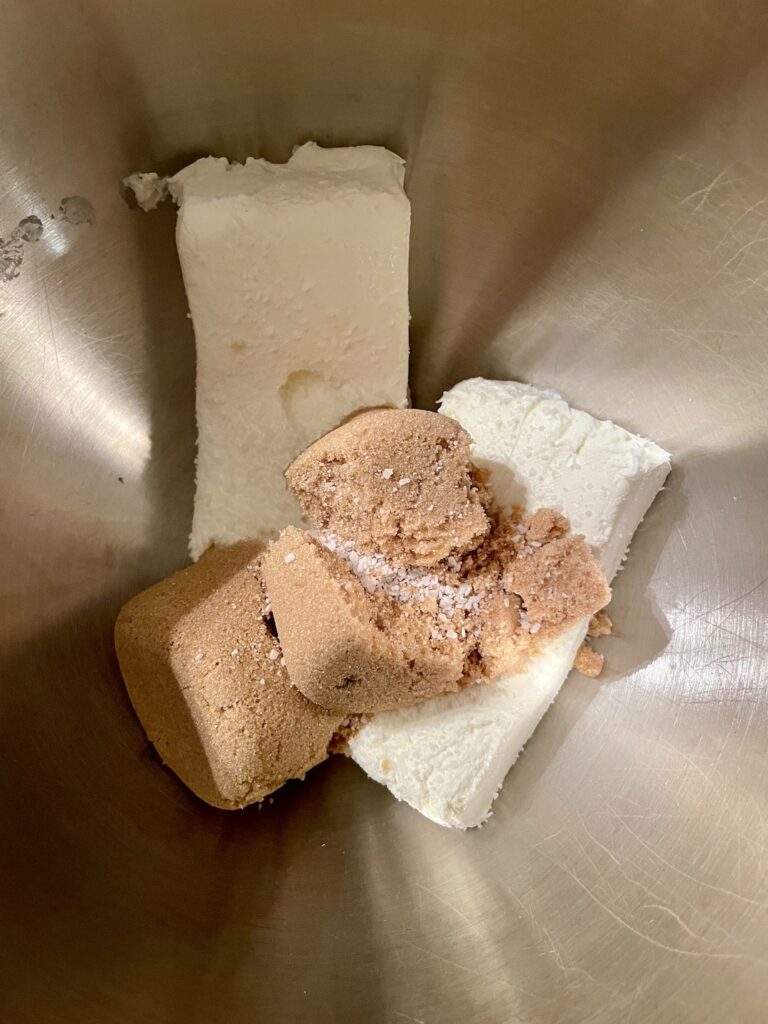
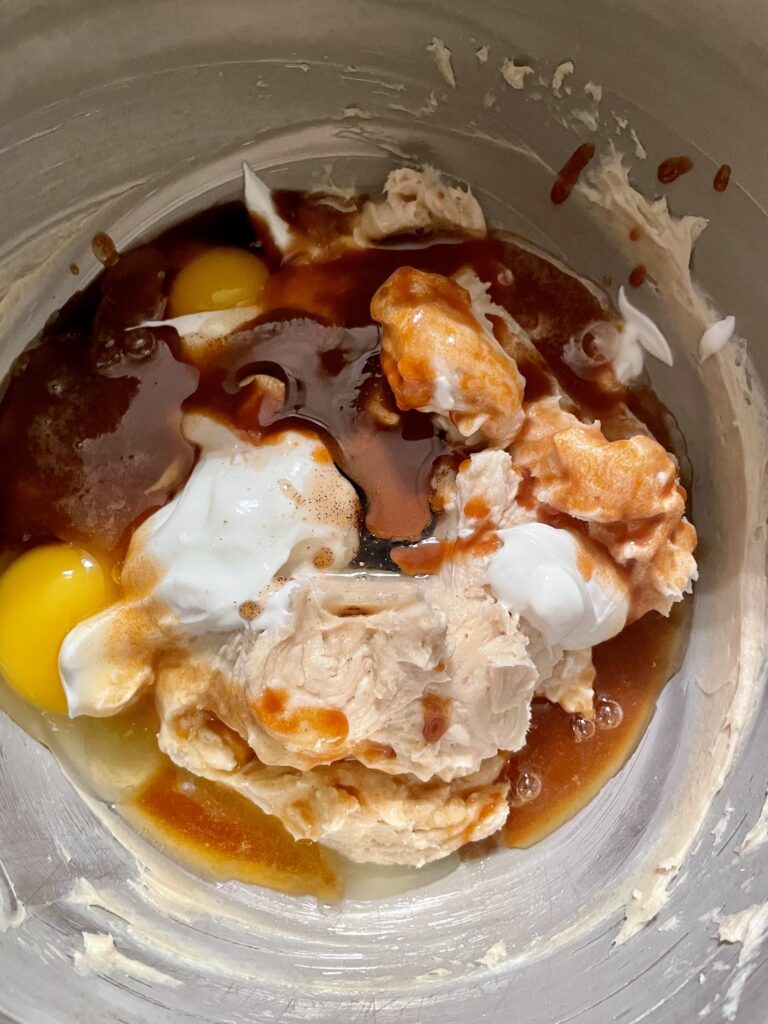
Step One: Place your cream cheese and brown sugar into a mixing bowl. With the paddle attachment, beat until smooth and creamy. Scrape down the bowl.
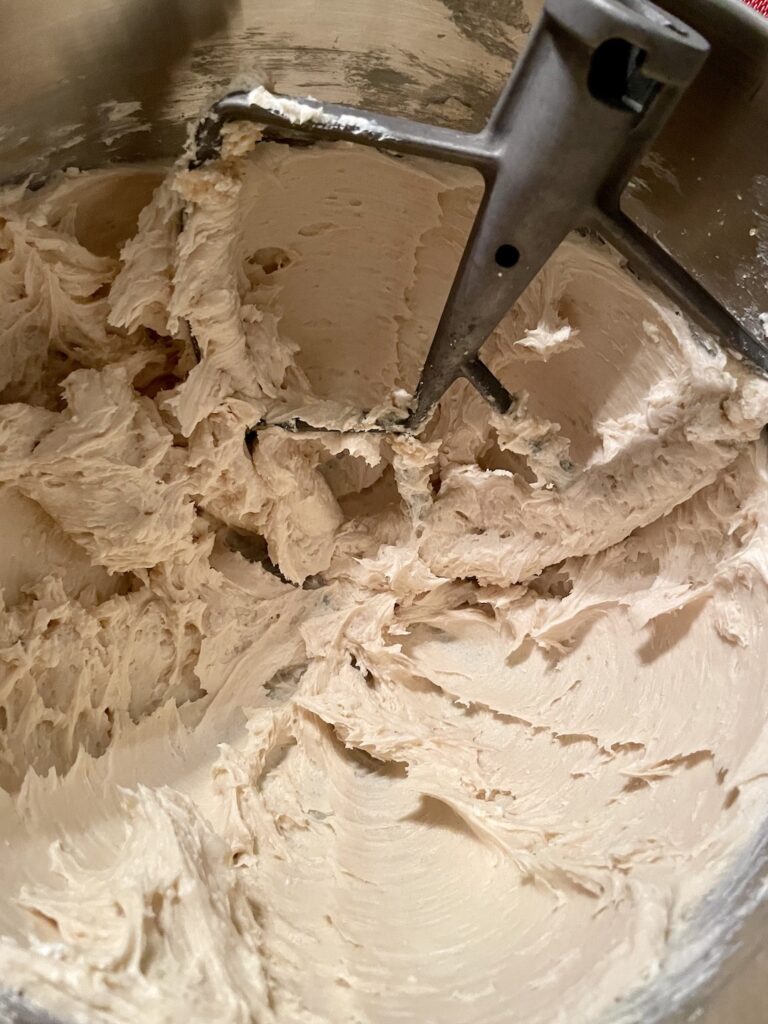
Step Two: Add the browned butter, sour cream, salt, eggs, and vanilla. First beat with the paddle attachment until combined. Taste for adjustments and then, using the whisk attachment, whisk the tar out of it until creamy and combined.
NOTE: It is important this is creamy with no lumps. If you need, you can strain the filling through a mesh strainer to ensure silky texture.
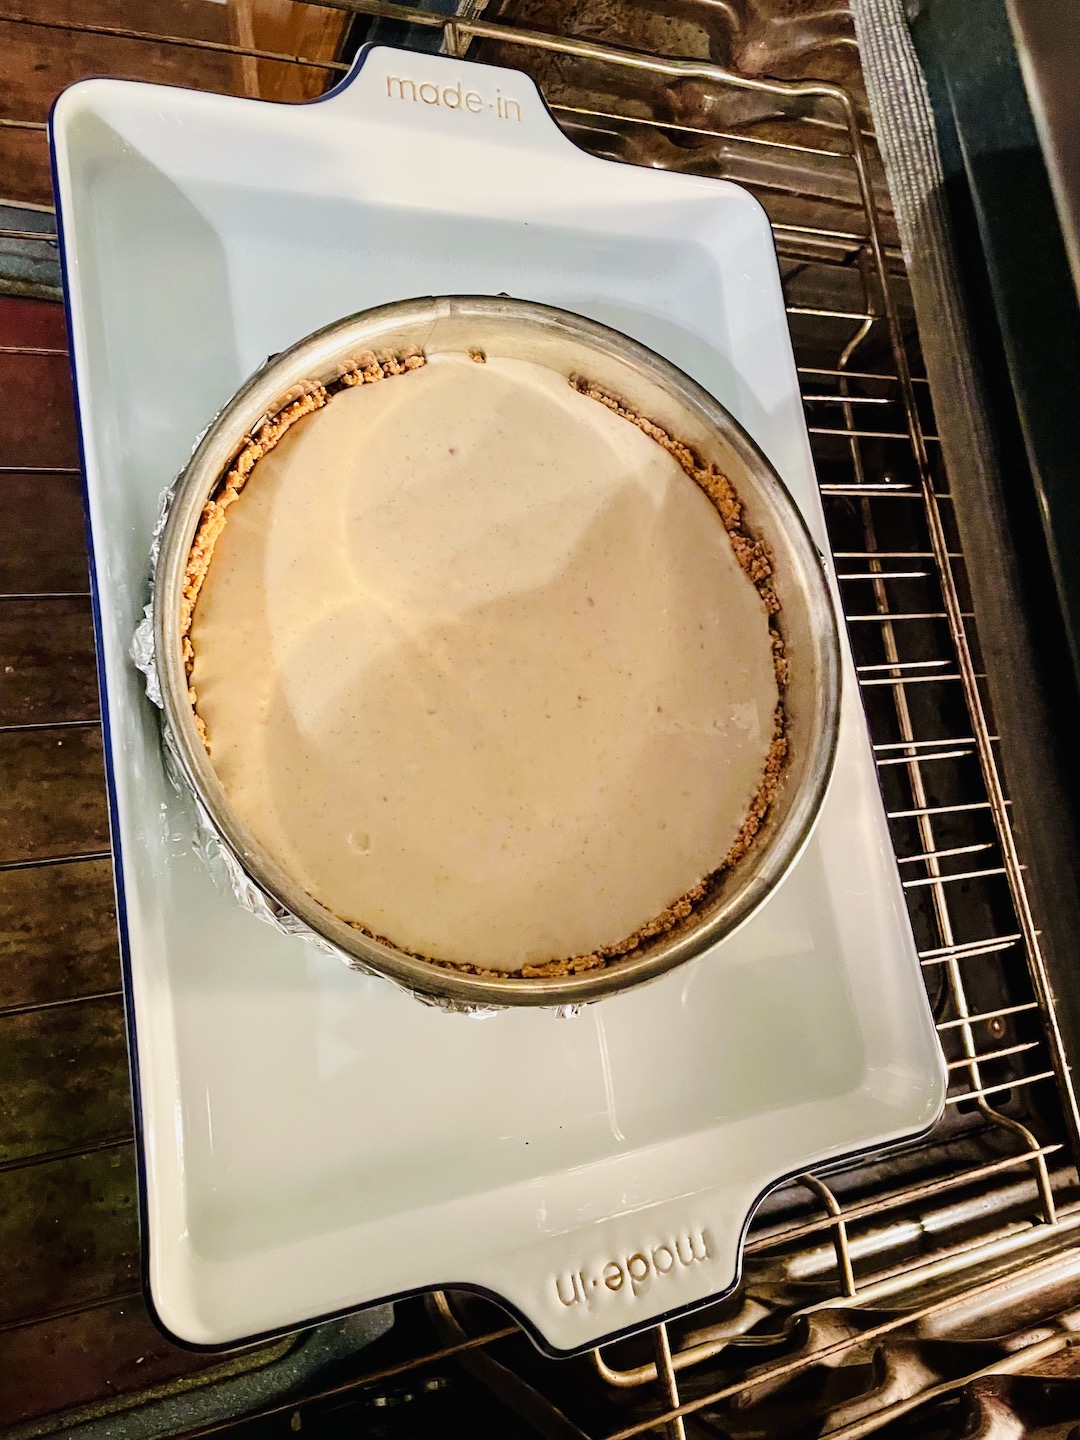
Step Three: Prepare your cheesecake’s bath. Get a 9×13 pan and fill with water 1/3 of the way up. Place this gently into your 325 degree oven.
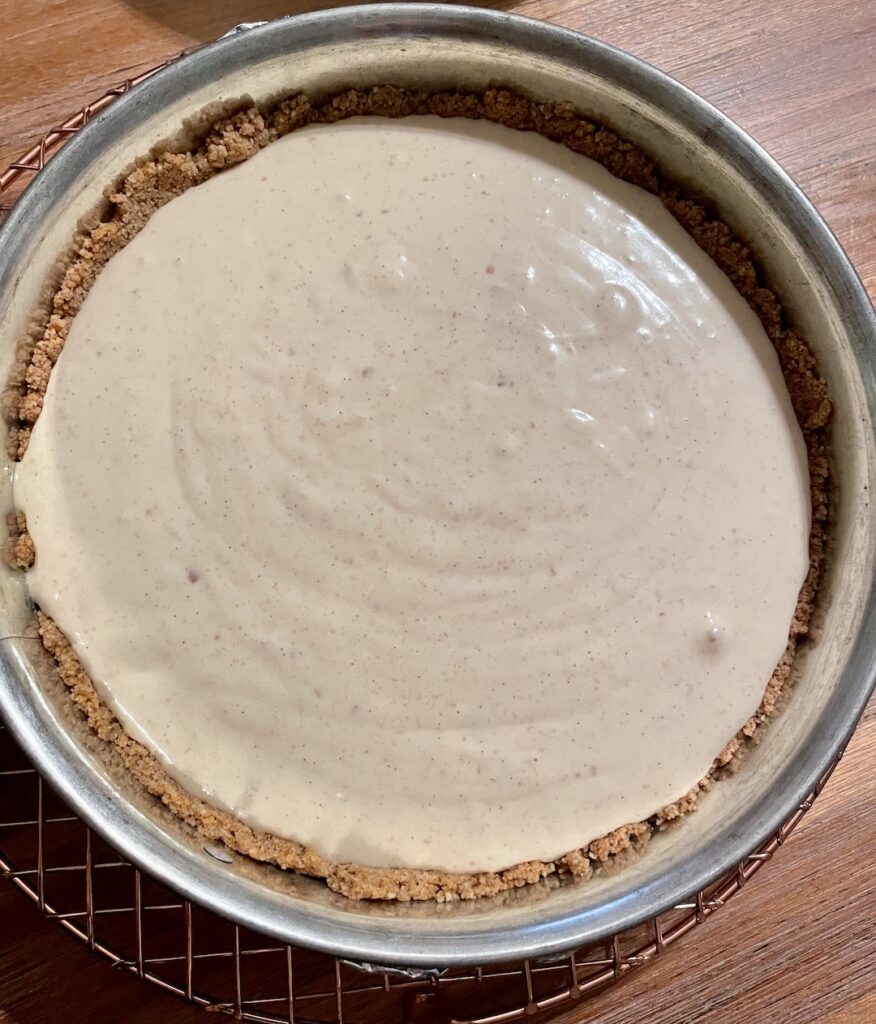
Step Four: Take your filling and pour into your crust. Carefully take your cheesecake and place it in its bath (see why we placed foil around the pan? Making sure water did not get into the cheesecake while baking). The water should be halfway up the pan.
Step Five: Gently and carefully push into the oven. Close the door and bake for 1 hour and 15 minutes.
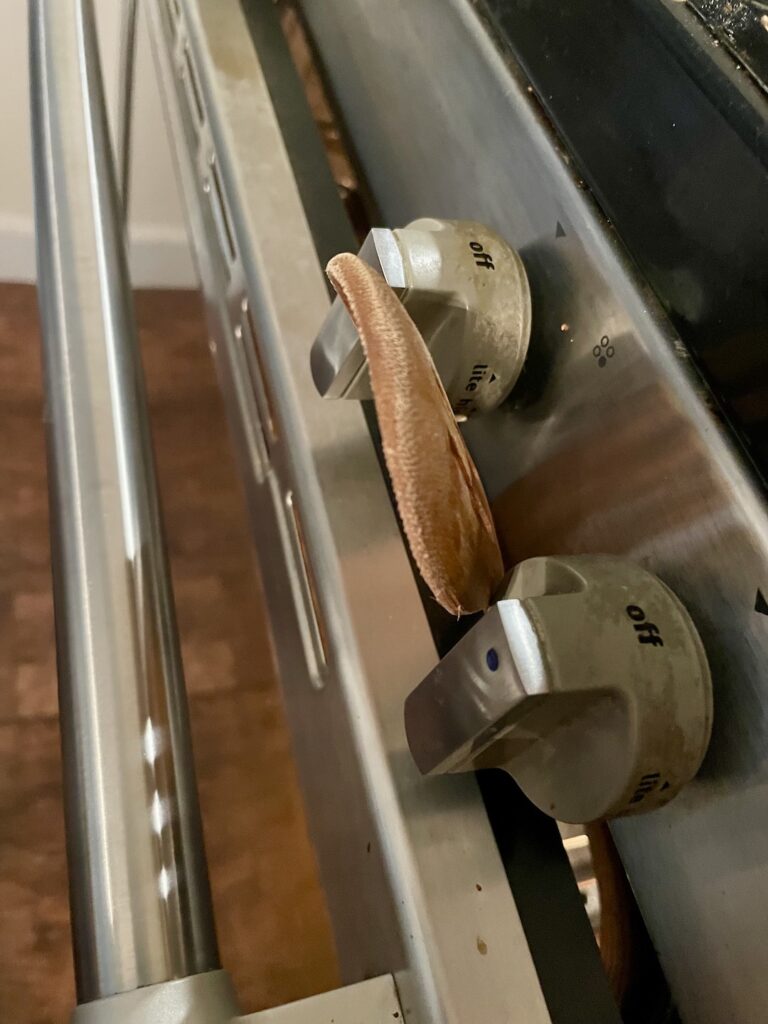
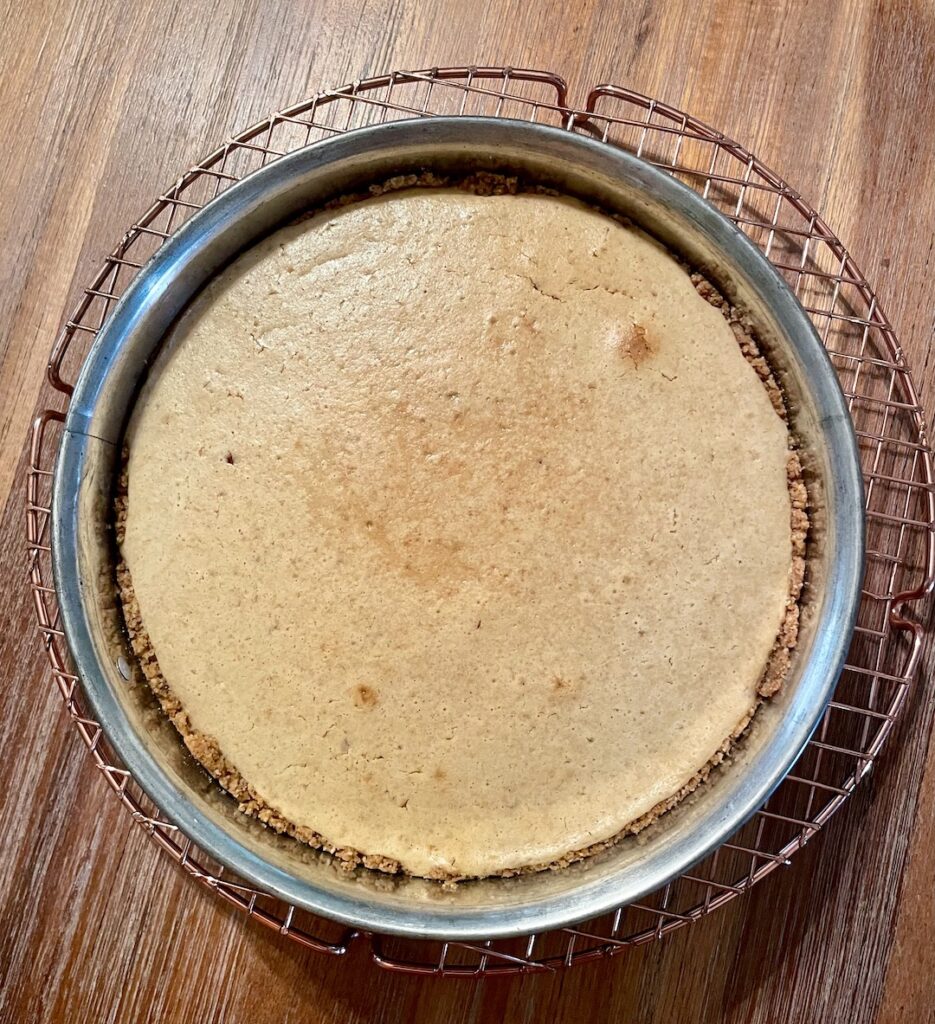
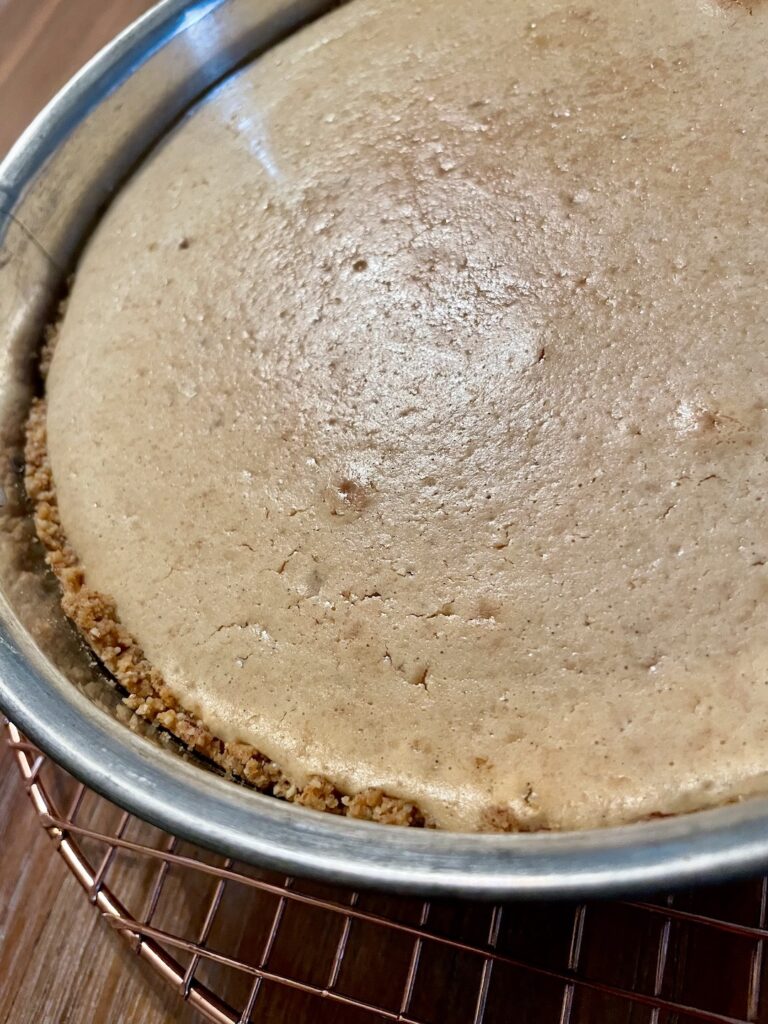
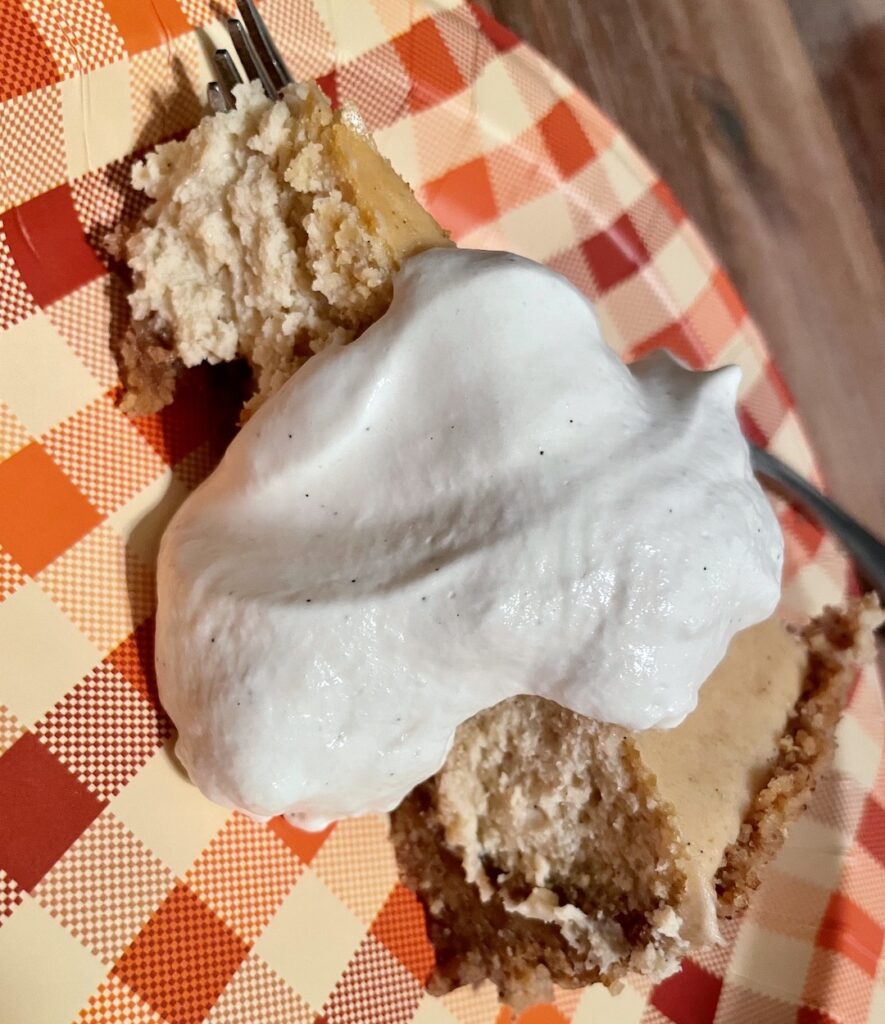
Step Six: After the hour and fifteen, check on the cheesecake. It will jiggle a little bit, but you are looking for the top to be matte and browned (please see picture). TURN OFF OVEN! LEAVE CHEESECAKE IN OVEN! Place a wooden spoon in the door to keep it cracked open. Let the cheesecake sit in the turned off oven for 30 minutes. This is to prevent cracks from forming on your cheesecake.
Step Seven: Once 30 minutes have passed, take the cheesecake out of bath, remove the foil, and place pan onto a cooling rack. Let cool for another 30 minutes on the cooling rack.
Step Eight: After the second 30 minutes have passed, place foil over the top of cheesecake (it should no longer be jiggling) and place in refrigerator for 8 hours. Yes. 8 hours. I know. But it is worth it.
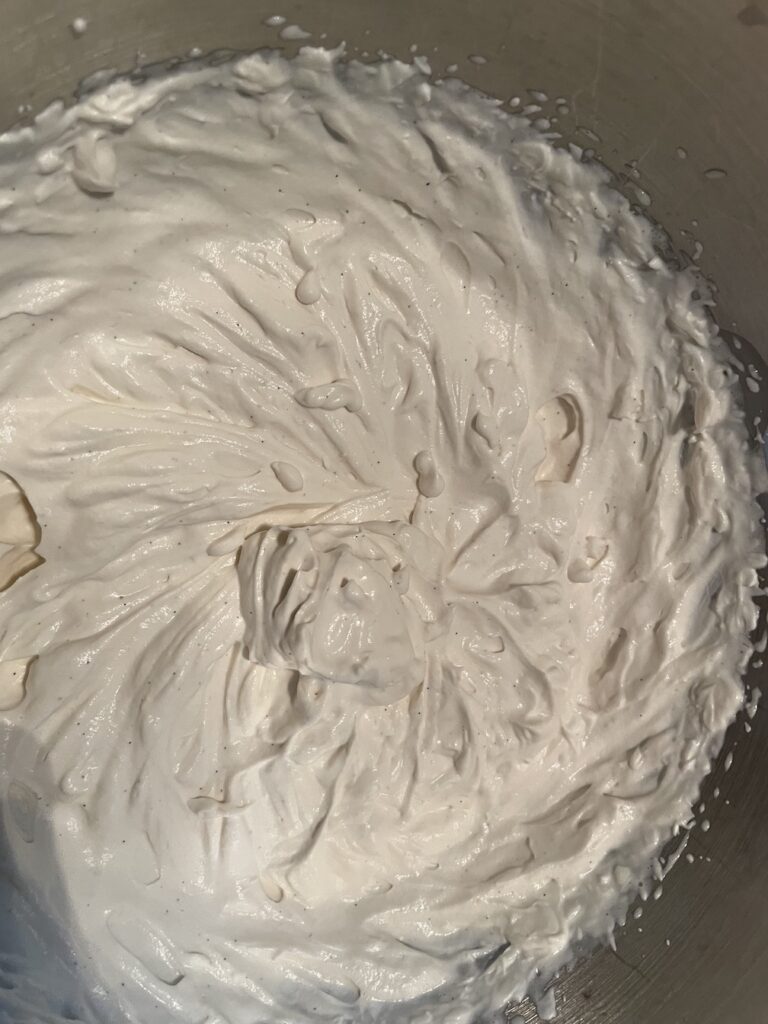
IV – The Whipped Topping
1 cup heavy whipping cream
2 TB brown sugar
Pinch of salt
1 tsp vanilla extract
1/2 TB vanilla paste
This one is fairly straight forward and easy –
Step One: Place all ingredients together in a mixing bowl and whip using the whisk attachment until light and fluffy – place in refrigerator until you are ready to adorn your silky cheesecake with it!
V – Assembly
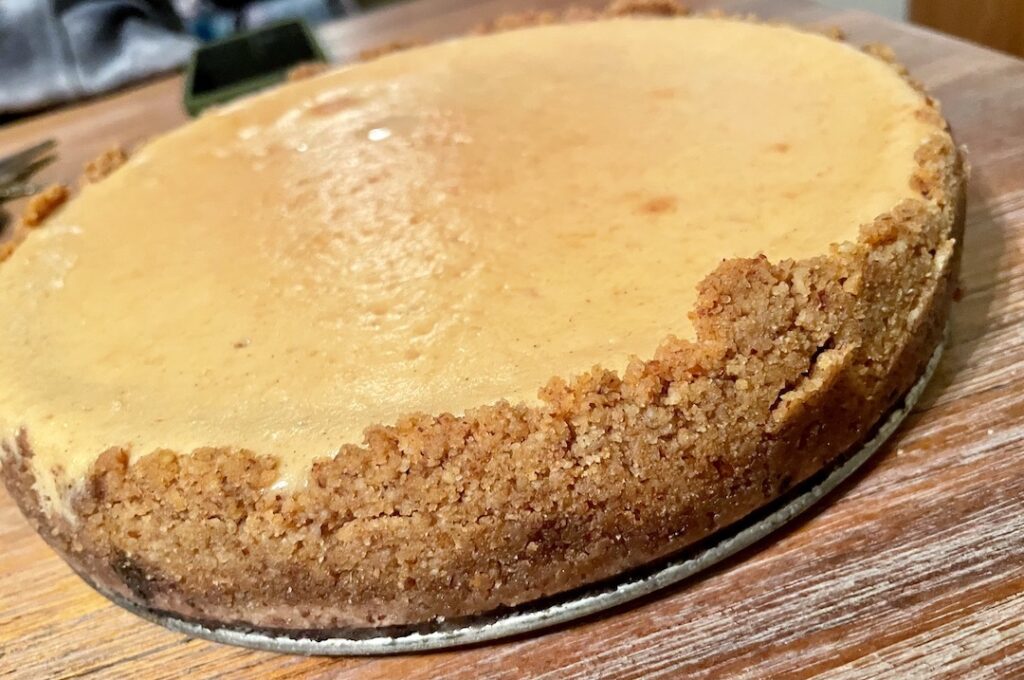
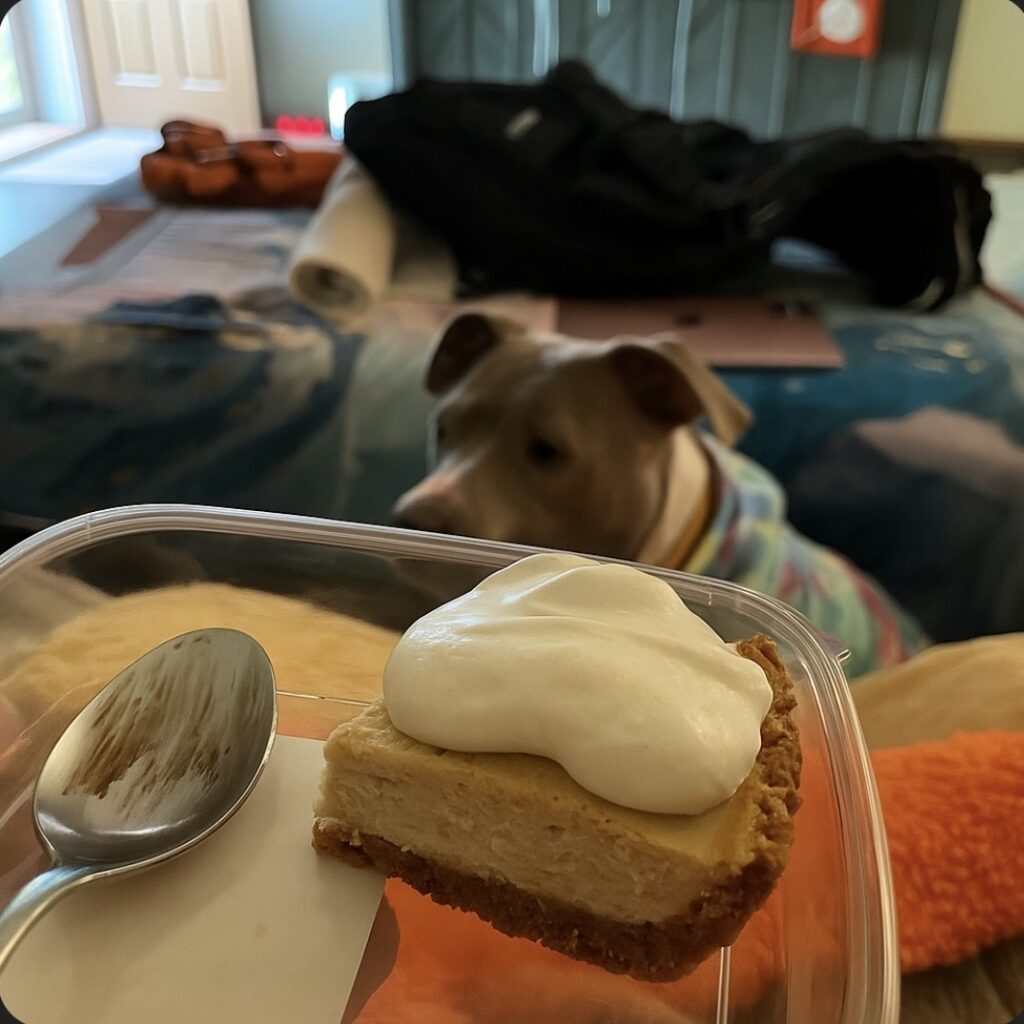
Due to the amount of butter in the crust, the spring form pan released perfectly, revealing the golden, crispy pecan-laced crust. Take a warm, long knife to cut perfect pieces of this creamy and rich cheesecake. Add the Brown Sugar Whipped Cream either on top or on the side. Enjoy!
Delectable Conclusion
Make this. Please make this. Even if you think cheesecake might be too advanced, it is not. If I can make this, so can you!! It was a delicate harmony of sweet and salty, lifted by vanilla, and deepened by browned butter’s butterscotch warmth. The crust was crispy, yet tender with toasted notes from the pecans that perfectly balanced the rich, velvety texture of the cheesecake. BROWNED BUTTER! When first browned, the butter held toasty notes that, when combined with the cream cheese and sour cream, transform into sweet and salty butterscotch notes. This was enhanced by the delicate vanilla. I do think that next time, I will attempt to use a real vanilla bean – this recipe is worth the price. Or honestly, add more vanilla paste! LOL.
Either way, my brother-in-law hugged me, my friend gave me the nod of approval, and The Husband attempted to keep the whole cheesecake to himself by telling people it had gone bad. LOL. In all, I am very thrilled and happy with this recipe and its flavors. Until next time, please try it and let me know in the comments!!

Oh, yum!!! Vanilla paste AND browned butter???? Wow! Can’t wait to try this! Thanks for sharing!!! 💕💕
Thank you for reading! I am so happy that you enjoyed it!!
Wonderful! You did an amazing presentation. I love cheesecake! Keep up the good work and great ideas 💡
THANK YOU!! You will love the next post coming up! Promise!
I think it’s outstanding that you won’t let vanilla be known as bland. I personally love vanilla and all the possibilities it can bring to a dessert!
Great blog, as always!
THANK YOU!!! I truly think that the cake I made a couple years ago really introduced me to how simple, yet complex vanilla is!! I am glad that you agree!