A hoy-hoy and welcome back! I know that I have been inundating you, my wonderful readers, with a lot of camping and hiking posts as of late. Let’s take a break from the outdoors and dust off June. Do you remember who June is? Don’t worry, let me re-introduce you: she is my sewing machine and we have work to do! What kind of work, you might ask? First Birthday party kind of work! Confused? That’s okay, I make you blanket (did anyone get that movie reference??). I hope so, it’s one of my favorites. In all seriousness, we will be venturing back into the world of sewing and THIS TIME we will be making a blanket. A birthday blanket, if you will! So please, grab a piece of cake, dust off your sewing machine and let’s make some blankets!!
Blanket History: A Soft and Binding Tale – I’m all about the puns today! Anyhoo! As stated in previous sewing blogs, I had “curtained” everyone out of house and home, I then moved onto pajama pants (that’s for another day), and then a crap ton of my friends and co-workers started popping out babies. Can’t really make them tiny pajama pants, so the next logical project to tackle was baby blankets! What had also given me the idea laid quietly in my closet, folded up neatly and safely; the baby blanket that my godmother, Pat, made for me back in 1982. Due to that blanket, the idea of doing the same has always floated around in the back of my mind. To share that love and comfort with another child makes my heart grow warm.
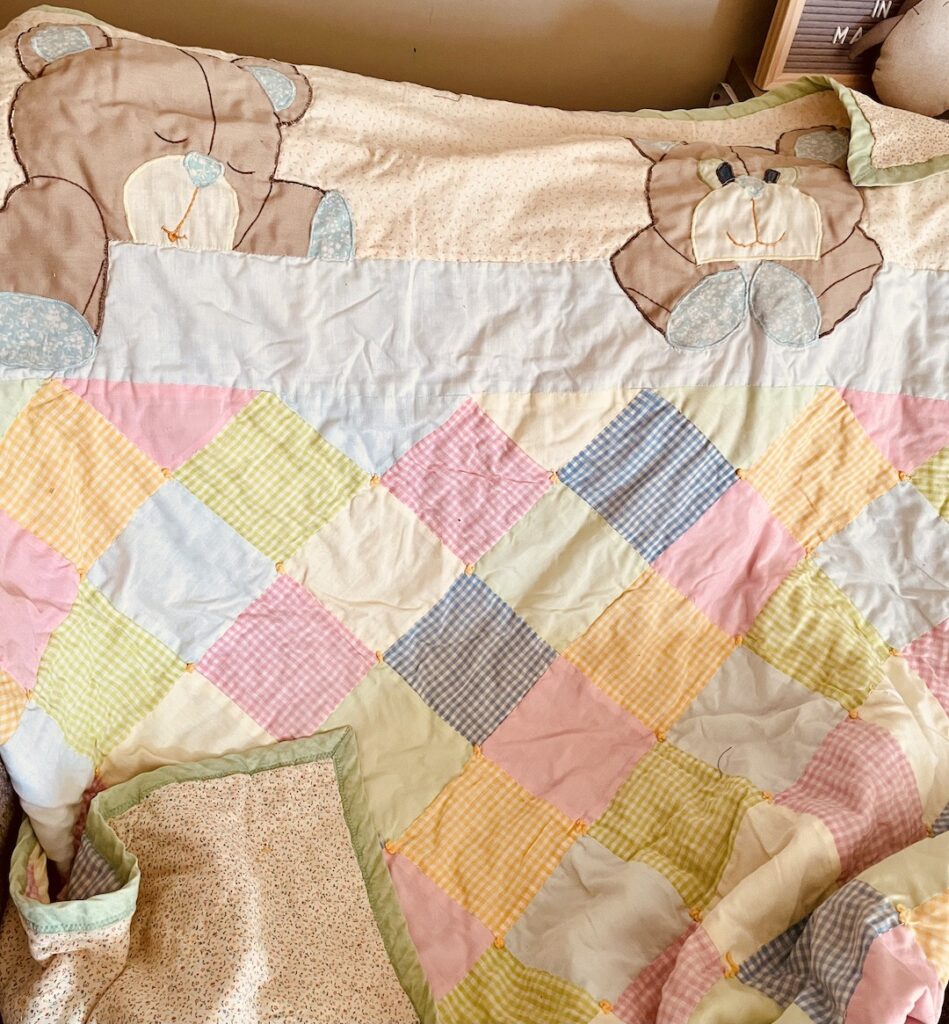
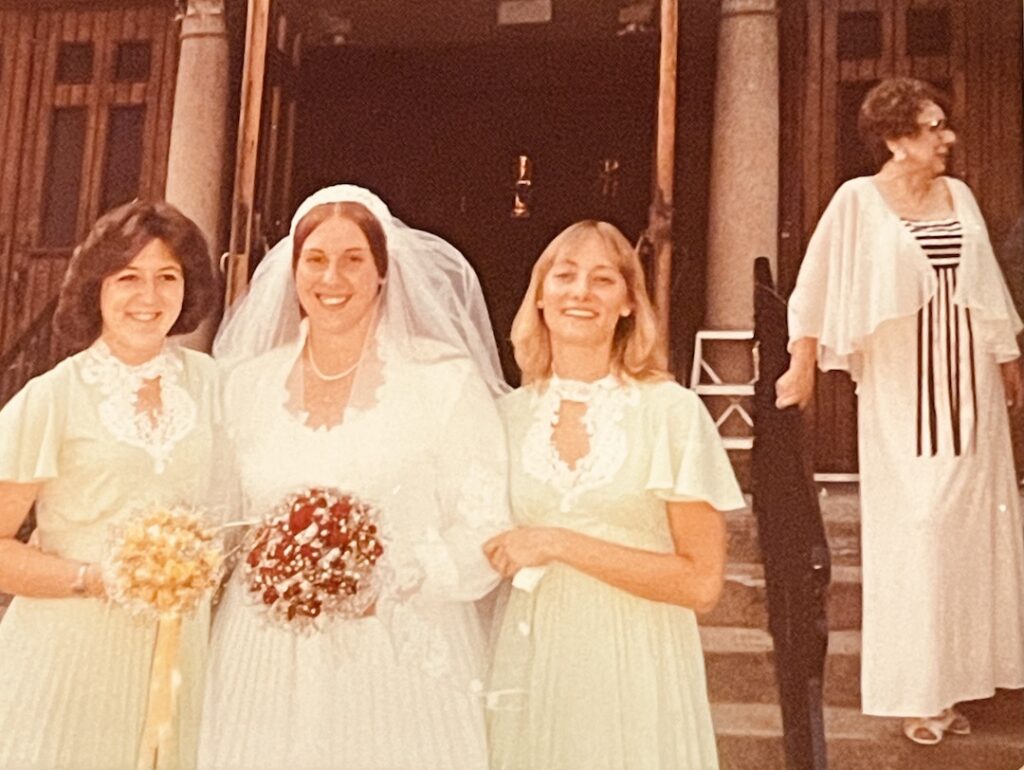
To the left: my Blankie; Below pictured from left to right: Deb, Mom, Pat, and Aunt Mil
Next step: Research! I used YouTube and Pinterest to aid in my research on the types of blankets, the materials used, and what sewing applications were implemented. Color combos, popular for boys, girls and unisex if the parents don’t want to know the gender until they are born. Research, most of the time, is the fun and exciting part for me. To watch video after video and blog after blog is something I enjoy. In my research, I noticed there are two types of blankets to sew: the standard blanket and the self-binding blanket.
Standard Blanket How-To:
The standard blanket is what most of us think of when we imagine a blanket: two pieces of material sewn together with no border: easy-cheesy.
Step One: Measure your top and bottom pieces of material so that they are the exact same size (for example – 30”x50” for the top and 30”x50” for the bottom).
Step Two: Lay them together with the right sides facing each other and the “wrong” sides facing you.
Step Three: Pin. Pin all around the blanket. If your material is slippery, pin the heck out of it, if not, you can pin as usual.
Step Four: Carefully and without poking yourself with all of those pins, take your blanket to the sewing machine. I sewed using a straight stitch all around the blanket using a quarter inch seam: leave a six inch opening on one side so that you can turn your blanket inside-out once you have sewn all around the perimeter. Note: When you begin and end your sewing, don’t forget to back stitch to lock those stitches together (this will prevent the stitches from unraveling).
Step Five: Turn your blanket inside out so that the material is “right” side out. Using a straight stitch, close that six inch opening.
Optional Step Six: You can be done at this point or you can sew a quarter to half inch border around the perimeter of the blanket. Honestly, sometimes I did, sometimes I didn’t, depended on my mood and how I thought the finished blanket looked.
Note: You can use this method to sew your own duvet, also; simply sew three sides while leaving the fourth side open to insert the comforter.
Therefore, using the Standard Blanket pattern, I began to sew and gift out many blankets. Although I had not attempted the self-binding, I did make a couple of blankets with a border. Now, I have no clue where I saw this blog or set of instructions. For today’s blog, I re-researched sewing blankets and I cannot find a single blog or site that instructs on how to make a border without the use of the self-binding method! No clue! Poof! Gone! Which is better anyhoo because that method sucked and many a needle was lost while sewing that type of blanket. Materials I have used and liked for blankets include: cotton, minky, fleece, and flannel. Although I must tell you that you need to have a stronger machine for flannel as it is a thicker fabric. (Don’t tell June, but flannel is a little too thick for her and we have broken needles with it at least twice).

The Fabric
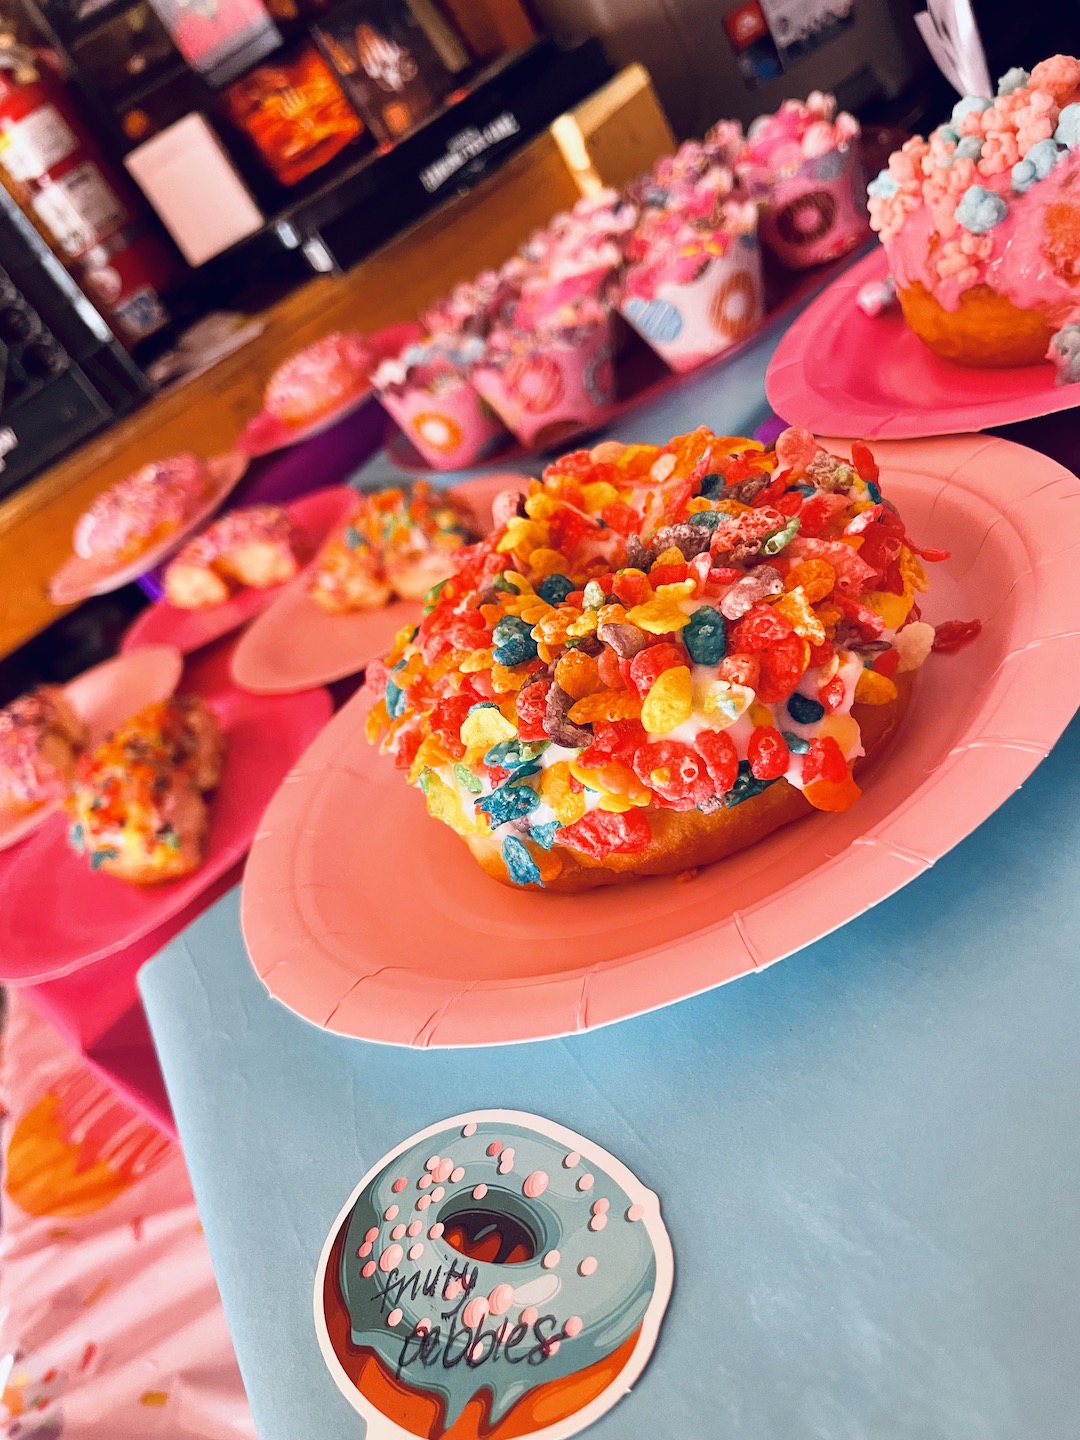
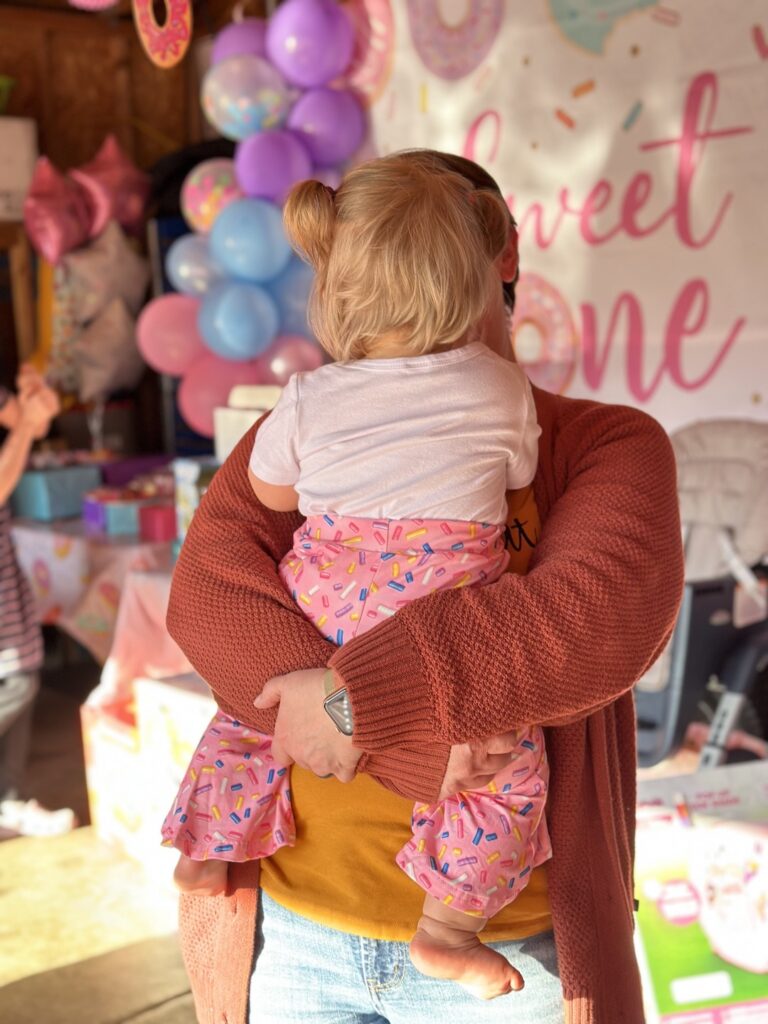
Kids and adults alike laugh and smile in genuine cheer all gathered together in a sun-shining and happy kitchen or dining room. Brightly colored streamers or balloons, or both, adorn said room (or the entirety of the house) while the theme of the celebration is also bedecked throughout the house. A glorious mix of mighty beef being grilled into patties intermingles and dances with the cloyingly sweet scent of the resplendent and majestic birthday cake… or birthday donuts???
Yes, birthday donuts! The theme of my best friend’s little girl’s first birthday is donuts! When she told me, I was delighted and immediately thought about sewing a donut themed blanket for The Birthday Girl. To celebrate the first year of her life, I have bounced the idea of making her a blanket, but as soon as my friend told me that the party’s theme was donuts, I knew I had to! Therefore, I started to research donut fabrics. Where do I get my fabrics? Back in the day, I would go to JoAnns, but then I found online fabric stores; most notably fabric.com and spoonflower.com. Fabric.com is now on Amazon, I honestly haven’t gotten anything from them yet, but my obsession with spoonflower.com grows and deepens. They have the best patterns. However, I will warn you, they are expensive. I usually ask for gift cards and/or wait for sales. With that being said, I automatically went to this website and searched “donuts”, aaaand was not disappointed, at all. AT. ALL.
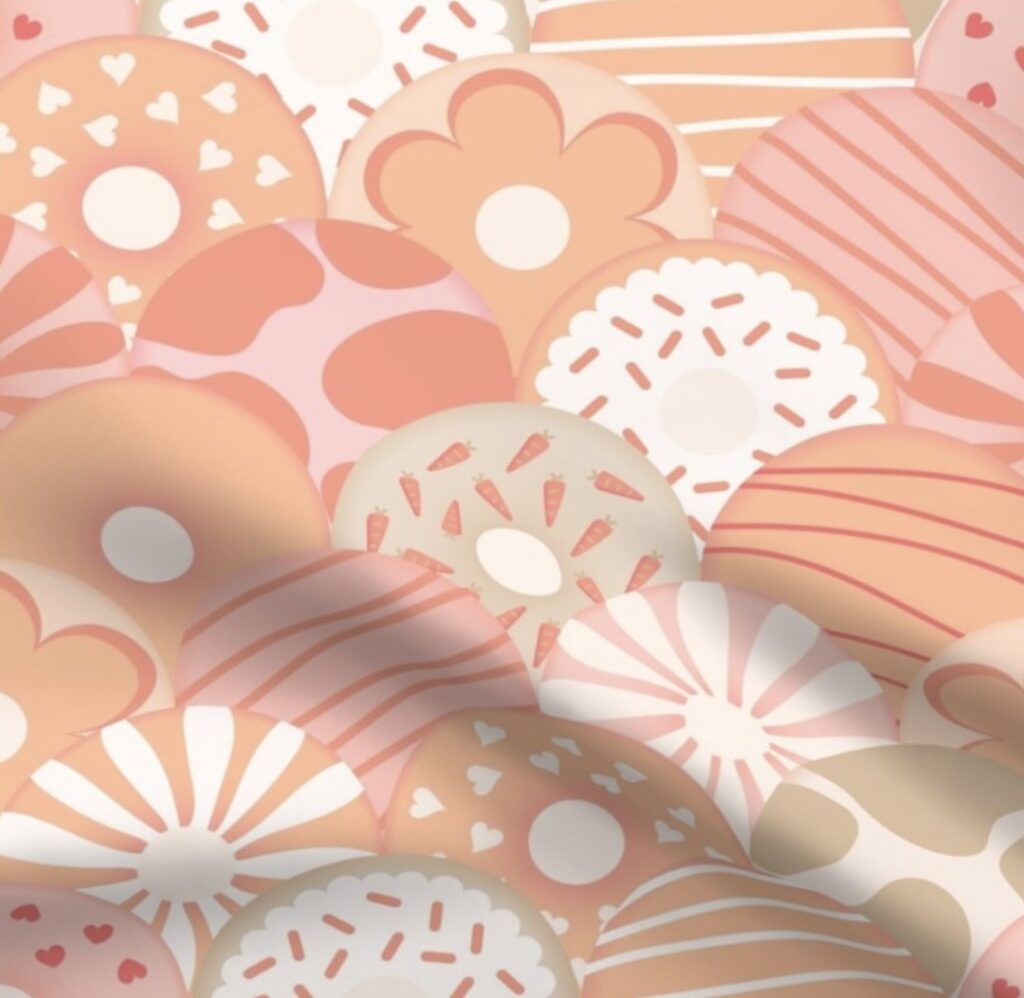
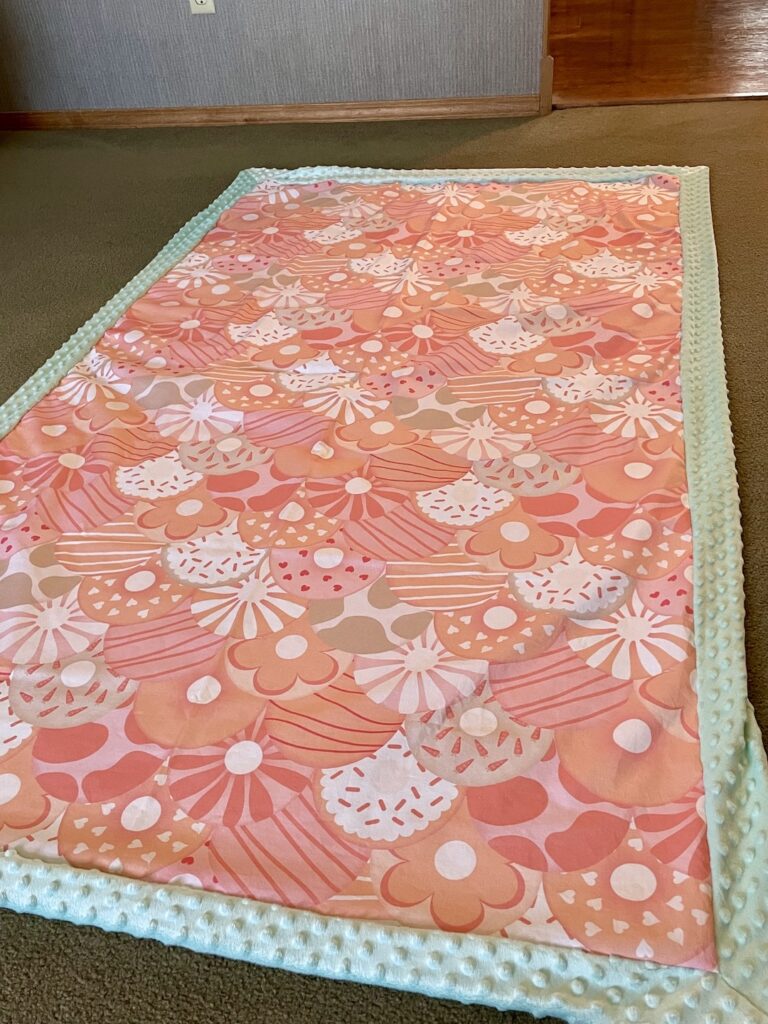
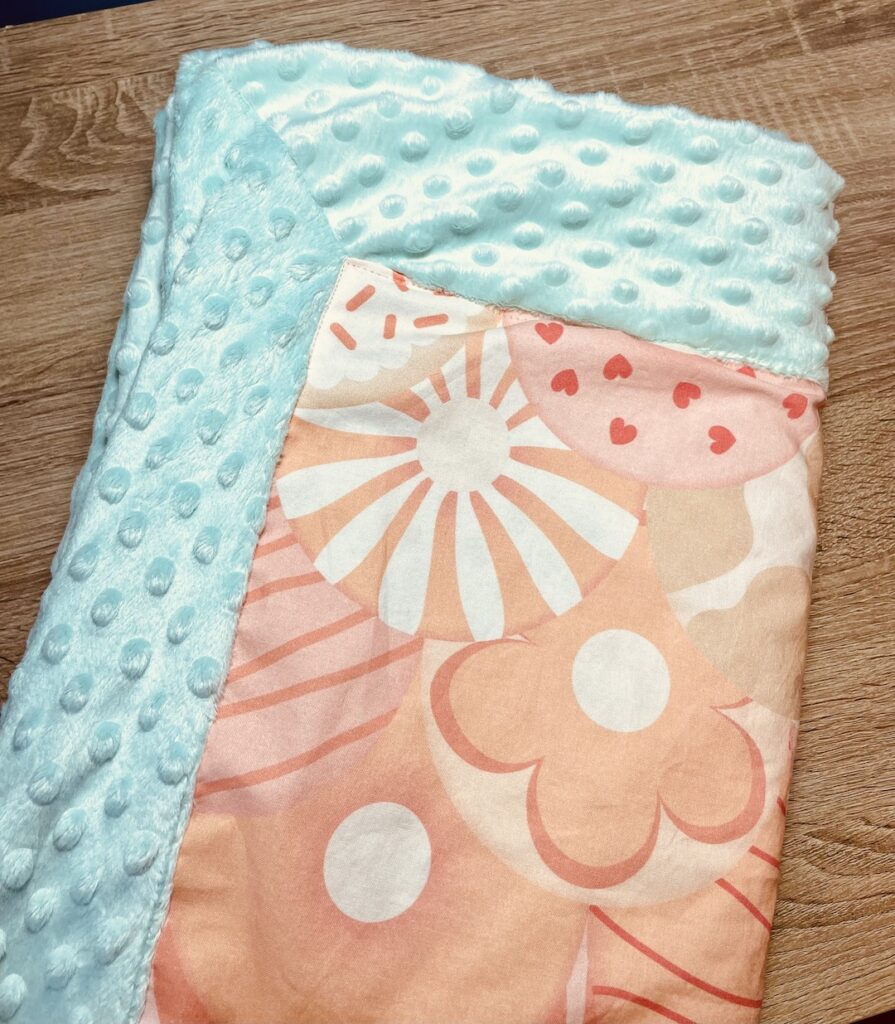
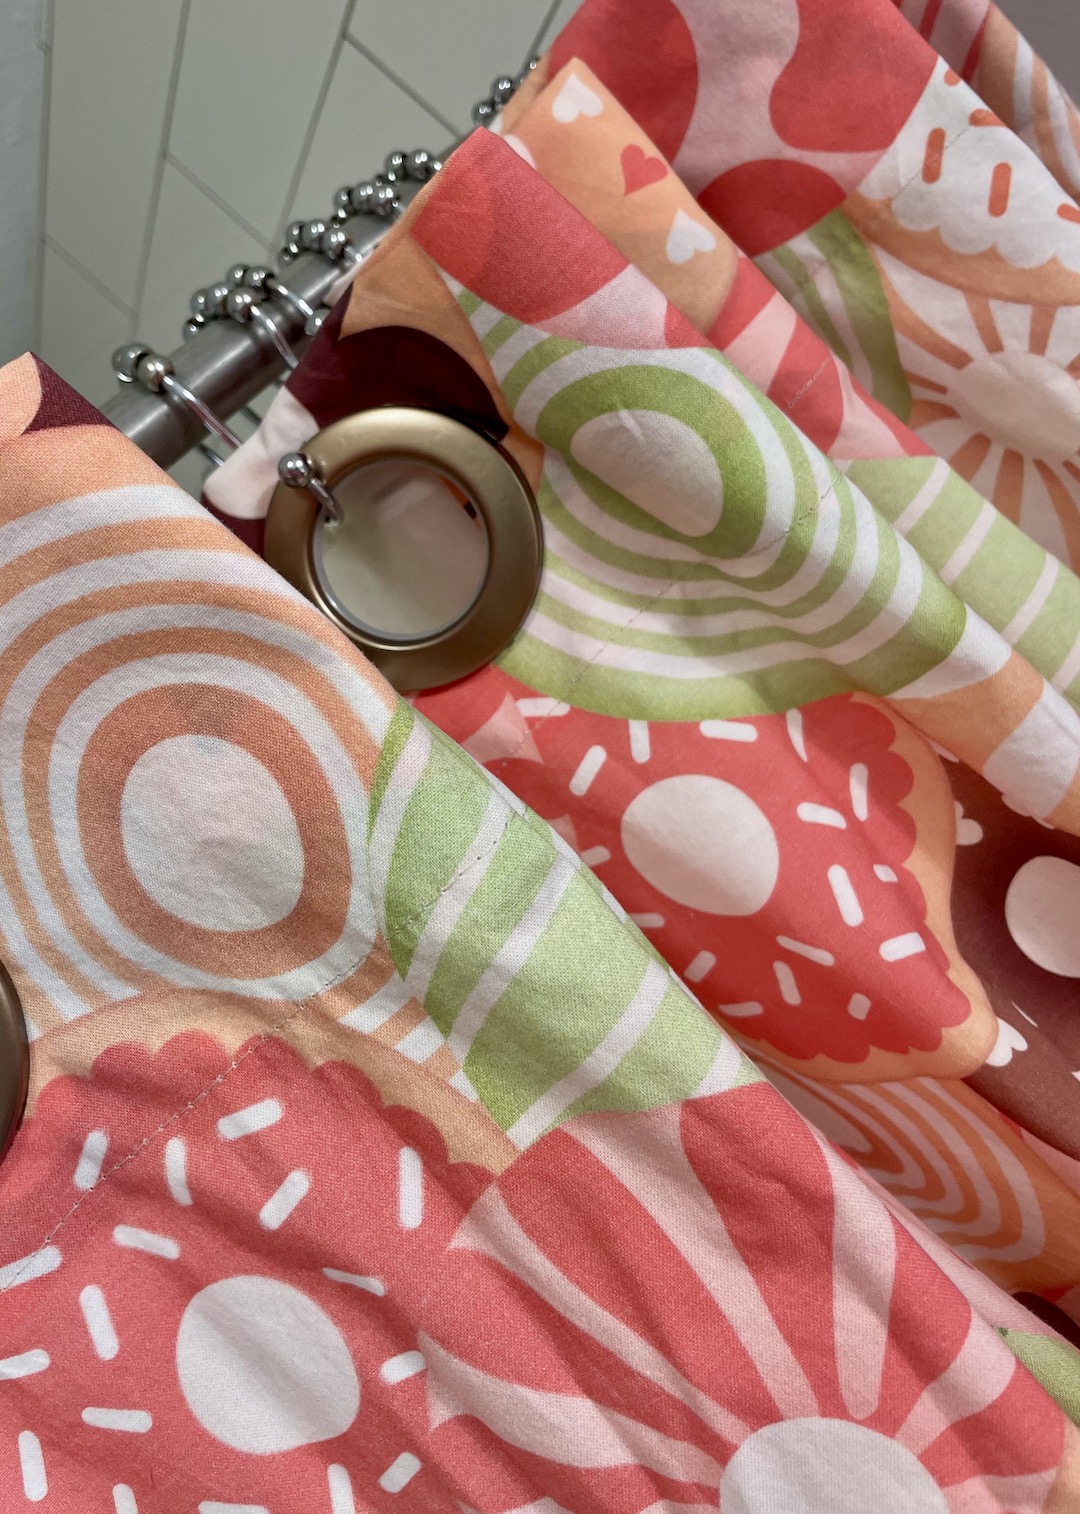
A sparkling, magical plethora list of donut-filled fabrics exploded onto my screen in a puff of fizzy, effervescent sprinkles and sweet, candy scents. Well, that’s what took place in my mind, especially when I saw this pattern. This. Pattern. Writer’s Inner Monologue: The moment our eyes met, we knew, we knew we were destined to be together. It was as though space, time, and destiny converged and the resulting explosion was our love and passion. From this moment, on, we would never be separated, well, until the blanket was made and passed on to a one year old child. That was intense, I know. But look at this pattern!! It is donuts, but doesn’t scream, DONUTS. The name is Peachy & Delicious Donuts by farida_seyam and I am enamored. It also clicks off all of the markers you want to see in a fabric: it’s fun, pink, but not too girly, playful, and has a design that will grow up with her. Perfect! Honestly, if I had a little girl, I would have purchased this and made curtains with it!
Blanket Size and Measurements
The next step is to determine what size you want your blanket to be to and then determine how many yards to buy. For one yard, this fabric is 42”x36”. Now, I wanted to make sure that this blanket stands the test of time, becomes her best friend, favorite blanket, and grows with her; therefore, I wanted to make sure that I gave myself enough wiggle room to make the appropriate size to meet all of my requirements. I also researched what a typical sized blanket is and found that the average blanket is around 50”x60”. I want this bad boy nice and comfy and to have the ability to burrito or cocoon anyone, especially The Birthday Girl. I want the finished blanket to have a 2.5 inch border: the top material measurement will be 50×60 inches, therefore the bottom material needs to have 10 inches added which equals – 60×70 inches; roughly 2 yards. Reminder: the width is the width in material measurements, therefore, when determining how many yards you will need to purchase, use the length. My length for the bottom material is 70 inches which equals around 3 yards. So again, I am purchasing 2 yards of my top fabric (the donut) and 3 yards for my bottom fabric (minky). That’s right, I am going with the ultra soft minky fabric as it will also hold up to the test of time (and abuse) of a child. LOL.
You don’t have to make your blanket this size, you can choose any size you want! Just remember that if you want a 2.5 inch border, add 10 inches to your bottom fabric. (For example: if you want your overall blanket to be 30×40, your top material will be 30×40 and your bottom fabric will be 40×50). Now that we know the size we want, let’s move onto which blanket we will sew! As mentioned above, I have made many a Standard blanket. However, as always, I researched because you never know what you will come across. And, come across something neat, I did! The self-binding blanket. I feel like maybe I saw something similar to this 10 or so years ago when I was making all of my original blankets, but didn’t feel that my abilities were strong enough. Today, however, I know I can do this and I am excited to try something new: this is going to be fun!! I searched YouTube and two videos popped up that I really enjoyed; one is for beginners and then other video assumes you have some experience, please check them both out here: Beginner and Done This a Couple of Times. For this Birthday Blanket, I am going to go through the steps and let you know any mishaps or tips or tricks, but I highly recommend you go to the two sites, they do such a great job explaining how to make these types of blankets. But, before we do that! We have a field trip to take!!
Field Trip to Godmother’s House We Go!
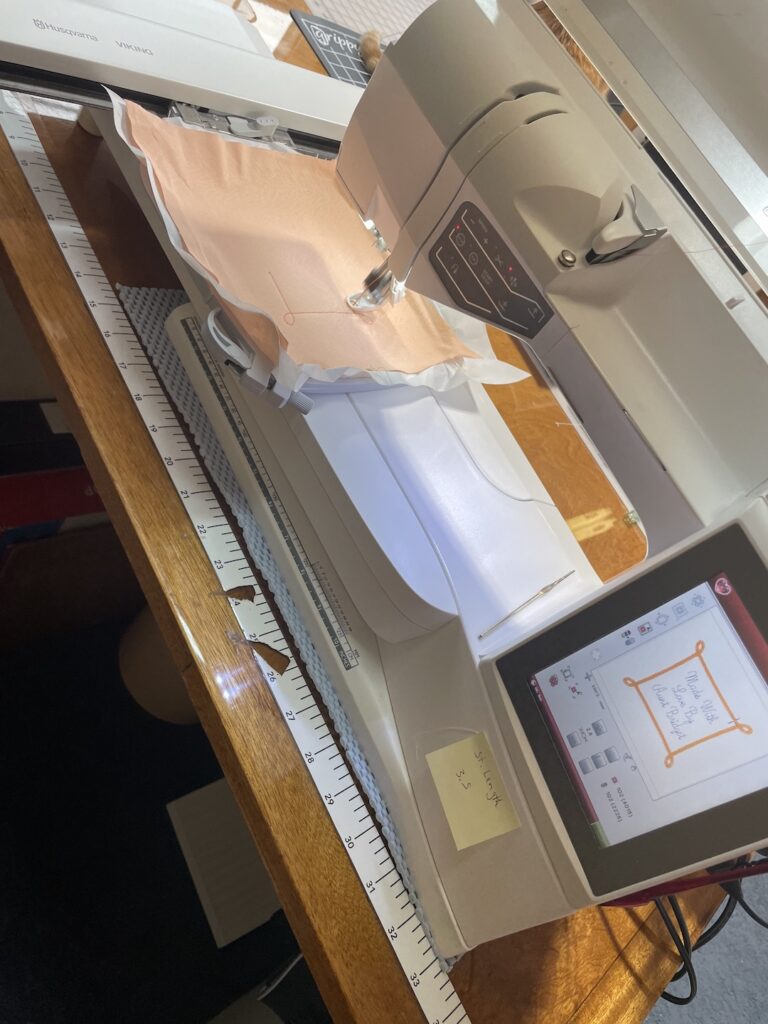
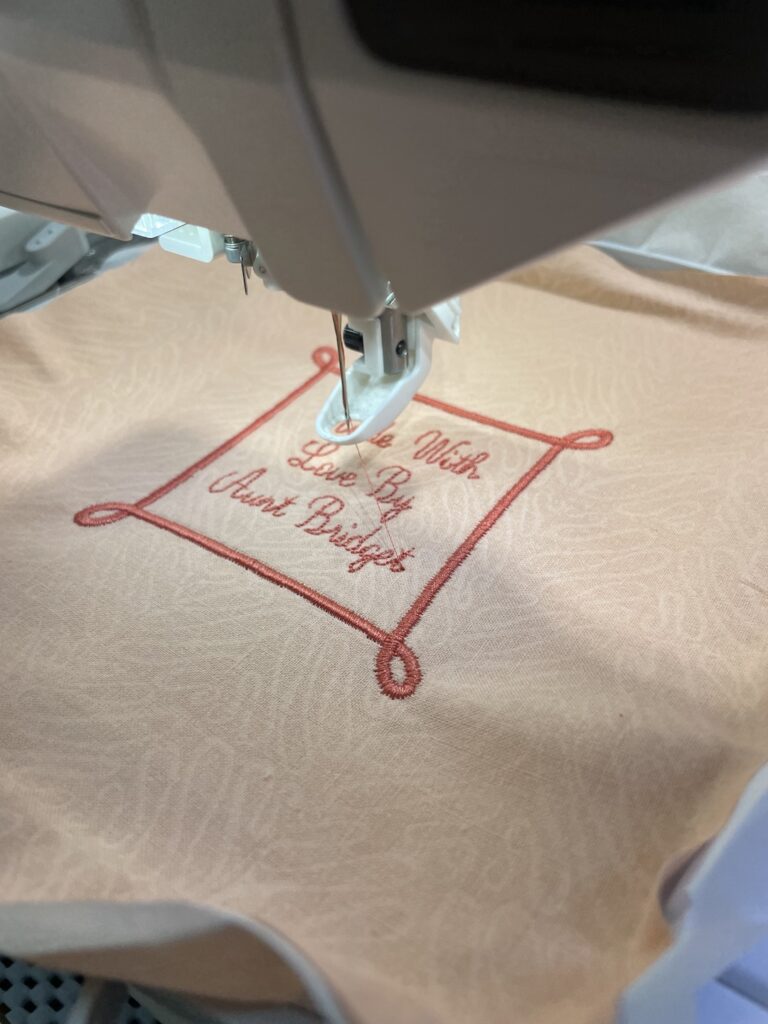
As mentioned before, there was Bertha and then there is June. However, there is also my godmother’s machine (we’ll call her The Santana) because she creates spooky black magic while June and I stare on, wide-eyed and in awe. LOL. AKA – it’s a top of the line sewing/embroidering machine that can sew, embroider, and quilt. SO, I trekked on over to have her conjure me up a little tag that read, “Made with Love by Aunt Bridget”. This tag I will sew onto my blanket. Can I say that it was not that easy? There is a process to conjuring up such magic! Who knew?! I didn’t! The first step is to get onto the computer, find the frame you want and then the font for the letters. Select your material and then two backing materials, place all of this into a frame.
Attach this to the sewing machine, take your thumb drive, plug it into the USB port of the sewing machine, find the file that you saved, click OK, and the machine will do the rest. Black Magic. LOL. More like computer programing, but still! Compared to poor June it’s mystic! However, about half an hour process is not too bad, like most things with sewing, the set-up is what takes the longest. Now we are ready to make The Birthday Blanket of Donuts!! (Read this last part as if there was an echo in the room, you know, for more dramatics?) LOL.
Let’s Do This! The Self-Binding Blanket!
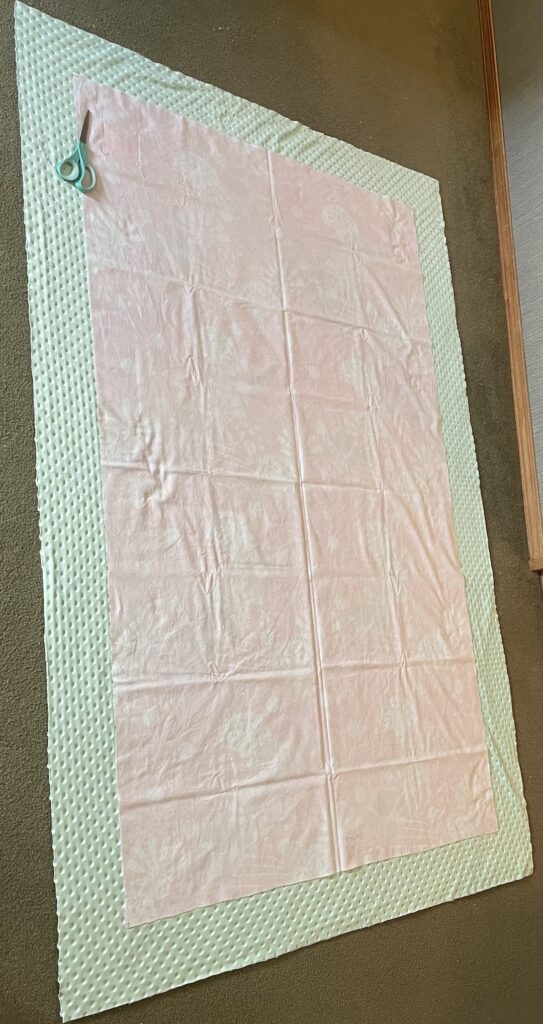
Okay, hold on. First things first: we have to wash, dry, and then iron the top fabric. (Minky Fabric Note: Do not wash or dry this. Use as is. Then wash and dry when the blanket is complete.) Washing and drying is done to see how much the fabric will shrink before we start to sew. After this has been done, measure, measure, and then measure again – cut into the desired dimensions wanted. Note: Please take your time with this part of the process. If you take the time now, when it is time to sew, it makes that process that much smoother. And yes, always iron, even when you don’t want to – trust me on this! Okay, back to your regularly scheduled blog!
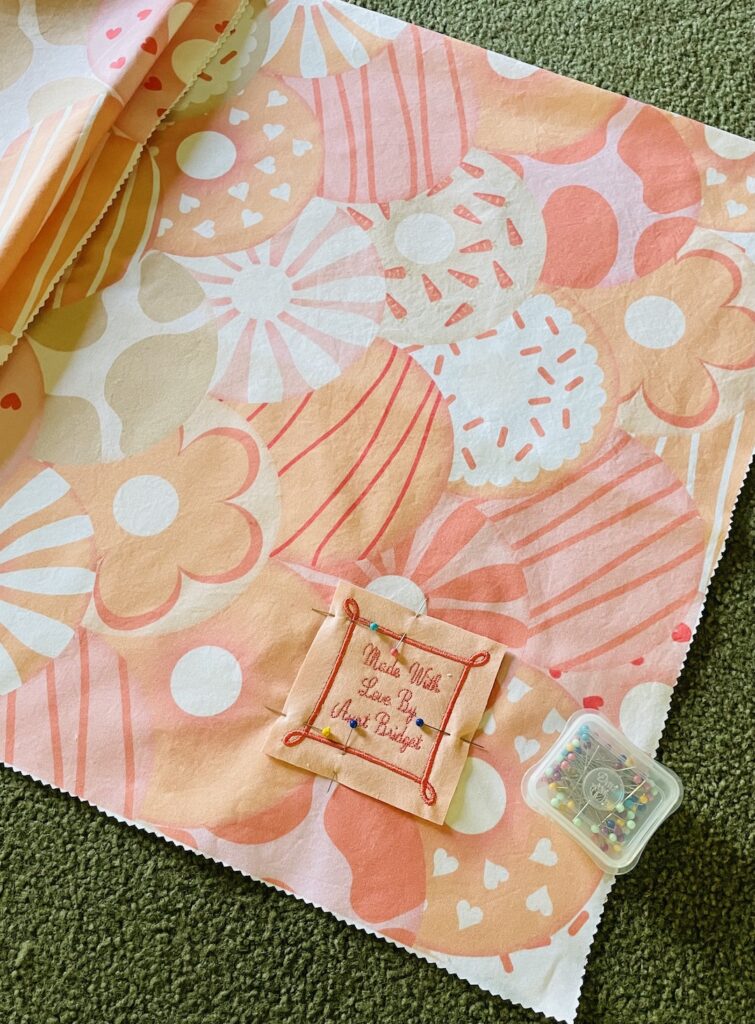
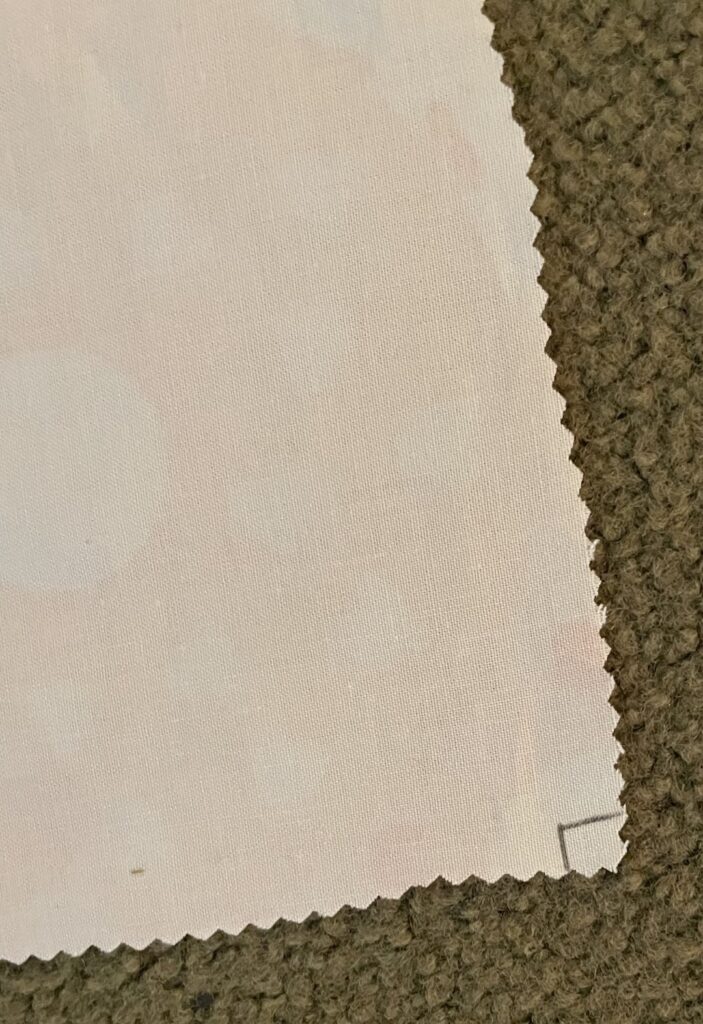
Step One – Lay your freshly washed and pressed fabric on the ground. Slowly and carefully cut off the salvage or extra material from the pattern. Fold the fabric in half by the length and width to double check that our lines have been cut as straight as possible. Extra: I made that label and attached it to the top fabric. Now. I both eyeballed and measured the placement. I first placed the label where I thought it would look nice, then I measured the two sides to make sure we are equal on both sides. Pin it, and sew. I used a simple straight stitch. NOTE: In each four corners of the top fabric, I marked quarter inches – this will come in handy later. One of the women in the videos eyeballed it, but if you are doing this for the first time, I would mark it with a pencil.
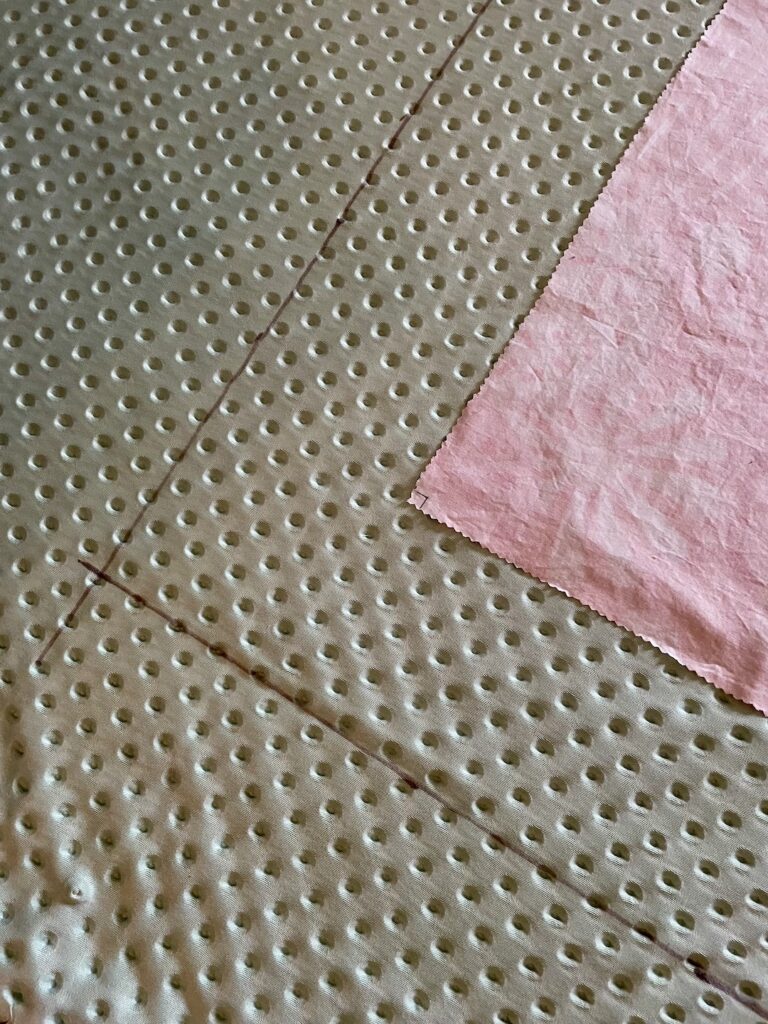
Step Two – Measuring – First, measure the top fabric, then add ten inches to measure out the bottom fabric. Once that is done, I like to double check myself and lay the top fabric on top of the bottom fabric to make sure a five inch border is all around the top fabric. THEN cut the bottom fabric. Remember to always measure twice, heck even three times, then cut. If not, that’s okay, the border will simply be smaller, no big deal! Keep in mind, we are doing this to have fun and enjoy the process of sewing, take your time, enjoy the process! (I say this for you, my readers, as much as for myself! LOL).
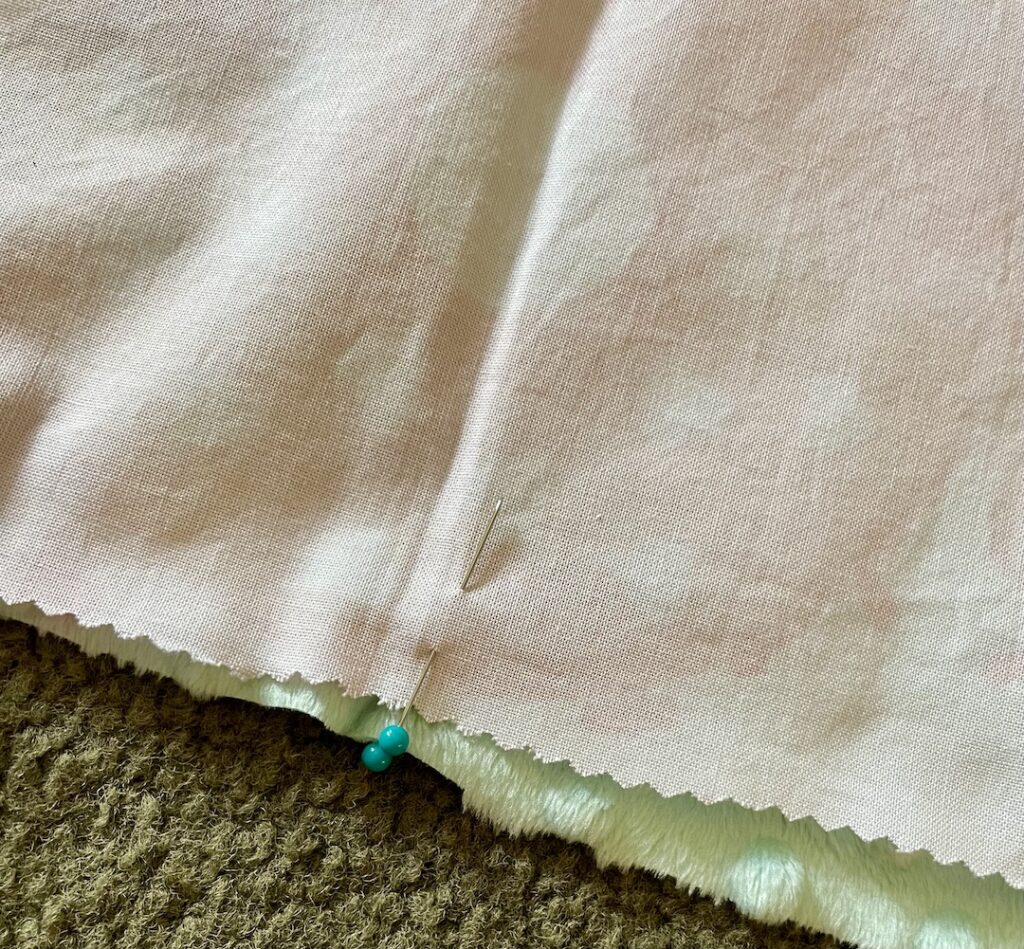
Step Three – Take the top fabric, locate the middle of each of the four sides by folding them in half; mark center of each of the four sides with a pin. Do this step again to the bottom fabric. Now, make sure that the long sides of the top fabric, match with long sides of the bottom fabric and the same for the width. Make sure the right sides of both fabrics are facing each other so that you see the wrong sides. (When you turn the sewn blanket, inside out, both right sides will then face out!
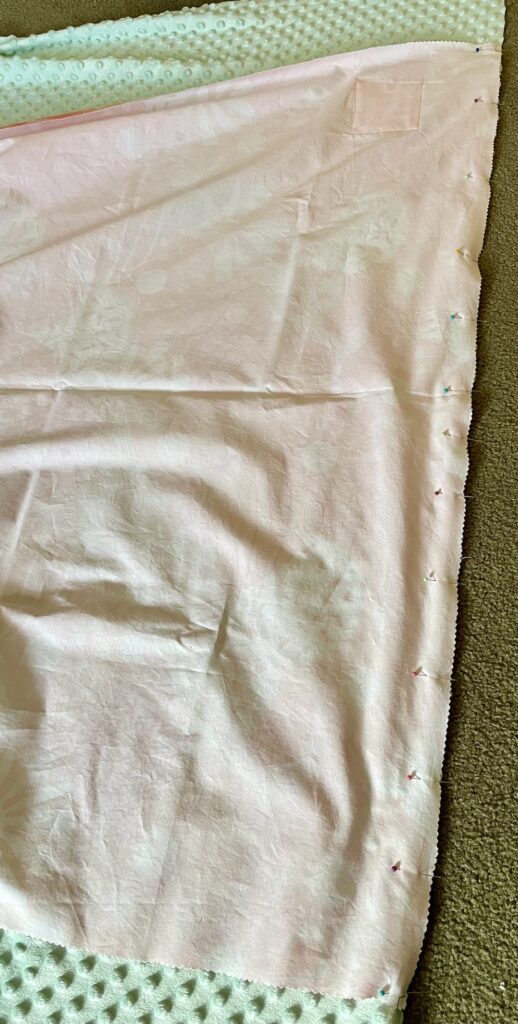
Take your time, start at the center and pin along the sides, stopping at the 1/4 inch mark we made at the corner of the top fabric. Repeat this for the other three sides, so that your blanket is pinned and ready to sew! MAKE SURE to leave on one side a 6 inch opening so that you can turn the blanket right side out when you are done sewing! Now sew. Remember that at each corner there is going to be extra fabric – do not panic, that what we want.
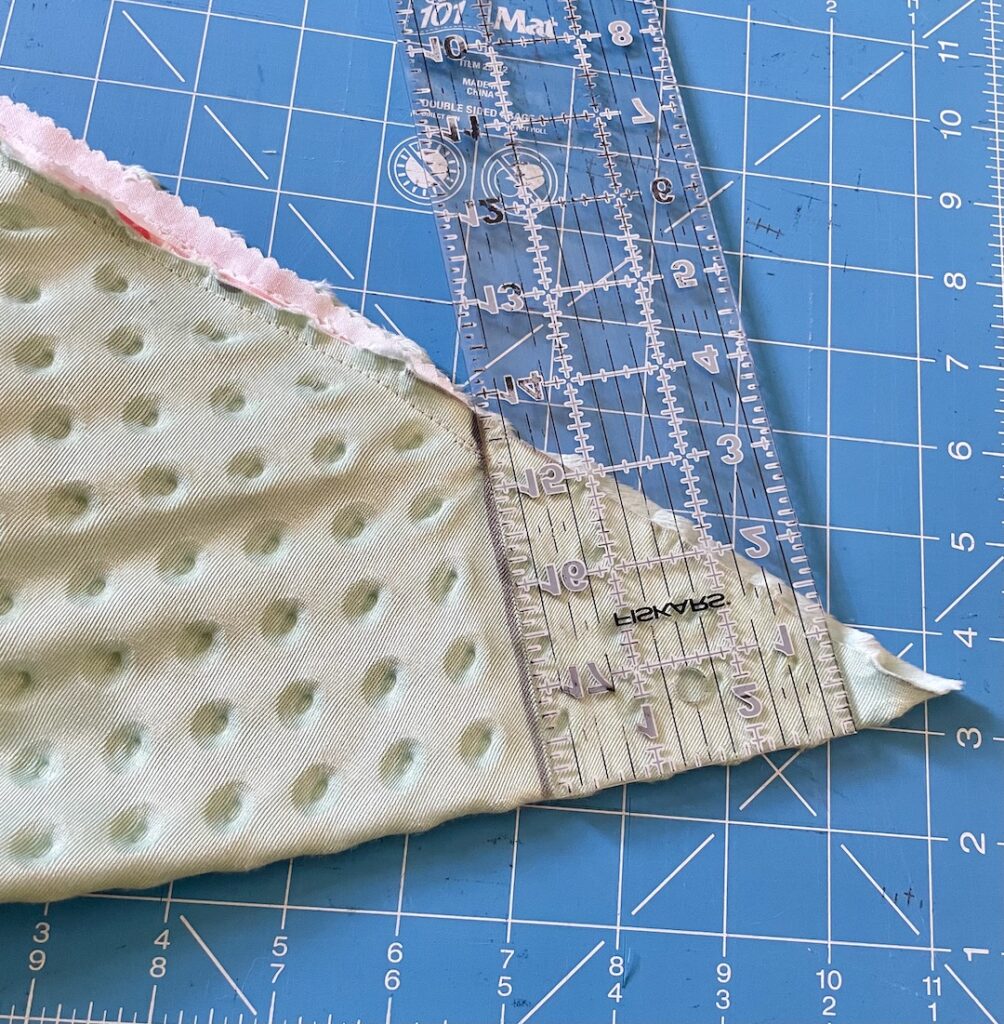
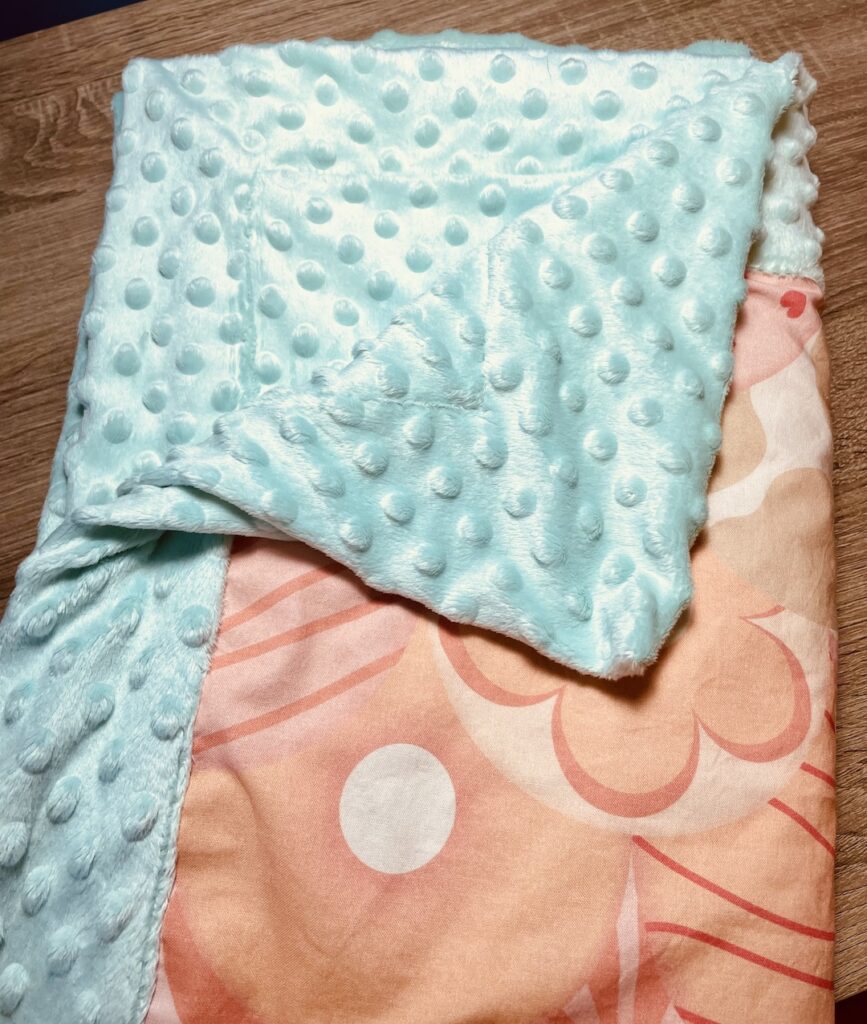
Step Four – When you have finished sewing all around the blanket, place your attention on the corners. At each corner, match the edges of the blanket to make a triangle with the fabric (see photo below). Take a straight edged item (I used my sewing ruler). Line up the edge of the ruler with the bottom edge of the blanket. Then make sure that you line up the long edge of the ruler to where your sewing stops (that quarter inch that you marked for yourself), draw a line straight down. Sew along this line and then cut next to the sewn line (don’t cut on the line).
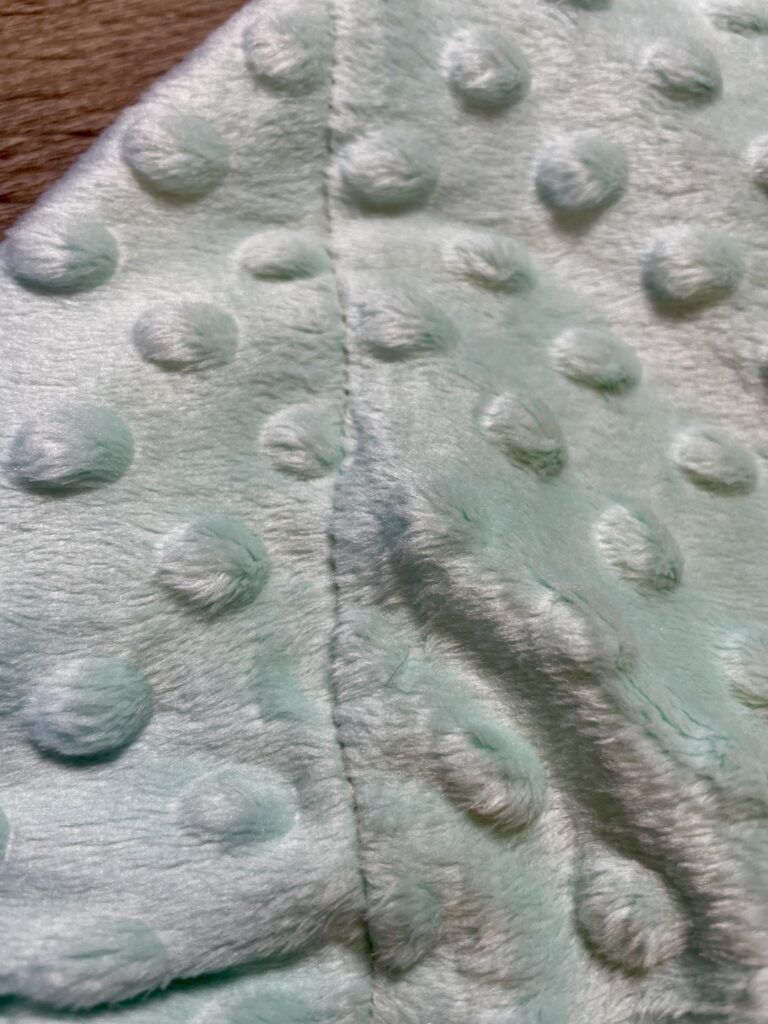
Step Five – Turn your blanket right side out! Go to each of the corners and poke them out! Because I used minky, I was able to use my finger. But you can use anything that won’t cut, tear, or mark the fabric. To iron or not to iron:
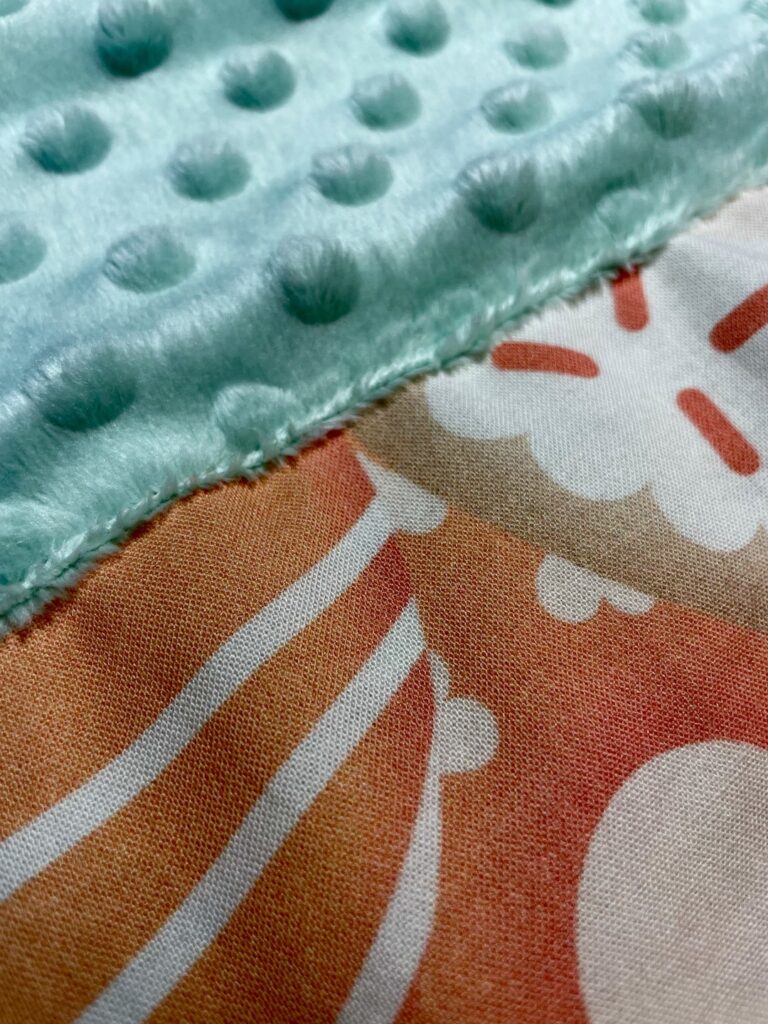
Minky: You cannot iron minky. So. We need to add another step before we sew around the inside border. Lay your blanket out on your table or the ground and make sure that the border is laid out correctly. Pin where the top fabric meets the border all the way around, and make sure to pin the opening from where you turned the blanket right side out. This pinning will aid in keeping everything in place while you sew as minky is very silky and slippery.
Literally any other fabric: LOL, yeah. For any other fabric, please iron it! This will suffice to keep everything in place while you sew. Why are we sewing? We are performing this last step to ensure that the top and bottom fabrics are together for all eternity, especially when washing and drying because you got your blanket sticky from eating too many donuts in bed while cocooned in said birthday blanket.
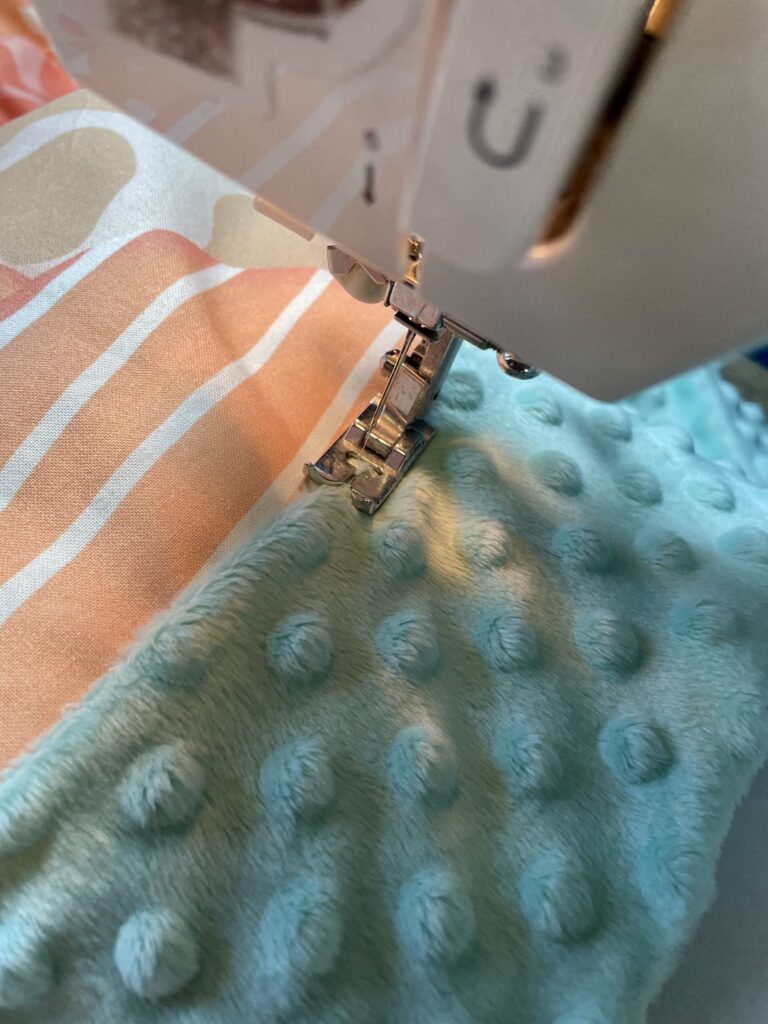
Step Six – Whether you needed to pin or iron your fabric in place, take your birthday blanket back to the sewing machine for one final run through. We need to sew the top and bottom fabric together, this is easy as all you are doing is going around the blanket; no stopping, just sew all around the blanket.
And. Done! I truly hope that you have enjoyed reading this blog as much as I have enjoyed writing it! I love to sew, I love birthdays, and I especially love donuts and donut-themed birthday parties!
Conclusion – My lovely readers; do me a favor. Close your eyes, outstretch your arms and spin! Imagine that you are in your favorite color pallet of birthday hues, be they primary colors of blue and red or the softer pallet of pinks, purples, and sparkling white; spin and be happy, be a child for a moment, just a moment; lose yourself in the joy that is a birthday party, a celebration of life and cake! You know I had to add the cake, didn’t you? LOL. In all seriousness, I hope that you enjoyed this blog and learned how to make your own blankets! Not only for birthdays, but for your house, a friend’s house, or for camping! Hell, for your car!! If you’ve read and attempted curtains and the pennants, then I really, really believe that the blankets will be a no-brainer for you. I truly think that this will be a new and fun avenue of sewing. Thank you for reading and until next time!
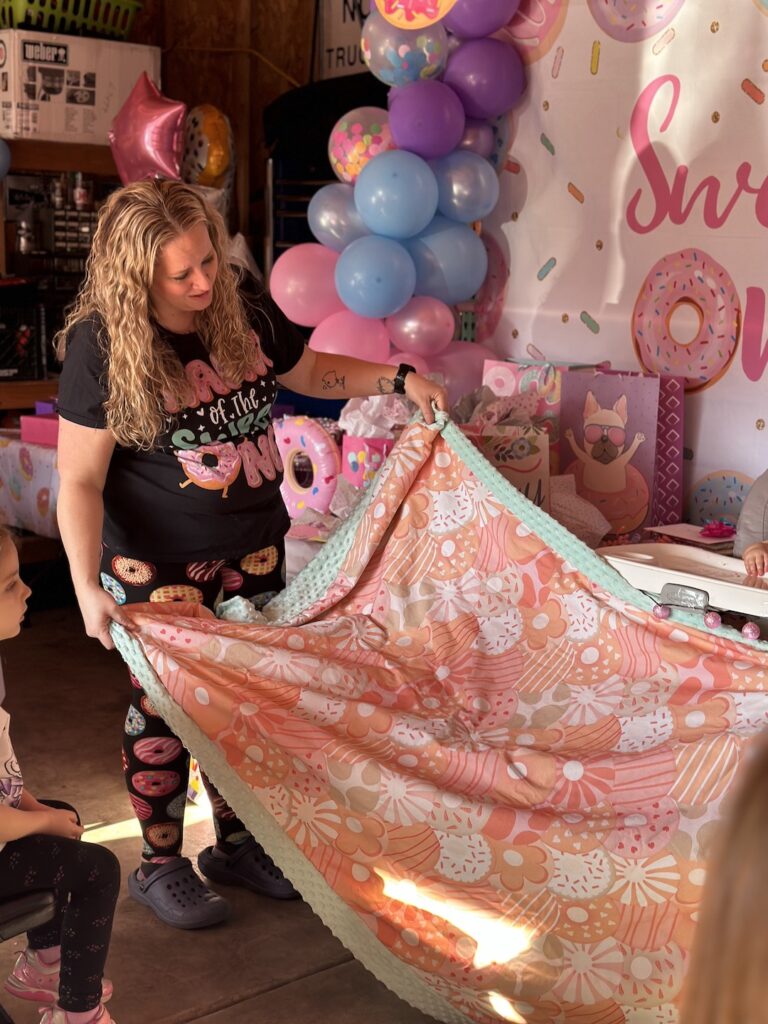

It turned out just so gosh darn cute!!!
HAHAHAHA! Thank you! It was dang tootin fun to make and write about!
I’m impressed! You have done another amazing job and I am a fan. Even to the point of could I make a blanket-NOT!! You know my history and sewing is not one of my skills. Keep up the good work and can’t wait for your next project!
HAHAHA!!! Step-by-step! You never know!
You did such a fantastic job on the blanket. I know that little girl will cherish this for the rest of her life!!
I also love how detailed this post is. It almost wants me want to learn to sew.
Almost. 😏
HAHAHA! I am so glad you liked it and got kinda inspired! I’m okay with that!
That is the CUTEST blanket I have ever seen!!! Great job!! Your instructions make it seem like I could do it, even though I couldn’t get above a B on my sewn pot holder in home ec, which was actually very generous as my mom still has the atrocious thing at her house lol
HAHAHA! I feel like I should do a sewing tutorial with you guys at my house! LOL. I believe in you! Super happy that you enjoyed the post!!