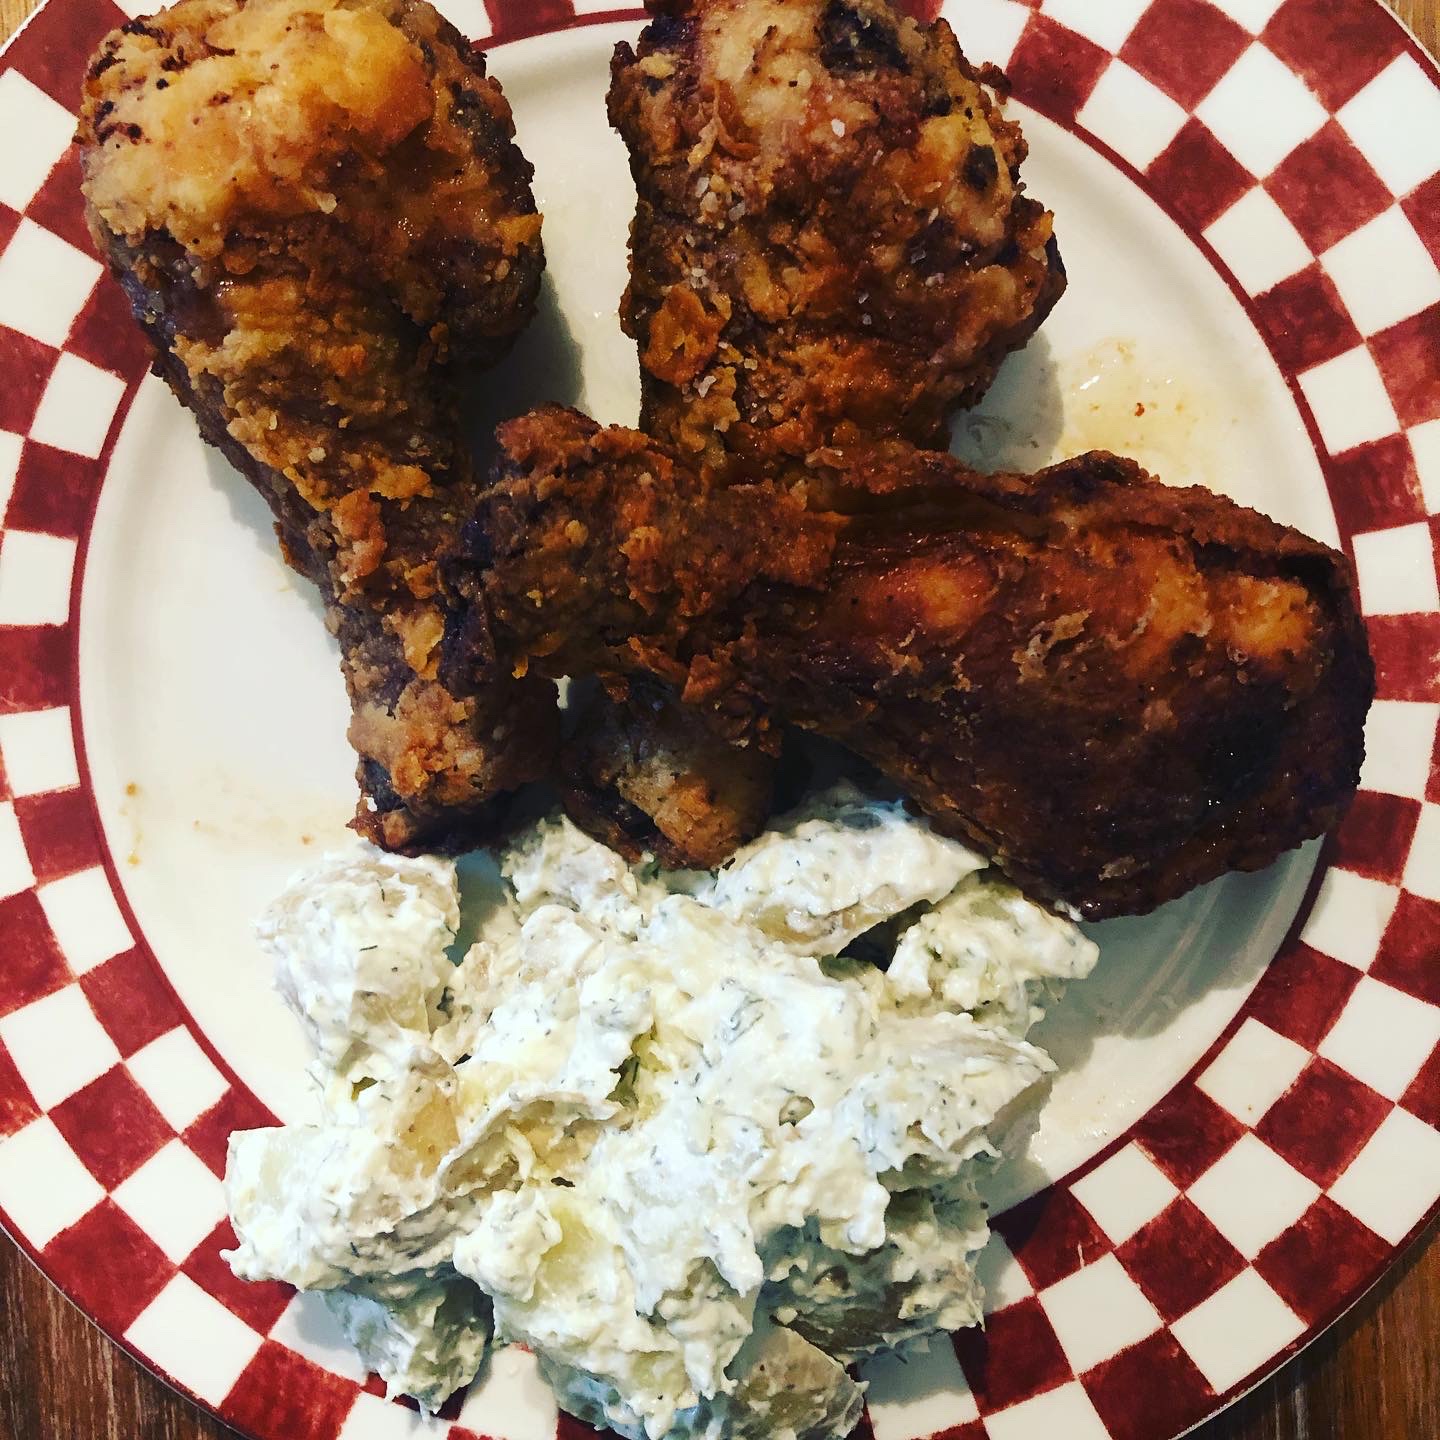
A-hoy-hoy and welcome back! Let’s talk fried chicken. Yes, fried chicken. I know, I know. I am a Yankee. HOWEVER, I have been watching chefs cook and fry pretty much my entire life. I have watched Justin Wilson, my Martha, Paula Dean, and many others fry up chicken. I have read over a crap ton of recipes… about fried chicken. And I took all of this knowledge swirling around in my little ole’ head and frankensteined (of course that’s a real word!) them together to make this recipe. Also, I’m a chubby girl and we know how to eat!
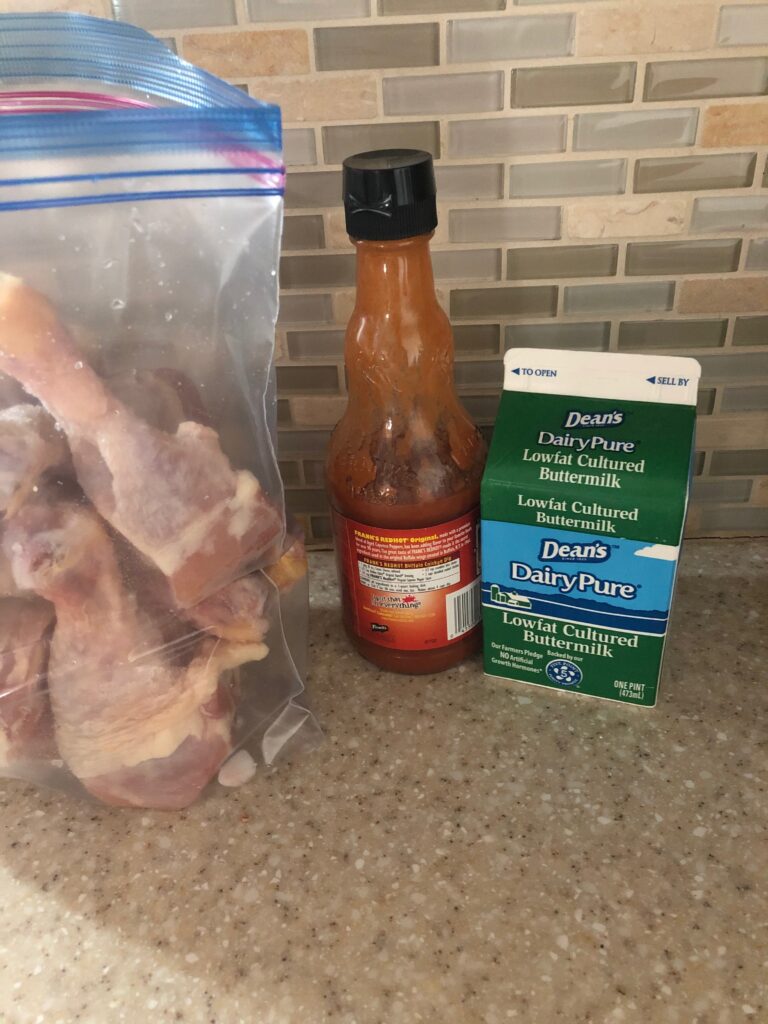
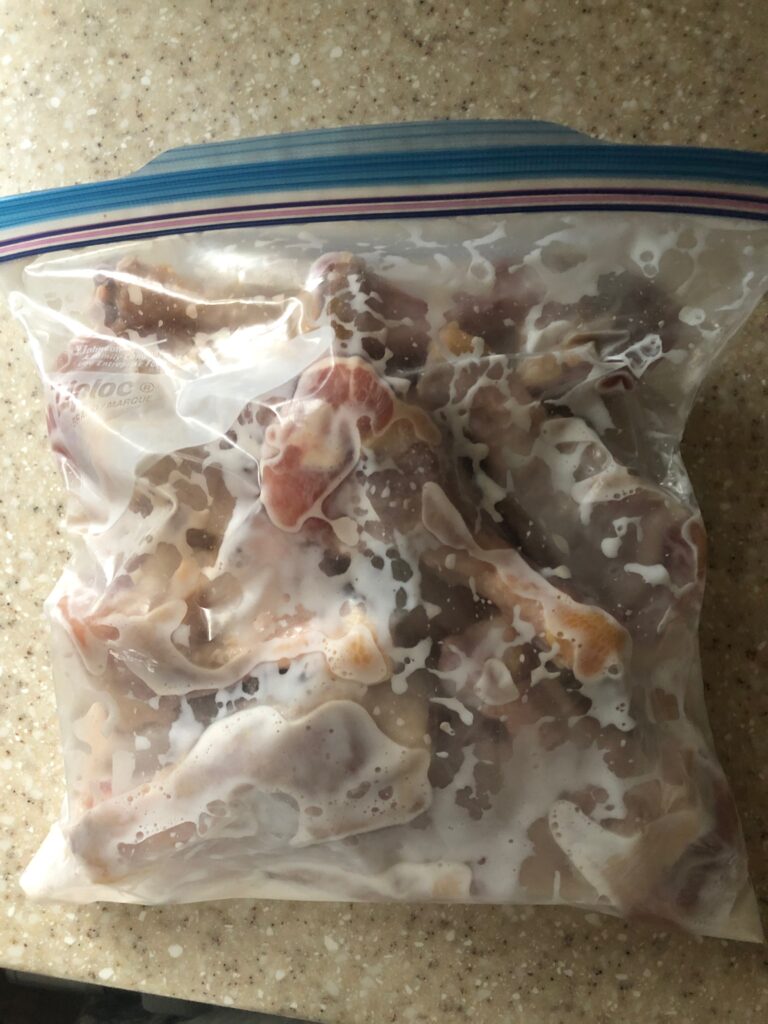
TIME. You must have time on your hands when making fried chicken. Don’t rush this. Really. I have rushed it and the results are not that great. I mean, it’s fried chicken, but it’s not fried chicken! See what I mean? “Bridget, what in the hell do you mean, I need time?” You ask? Well. First things first, you need to marinate the chicken in buttermilk over night. That’s right. Overnight. Don’t fight me on this, trust me. I have tried to skip the buttermilk or just dunk the chicken in buttermilk before frying it. It’s not the same. When you allow the chicken to marinate in that buttermilk over night, it tenderizes the chicken so that when you fry those bad boys up, they are just fall off the bone and melt in your mouth happy-tender. Like, for real. So, good. I usually place my chicken and buttermilk concoction together in a zip bag and place that in a container to put in the refrigerator (the container is just in case the bag leaks on you).
1 pound of cut up chicken pieces
1 pint of buttermilk
4-5 dashes of hot sauce of your choice
Marinade: for the marinade, in a plastic bag I place my chicken pieces, the buttermilk, and a couple dashes of hot sauce for a little added flavor (lighter if you don’t like spice, heavy handed if you do like spicy). That’s it. Then place in the refrigerator over night. Voila! Forget about it! Make awesome salads to go with your, soon to be awesome, fried chicken! Make a pie!!! Or a cake!!
Dredge:
3-4 cups of flour
2 teaspoon Of salt
1 teaspoon of black pepper
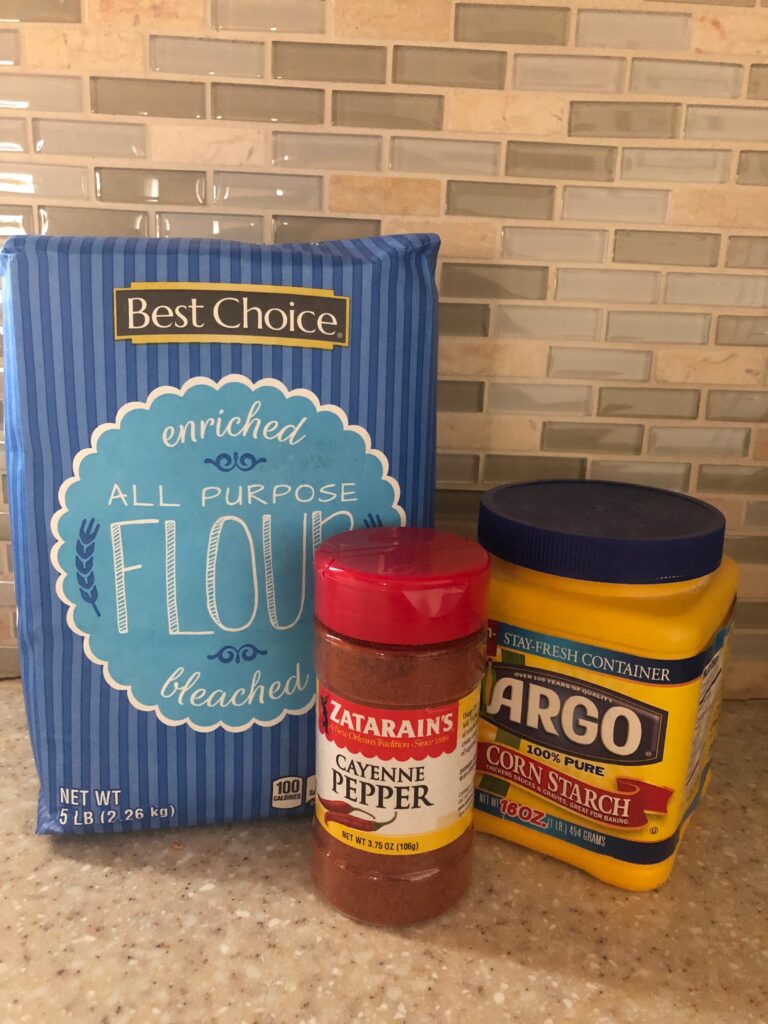
1/2 Tablespoon of cayenne or seasoning salt
2 Tablespoons of corn starch
Instructions:
- The night before, place chicken pieces in a plastic zip bag along with the buttermilk and hot sauce. Place in a dish in case the bag leaks. Let sit overnight in the refrigerator.
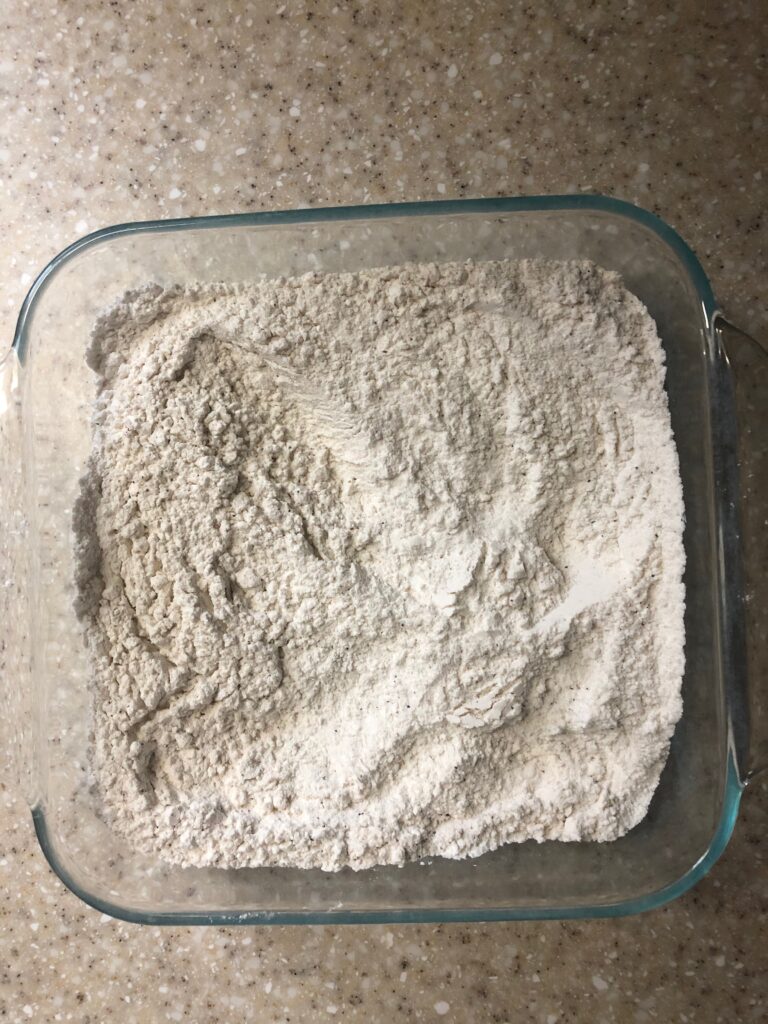
- The next day: mix your dredge together in a dish; set aside.
- Pre-heat oven to 350 degrees with a pan in the oven for the fried chicken to sit and finish cooking.
- In a cast iron skillet or tall pot, pour veggie oil and heat over medium heat until oil reaches 350 degrees.
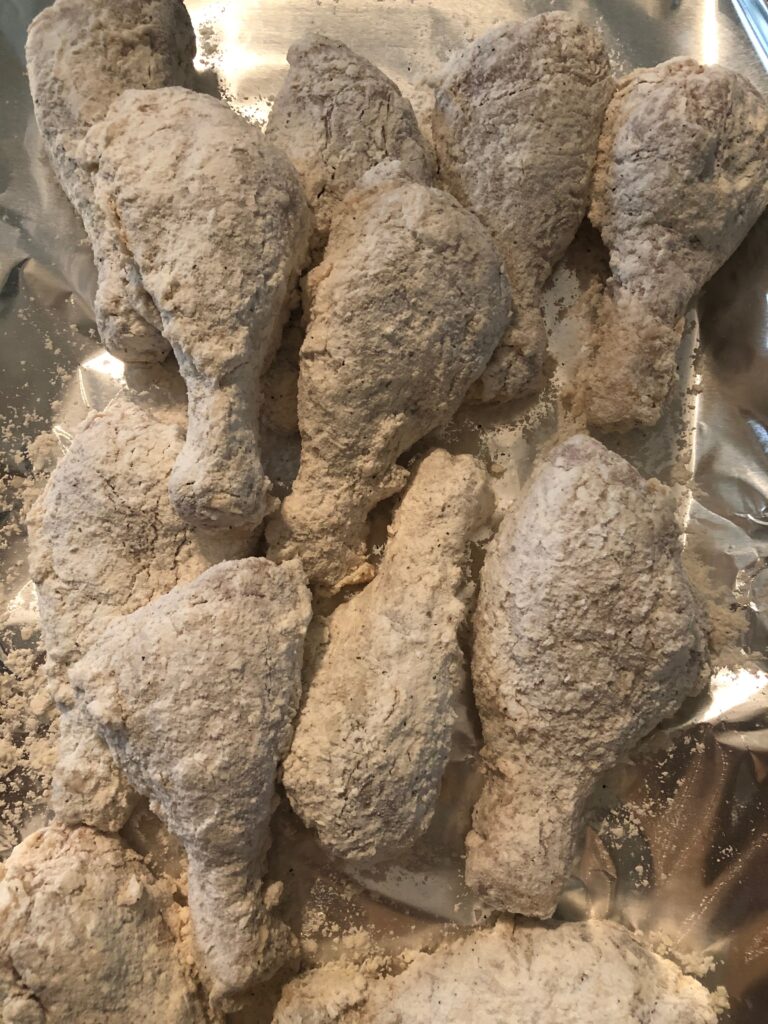
- Take chicken pieces out of the buttermilk mixture and coat liberally with the dredge, place on plate. Get 3-4 pieces of chicken ready for frying.
- Only fry 3-4 pieces of chicken at a time to ensure that your oil does not drop in temperature too much. It will drop in temp, but we don’t want it to plummet.
- Place chicken in the oil and let fry for 3-5 minutes per side. Once both sides are golden brown and crispy, remove from oil and place on pan in the oven. Continue in batches until all the chicken has been fried!
- Check chicken for an internal temperature of 165 degrees. Your chicken is ready!!
Step-by-Step Breakdown!
- I already talked about the buttermilk and why and blah, blah, blah. So, just do the stuff I said.. you won’t be sorry.
- Okay! The dredging flour! As stated before, I have been watching and reading many different recipes on fried chicken. Throughout these recipes, I noticed that many of the southern chefs would add corn starch to their flour. So. One day, I did this. WOW. When being fried, the crust was sooo crispy! Even when placed in the oven to fully cook, the crust, was crispy, crunchy, and wonderful!!! So, add corn starch!! So tasty!!!
- Cast iron vs tall metal pot. LOL. I have fried many things in my cast iron and perhaps I am not being patient enough to allow the oil to heat up to the correct temp, I don’t know. All I know, for me, I get the best golden color in my stainless steal tall pot. Also, I don’t get the oily splashes all over the place. Don’t you judge, but I TOTALLY fry topless. I have killed so many shirts frying, so now, topless it is.
- I fry in batches. Between 3-4 pieces per batch. Any more and your oil will drop too low and will take too long to come back up to temperature. When you allow your food to sit in lower temp. oil, that is when you get oily food. Yuck. We want bright, crispy, and happy fried chicken! Do not play with the fire! Leave the fire alone. Your oil temp will drop and that’s okay. If you start to fart with the fire, you will end up burning your chicken. No one wants burned chicken. Also, your house will smell horrible for days on end.
- so… look to step 4 for comments on this step… hahahaha
- Just follow the instructions. Looking for golden brown and crispy. Place in oven to further cook. We are looking for an internal temperature of 165 degrees. Don’t kill or make your guests sick!
- Enjoy!
SET UP: This is key. This is important for a smooth and curse-free frying session. Once your oil has reached optimum frying temperature, you have crossed into the point-of-no-return. Your set up should look like this:
- A pan with your flour, cornstarch, salt, pepper, and cayenne pepper (or seasoning salt or both)
- Either a tall pot or cast iron skillet for frying with veggie oil heating up to 350 degrees over medium heat
- Oven turned on and pre-heated to 350 degrees with a cookie sheet for fried chicken to sit and finish cooking after frying
- Coated chicken pieces, ready to be fried
I hope this helps and gives you the confidence to fry your own dang tootin’ chicken!! It’s not so scary once you break it down!! Mix up your spices! Have fun with this! Add rosemary into your flour dredge or sprinkle some on the chicken once fried! I don’t know! But have fun in the kitchen! And for all that is Holy, use the buttermilk and the corn starch!!

